Some recipes have certain requirements that are best seen in advance, so that they can be accounted for during set-up. For example, a pie crust may turn out better if the butter is cold and so the butter ought to be taken directly from the fridge. Putting this in the instructions may not have it seen until the recipe process is underway, potentially leading to time wastage. To make certain instructions more visible, you can add notes directly to a specific ingredient or add in a blank line in the formula which can be filled with additional or important instructions. Here's how:
- Open the recipe. For an existing recipe: in the Inventory Centre click Maintain Recipe. Find the recipe in the list and double click to open it, or click it once to select it (This will highlight the line in blue) and click Edit at the bottom of the screen. For a new recipe: in the Inventory Centre click New Recipe, then enter in the name, type and the ingredients.
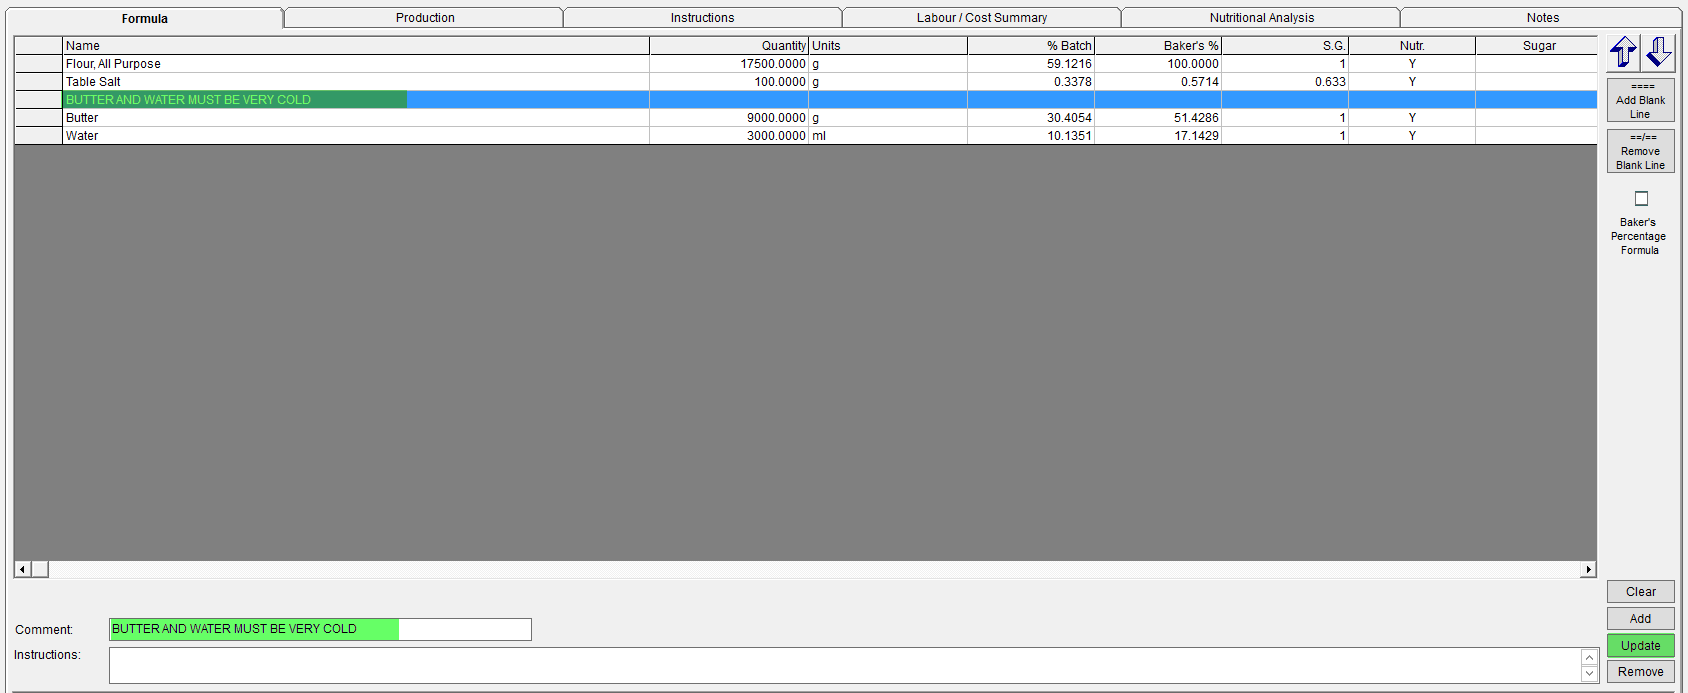
- In the Formula grid single click on the ingredient you would like to add a blank line above then in the top right corner click Add Blank Line.

- You can remove the blank line by single clicking on it to select it then clicking the Remove Blank Line button.

- You can resequence the blank line by single clicking on it to select it then clicking the Up or Down Arrows in the top right corner of the formula tab.

- You can add a comment or instructions to appear on the blank line in the formula by single clicking on it to select it then entering the Comment or Instructions field and clicking the Update button to the right of these fields.
- You can also put a note directly on an ingredient. Select the ingredient and write your note in the Instructions field, then click Update. To view these, use the formula grid's bottom scrollbar to scroll right. This will bring the Instructions column into view, along with your notes.

- Once all information has been entered, click OK to save.