Having a cutoff time for your orders is essential to making sure that your production flow is efficient and effective; last minute adjustments can mean wasted paper and wasted time. So, whether you're changing things up or just getting started with the Online Ordering Portal, configuring your cutoff times is a great place to start.
Setting up your cutoff rules can be as simple as a one-size-fits-all, or you can get quite detailed by adding in different cutoffs for certain customer categories or product categories, depending on what you need to suit your business and your customers.
Cutoff Time Rules
Before you begin to configure your cutoff times, it's a good idea to check out how they work and how they work together. Below you can find an explanation of the cutoff time criteria:
- Delivery Day - Cutoff times are applied based on the delivery day that your customer selects when placing their order. Selecting -ALL- means the rule will apply to all 7 day of the week, or you can choose a specific weekday. If a Delivery Day does not have a cutoff time defined, it's considered a Non-Delivery day, and will not allow orders to be placed for delivery that day.
- Lead Days - Lead Days is how far in advance (in days) that an order must be placed. 1 Lead Day means the order must be placed the day before delivery at the latest, 2 Lead Days mean that orders for Wednesday must be in by Monday, for example.
- Cutoff Time - This is the time of the order deadline,
Optional:
- Customer Category - This drop-down will supply the customer categories defined in your FlexiBake system along with the -ALL- option. Selecting -ALL- will apply the rule to everyone, and selecting a category will limit that rule to only customers belonging to that category. If a Cutoff Rule isn't defined for that Customer Category for a particular Delivery Day, the default (-ALL-) will be used instead.
- Product Category - This drop-down will supply the product categories defined in your FlexiBake system along with the -ALL- option. Selecting -ALL- will apply the rule to all products and selecting a category will limit that rule to only products belonging to that category. This is great if you need pastry orders to be in by 9AM but breads can wait until 2PM, for example.
If you are using Product Category Cutoffs, you must have at least one cutoff defined for -ALL- Product Categories and Customer Categories to act as the default cutoff time to access a new or existing order.
So, how do we put them all together?
At minimum you'll want to have a default set of cutoff times defined for all days that you offer delivery (these should apply to all customer and product categories). The formula that the portal follows is: Order must be placed by Cutoff Time, Lead Days before Delivery Day.
Let's use the following example: If orders being delivered on Monday need to be placed before 5PM on Friday, then the Delivery Day is Monday, the Lead Days is 3, and the cutoff time is 5PM.
When more than 1 cutoff is defined, the more specific cutoff will win out, so a Product Category Cutoff will be used over a Customer Category cutoff, and both will win over the default (-ALL-) option.
In the case of Lead Days and Product Lead Times being different, the longer of the two will be used. So, if your customer category has to place their order at least 2 days in advance, but the product has a 3 day lead time, the customer will be prevented from ordering that item unless they choose a new delivery date further in the future.
Add, Remove or Edit Your Cutoff Times
Now that the rules are covered, all that's left is to put them into place! To configure your cutoff times:
- Begin by navigating to your portal adminstration page, which can be done by adding /setup to your portal's URL. For example, if the portal address is bakery.flexibakeonline.com then the admin page address is bakery.flexibakeonline.com/setup
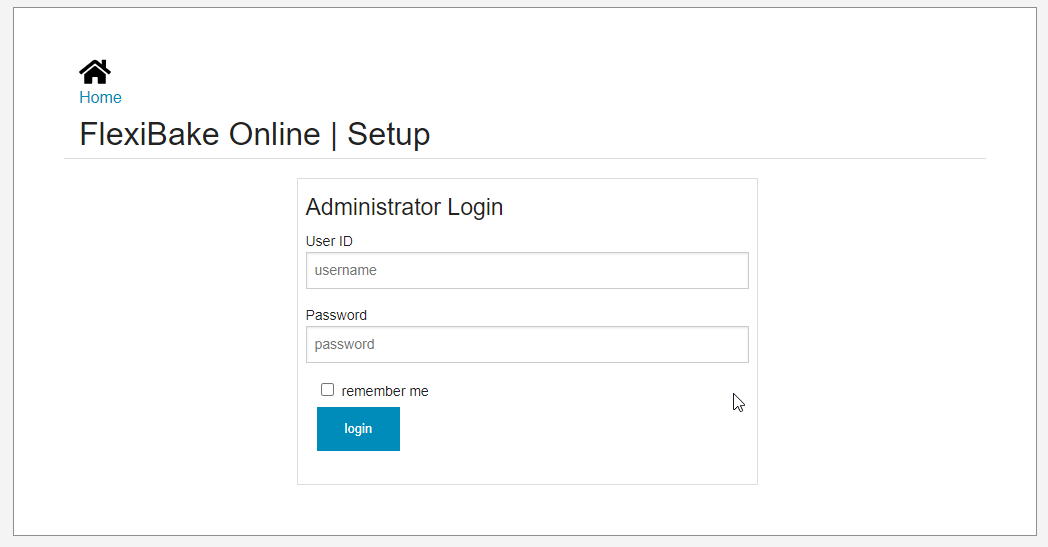
- Login using the credentials of an existing portal admin.
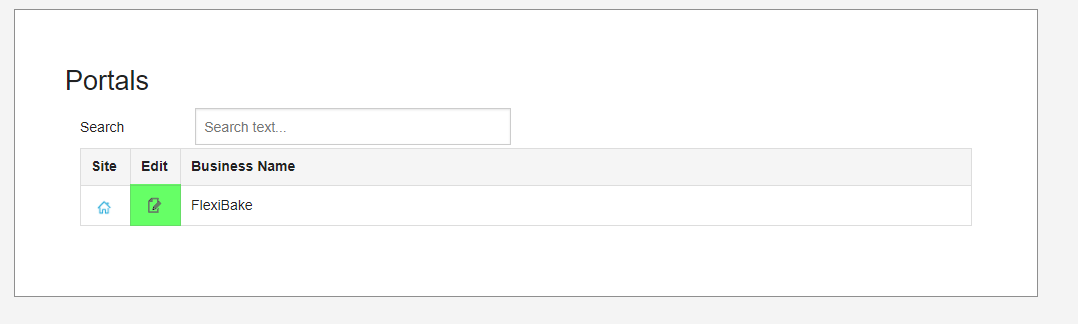
- Click on the Edit button for the appropriate portal.
- Your current cutoff rules will be displayed in the Cutoff Times section.
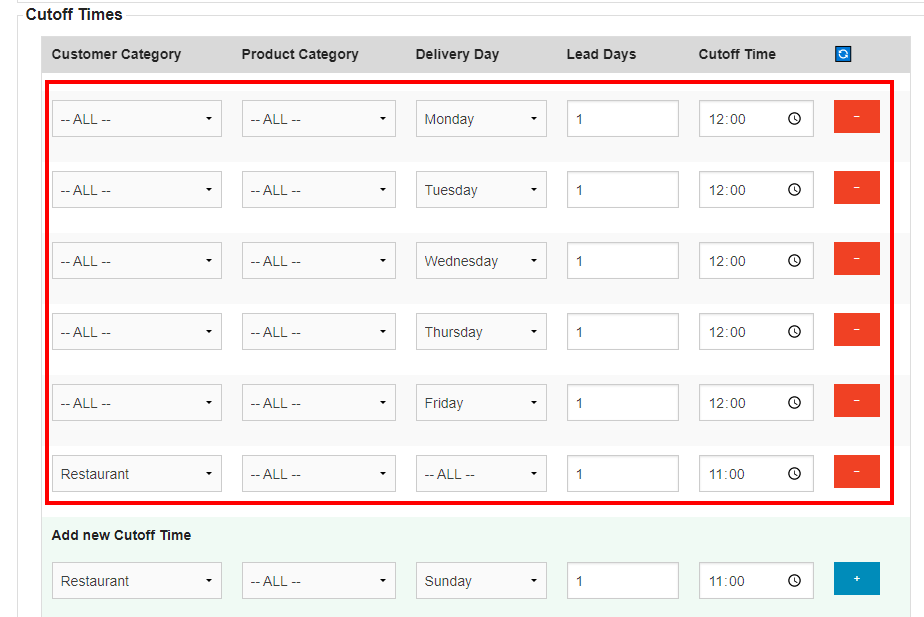
- To remove a cutoff time, click on the orange - button on the right
- To edit a cutoff time, simply make the desired change on the existing line.
- Adding a new cutoff time can be done by going to the bottom of the list to the Add new cutoff time subsection, then selecting your desired options. When you're ready, click the + button on the right to add it.

- Once you're done making changes, scroll to the top or bottom of the page and click Save to apply them.