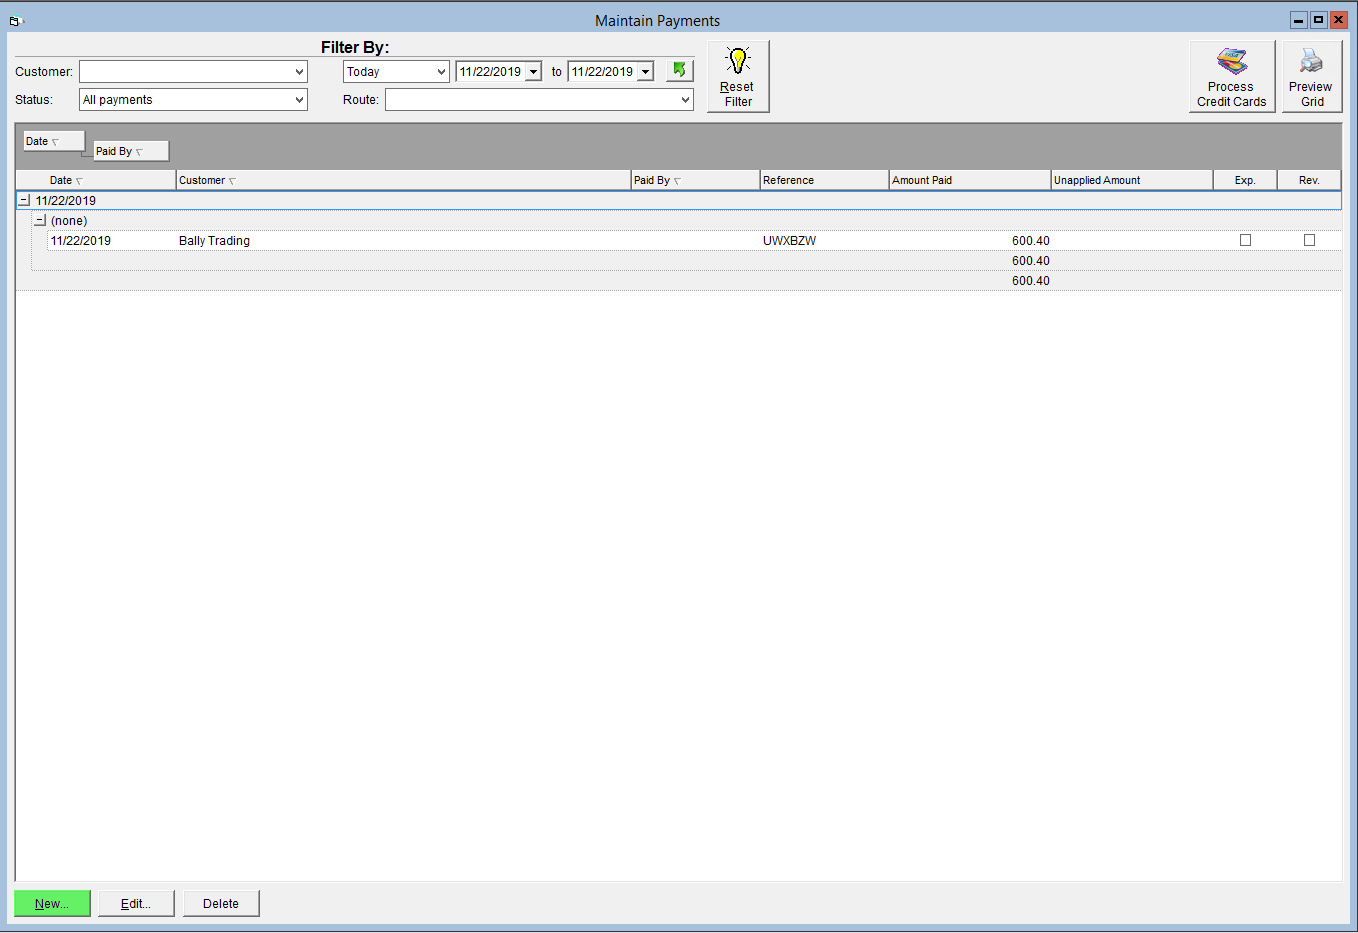
If you plan to generate statements for your customers using FlexiBake, chances are that you want those statements to reflect any payments that customer had made against their invoices. You can even keep track of payments and which invoices that payment was applied to.
If you're interested in processing credit card payments, you can do that directly in FlexiBake too! We offer integrated credit card processing through Authorize.net. More information on FlexiBake's credit card capabilities can be found in our articles: Enter Authorize.net Credentials, Process a Credit Card Payment and Bulk Process Credit Card Payments.
Here's how to enter a new payment:
- Navigate to the Accounting Centre and click the Maintain Payments button.

- Click New in the bottom left corner of the screen.
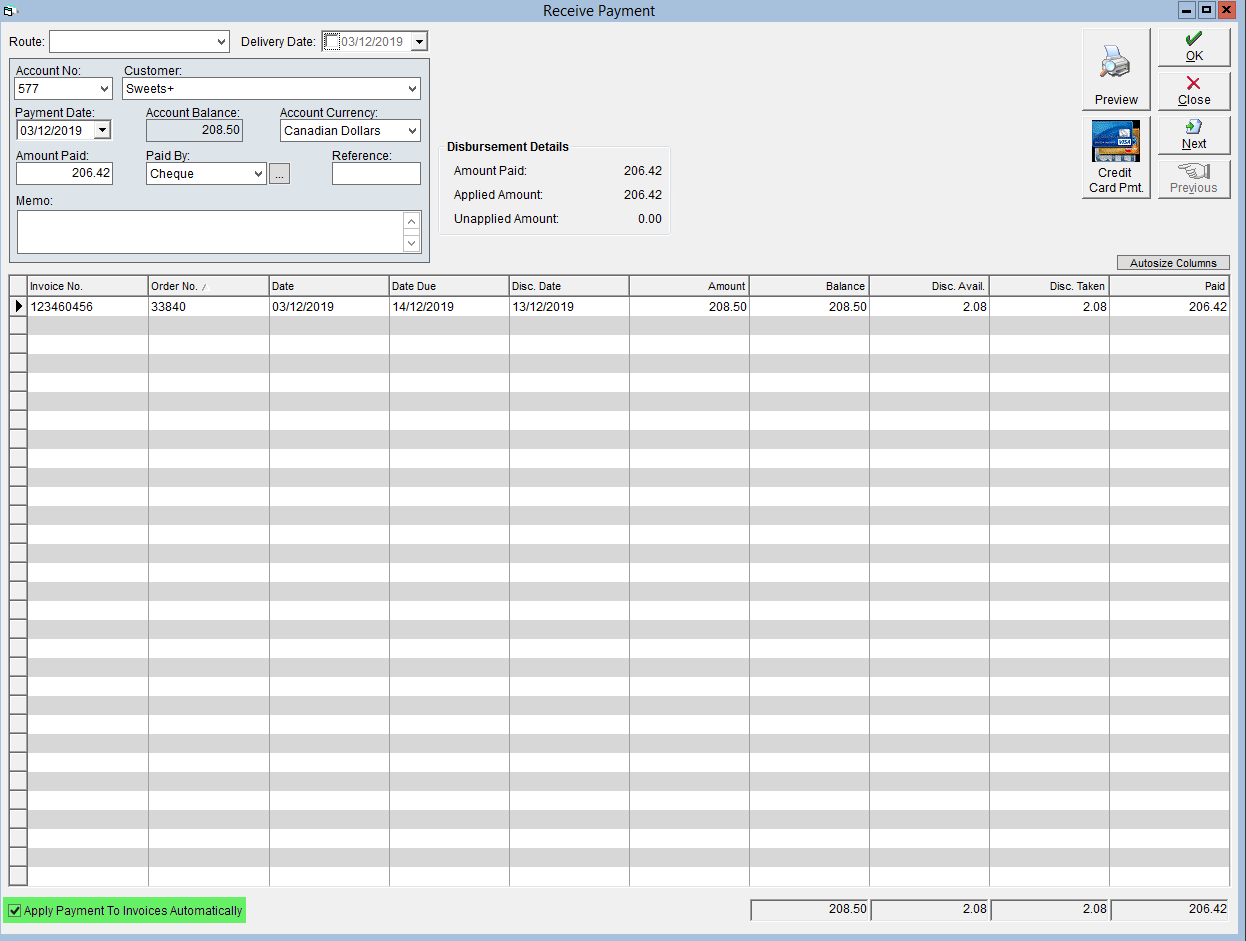
- Select the Customer you are entering a payment for.
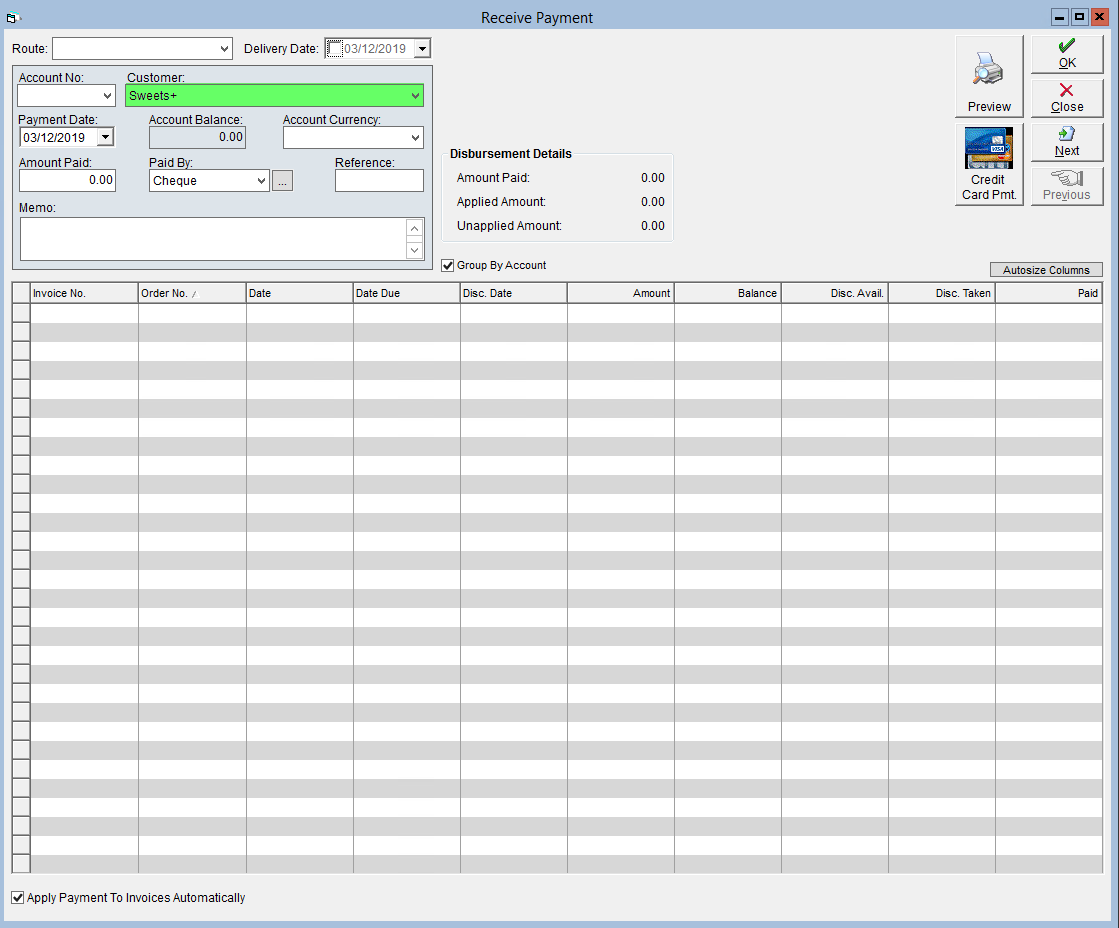
- Click in the Amount Paid field and confirm the amount of the payment you are entering.
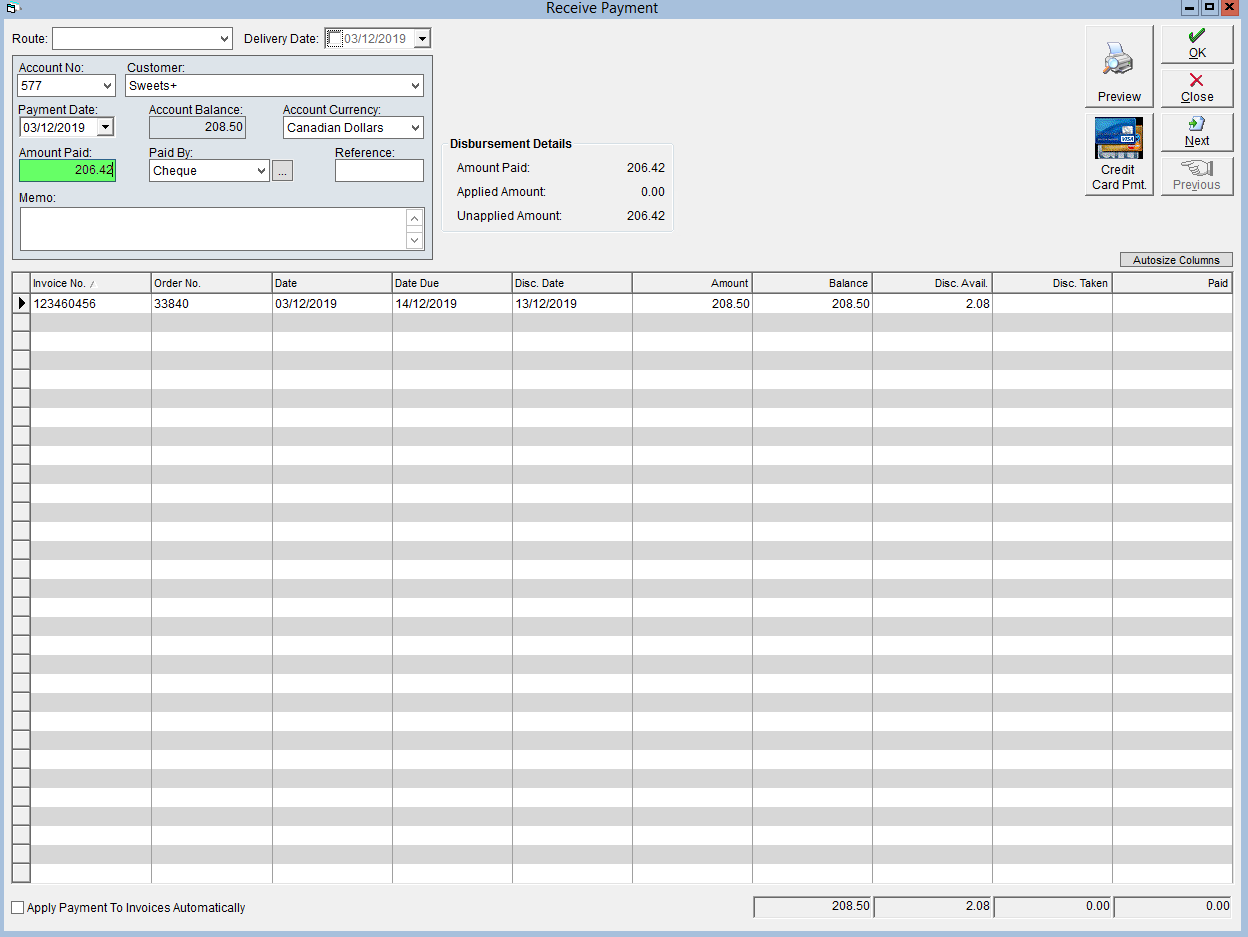
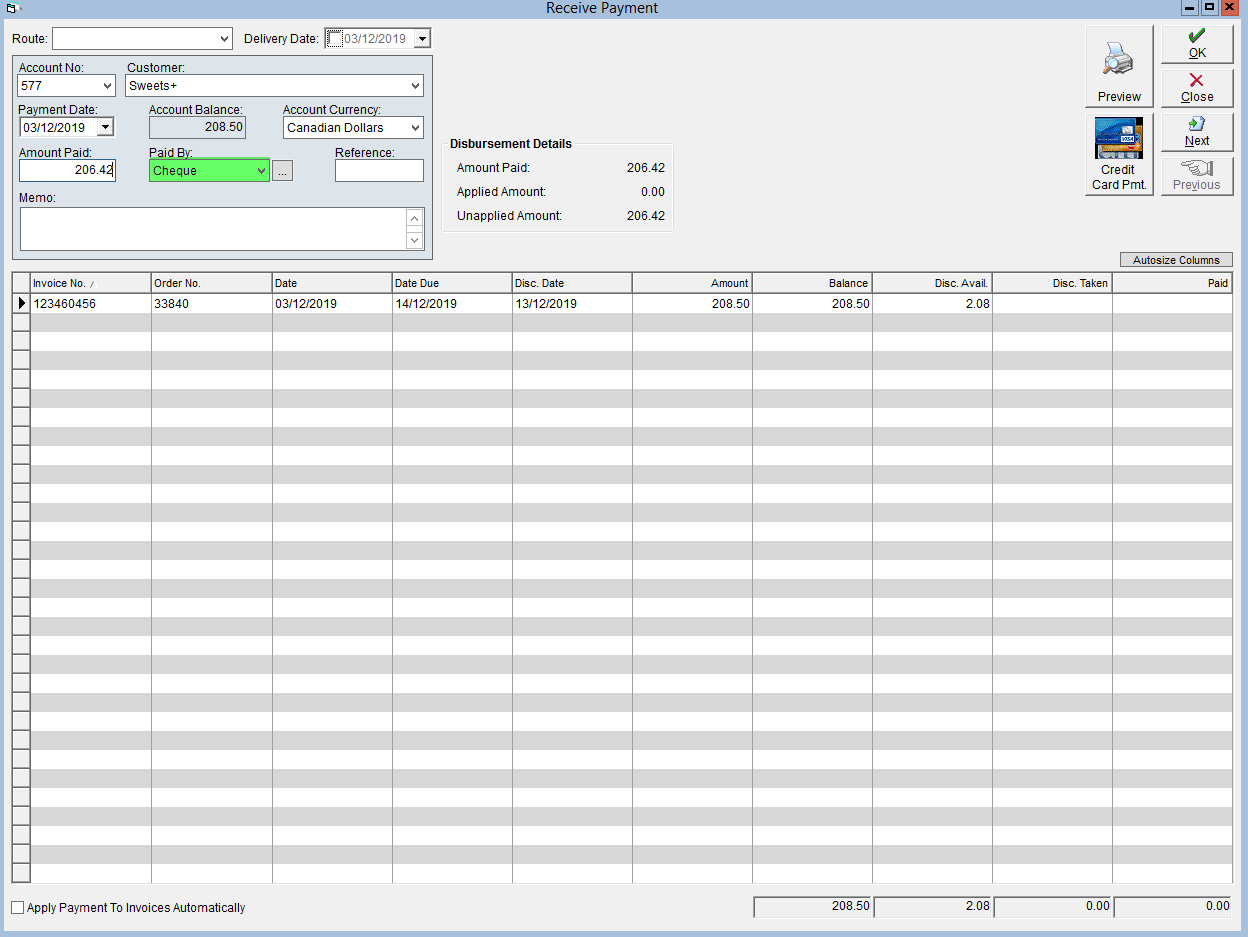
- Select the payment method from the Paid By drop-down.
New payment methods may be created by clicking the ellipsis button beside the drop-down, clicking New, entering a description for the payment type and clicking OK.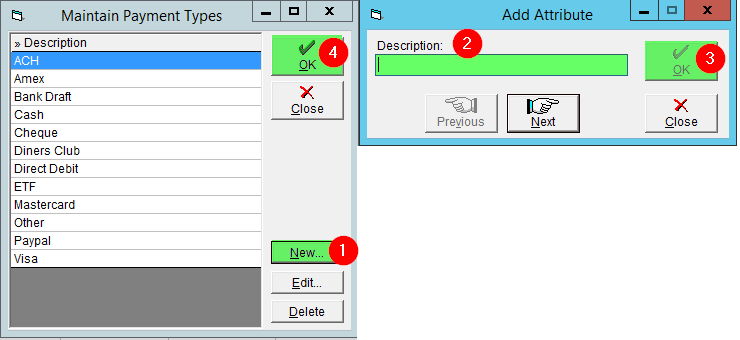
- To have FlexiBake automatically apply the payment to the most outstanding invoice(s) from that customer, click the Apply Payment to Invoices Automatically box in the bottom left corner.
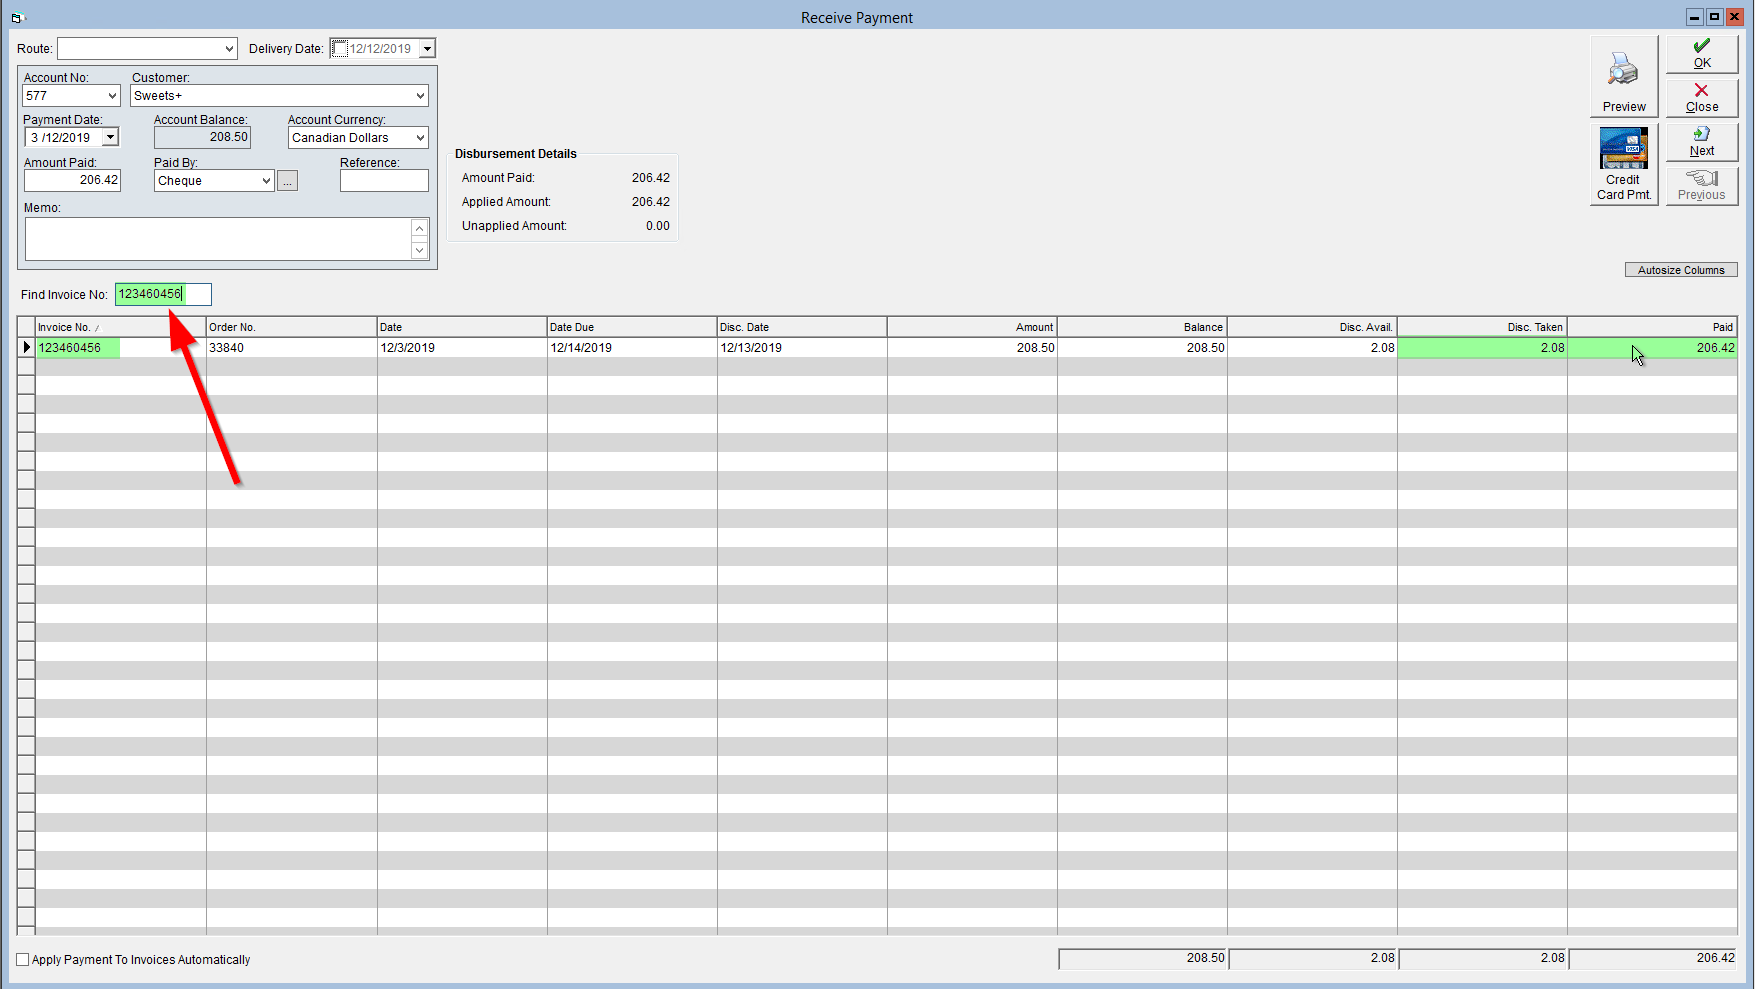
- To manually apply the payment to an existing invoice, click in the Paid column on the row associated with the invoice you want to pay. Update the amount in this field if desired and repeat this step until the payment has been applied to the desired invoice(s). The Find Invoice No. box can be used to search for a specific invoice you would like the payment applied to.
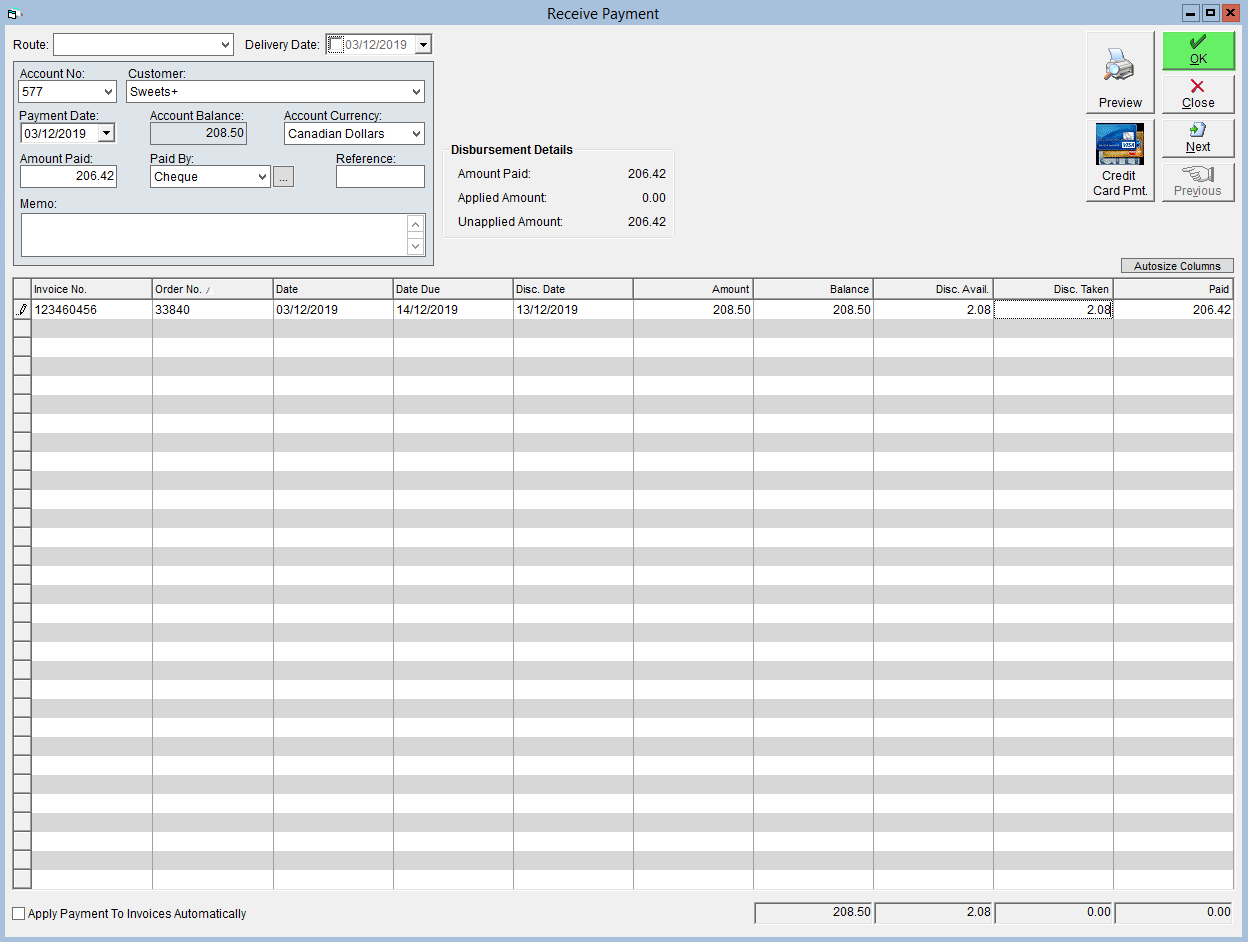
If a discount is available, you can apply the discount amount to the invoice by clicking into the Disc. Taken column.
- Click OK to save.
A video tutorial on this topic is available to view here: