Unless you're going for a Guinness world record, it's unlikely that anyone would use a commercial batch of dough to make a single item. Rather, it's far more common to sell dough in portions, or to portion it out before baking.
If you make a dough which needs to be portioned into a certain size or weight, it's convenient to use a divider machine to do the portioning for you. You can include information on this divider in your recipes in FlexiBake, including the shape created and how many of these portions can fit on a tray. This information will feed into certain production reports to indicate to staff which items require a certain divider or how many trays they will need to prep.
To add divider information to a recipe:
- Access the Inventory Center then click Maintain Recipes.
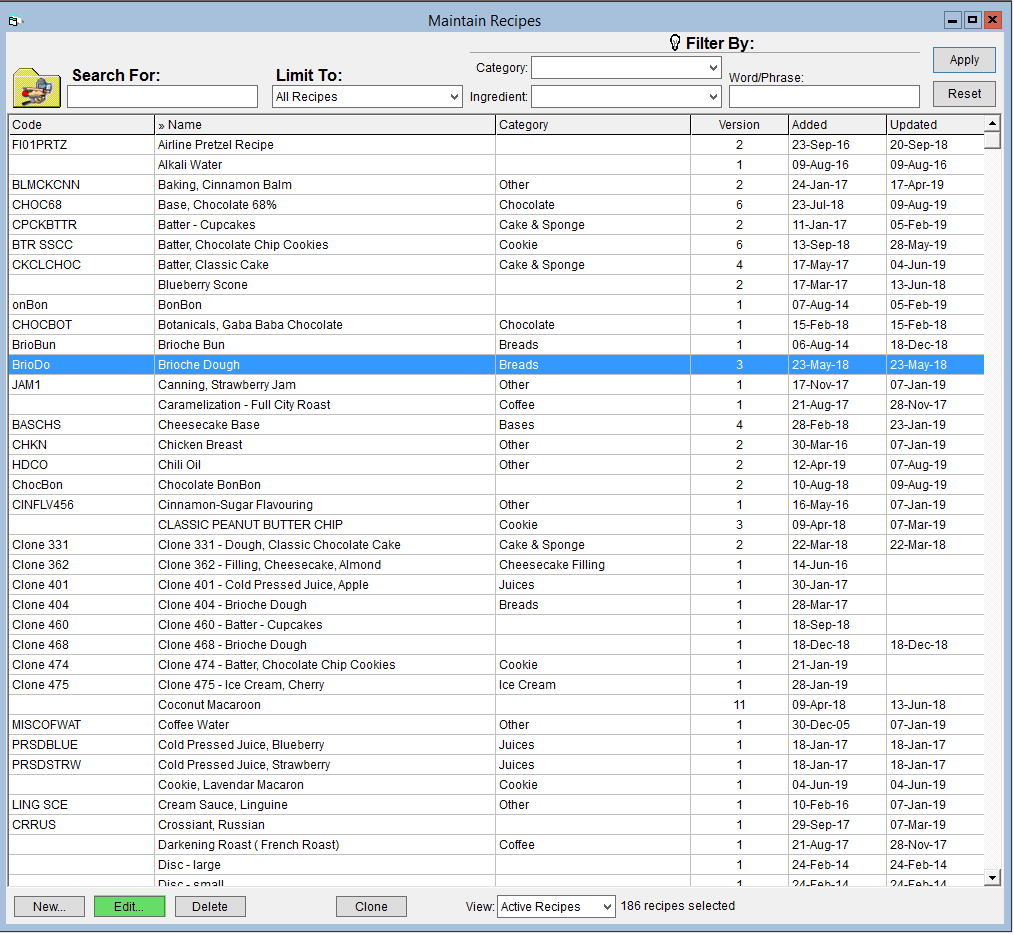
- Find and double click on the associated item or click on it once and click Edit.
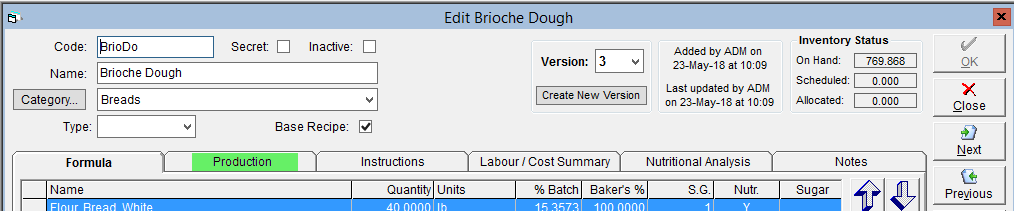
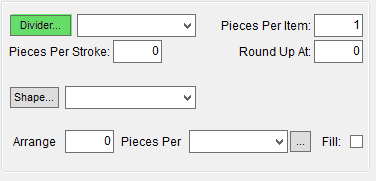
- Click on the Production Tab of the recipe.
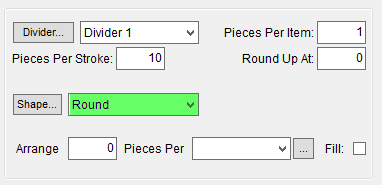
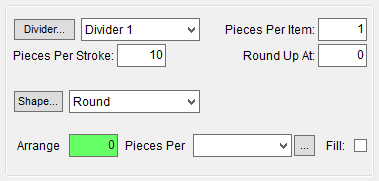
- Select a divider from the Divider drop-down menu.
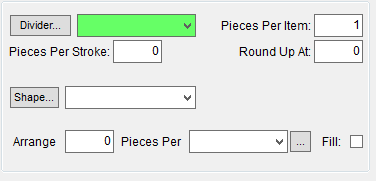
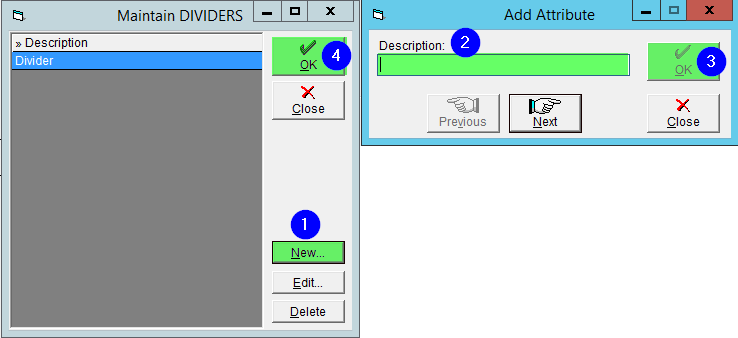
- To create a new divider, click on Divider.
- A window will pop-up. Click New on the right. Add a Description (a name for the divider), then click OK to save it. Click OK again to close the pop-up window.
- To create a new divider, click on Divider.
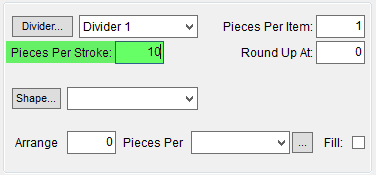
- Enter in how many Pieces Per Stroke are produced per stroke of the divider.
- (Optional) Enter a Round Up At value. Sometimes the required quantity will exceed the number of pieces that can be produced by a full stroke of the divider (for example, 115 items are required, but the divider produces 10 pieces per stroke. ). The Round Up At value is the number of extra pieces where you will run an extra stroke of the divider instead of shaping the extra pieces by hand. When 0 is entered, the program assumes that all extra pieces will be weighed/shaped by hand.
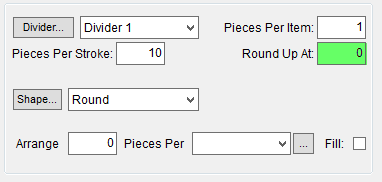
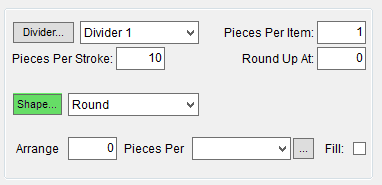
- If the pieces are formed into a particular shape at this stage, select one from the Shape drop-down menu.
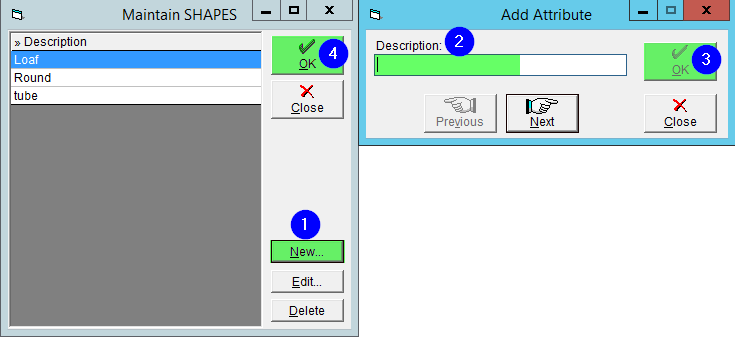
- To add a new shape, click on Shape...
- A window will pop-up. Click New on the right. Add a Description (a name for the shape), then click OK to save it. Click OK again to close the pop-up window.
- To add a new shape, click on Shape...
- Select the tray or board type from the Pieces Per drop-down.
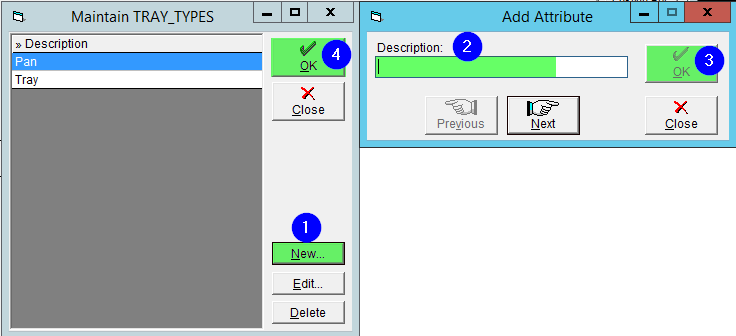
- To add a new tray type click on the
 button on the right side of the drop-down.
- A window will pop-up. Click New on the right. Add a Description (a name for the shape), then click OK to save it. Click OK again to close the pop-up window.
- To add a new tray type click on the
- In the field beside Arrange enter in how many pieces you can fit on a tray/board when baking.
- If you would like to round up to full trays/boards, click the Fill checkbox.
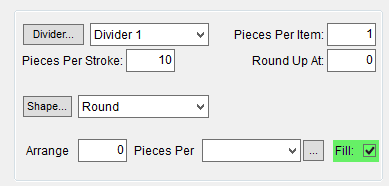
- Click OK to save your changes.
Curious which reports this information appears on? Check out our article Defining Divider Details for Plan Production.