To connect to a remote PC on MacOS, follow these steps:
- Download and install Windows App from the Mac App Store.
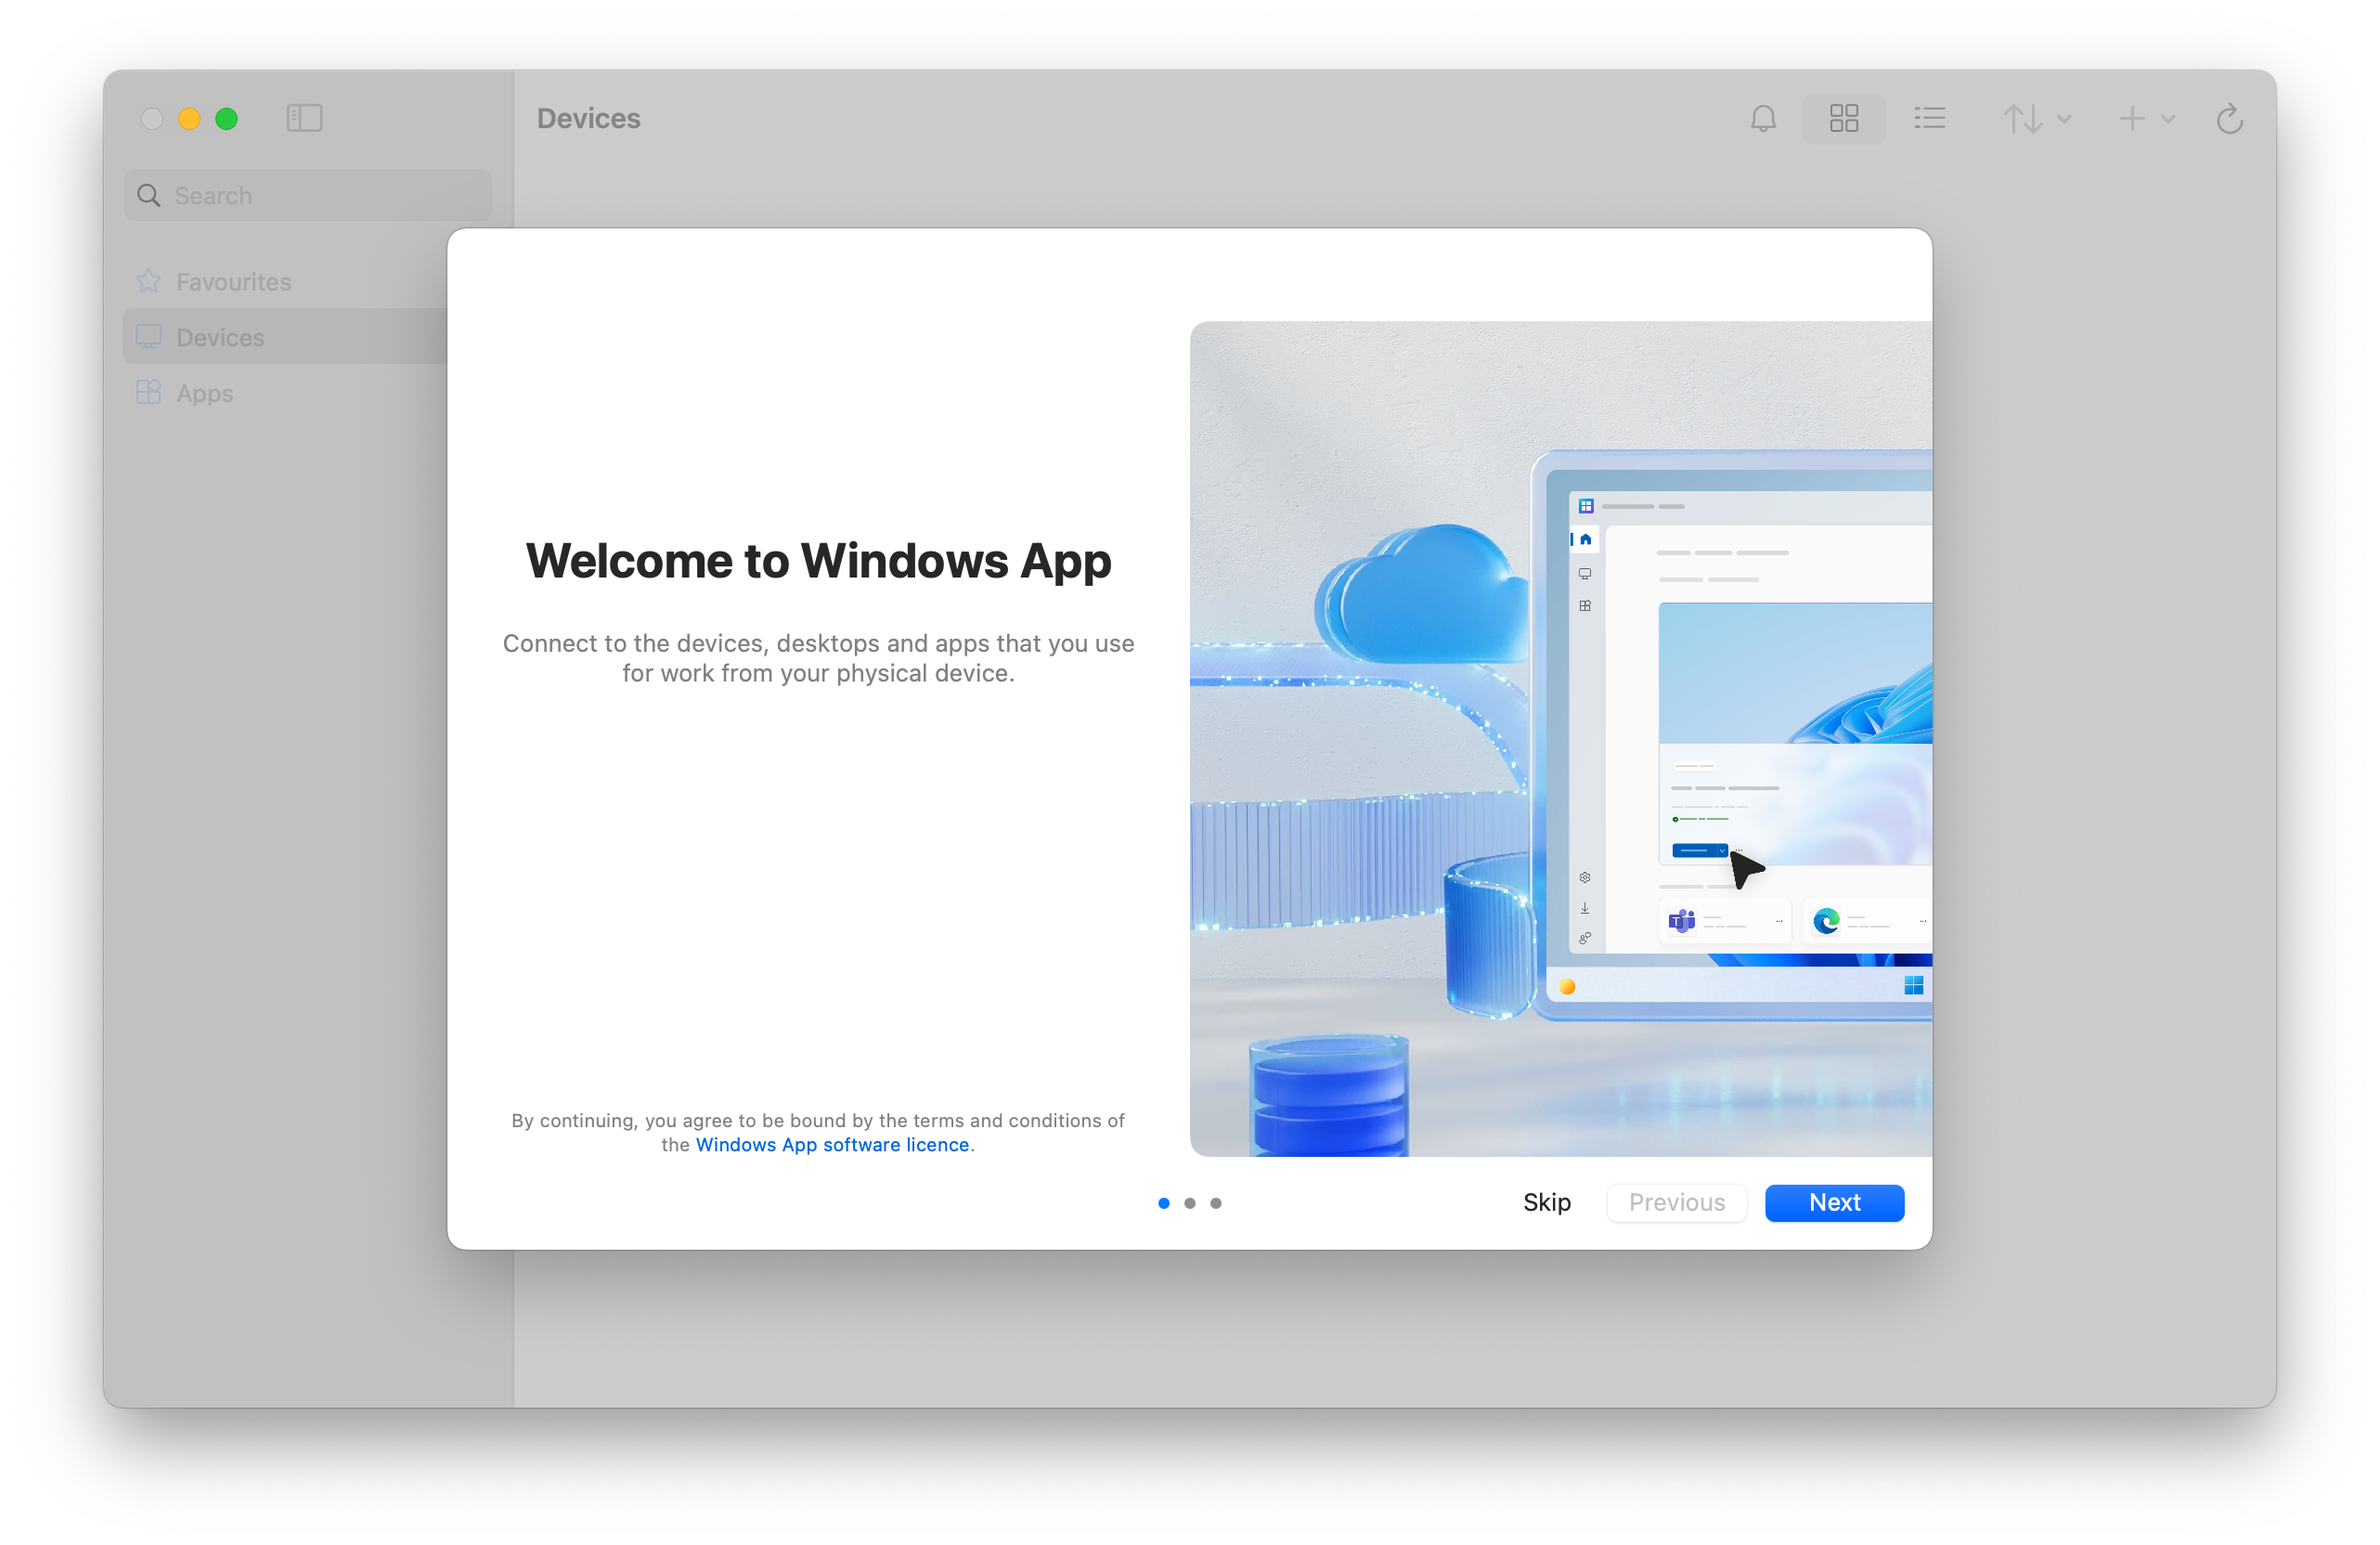
- If it's your first time using Windows App, navigate through the tour to learn more about Windows App, then select Done, or select Skip.
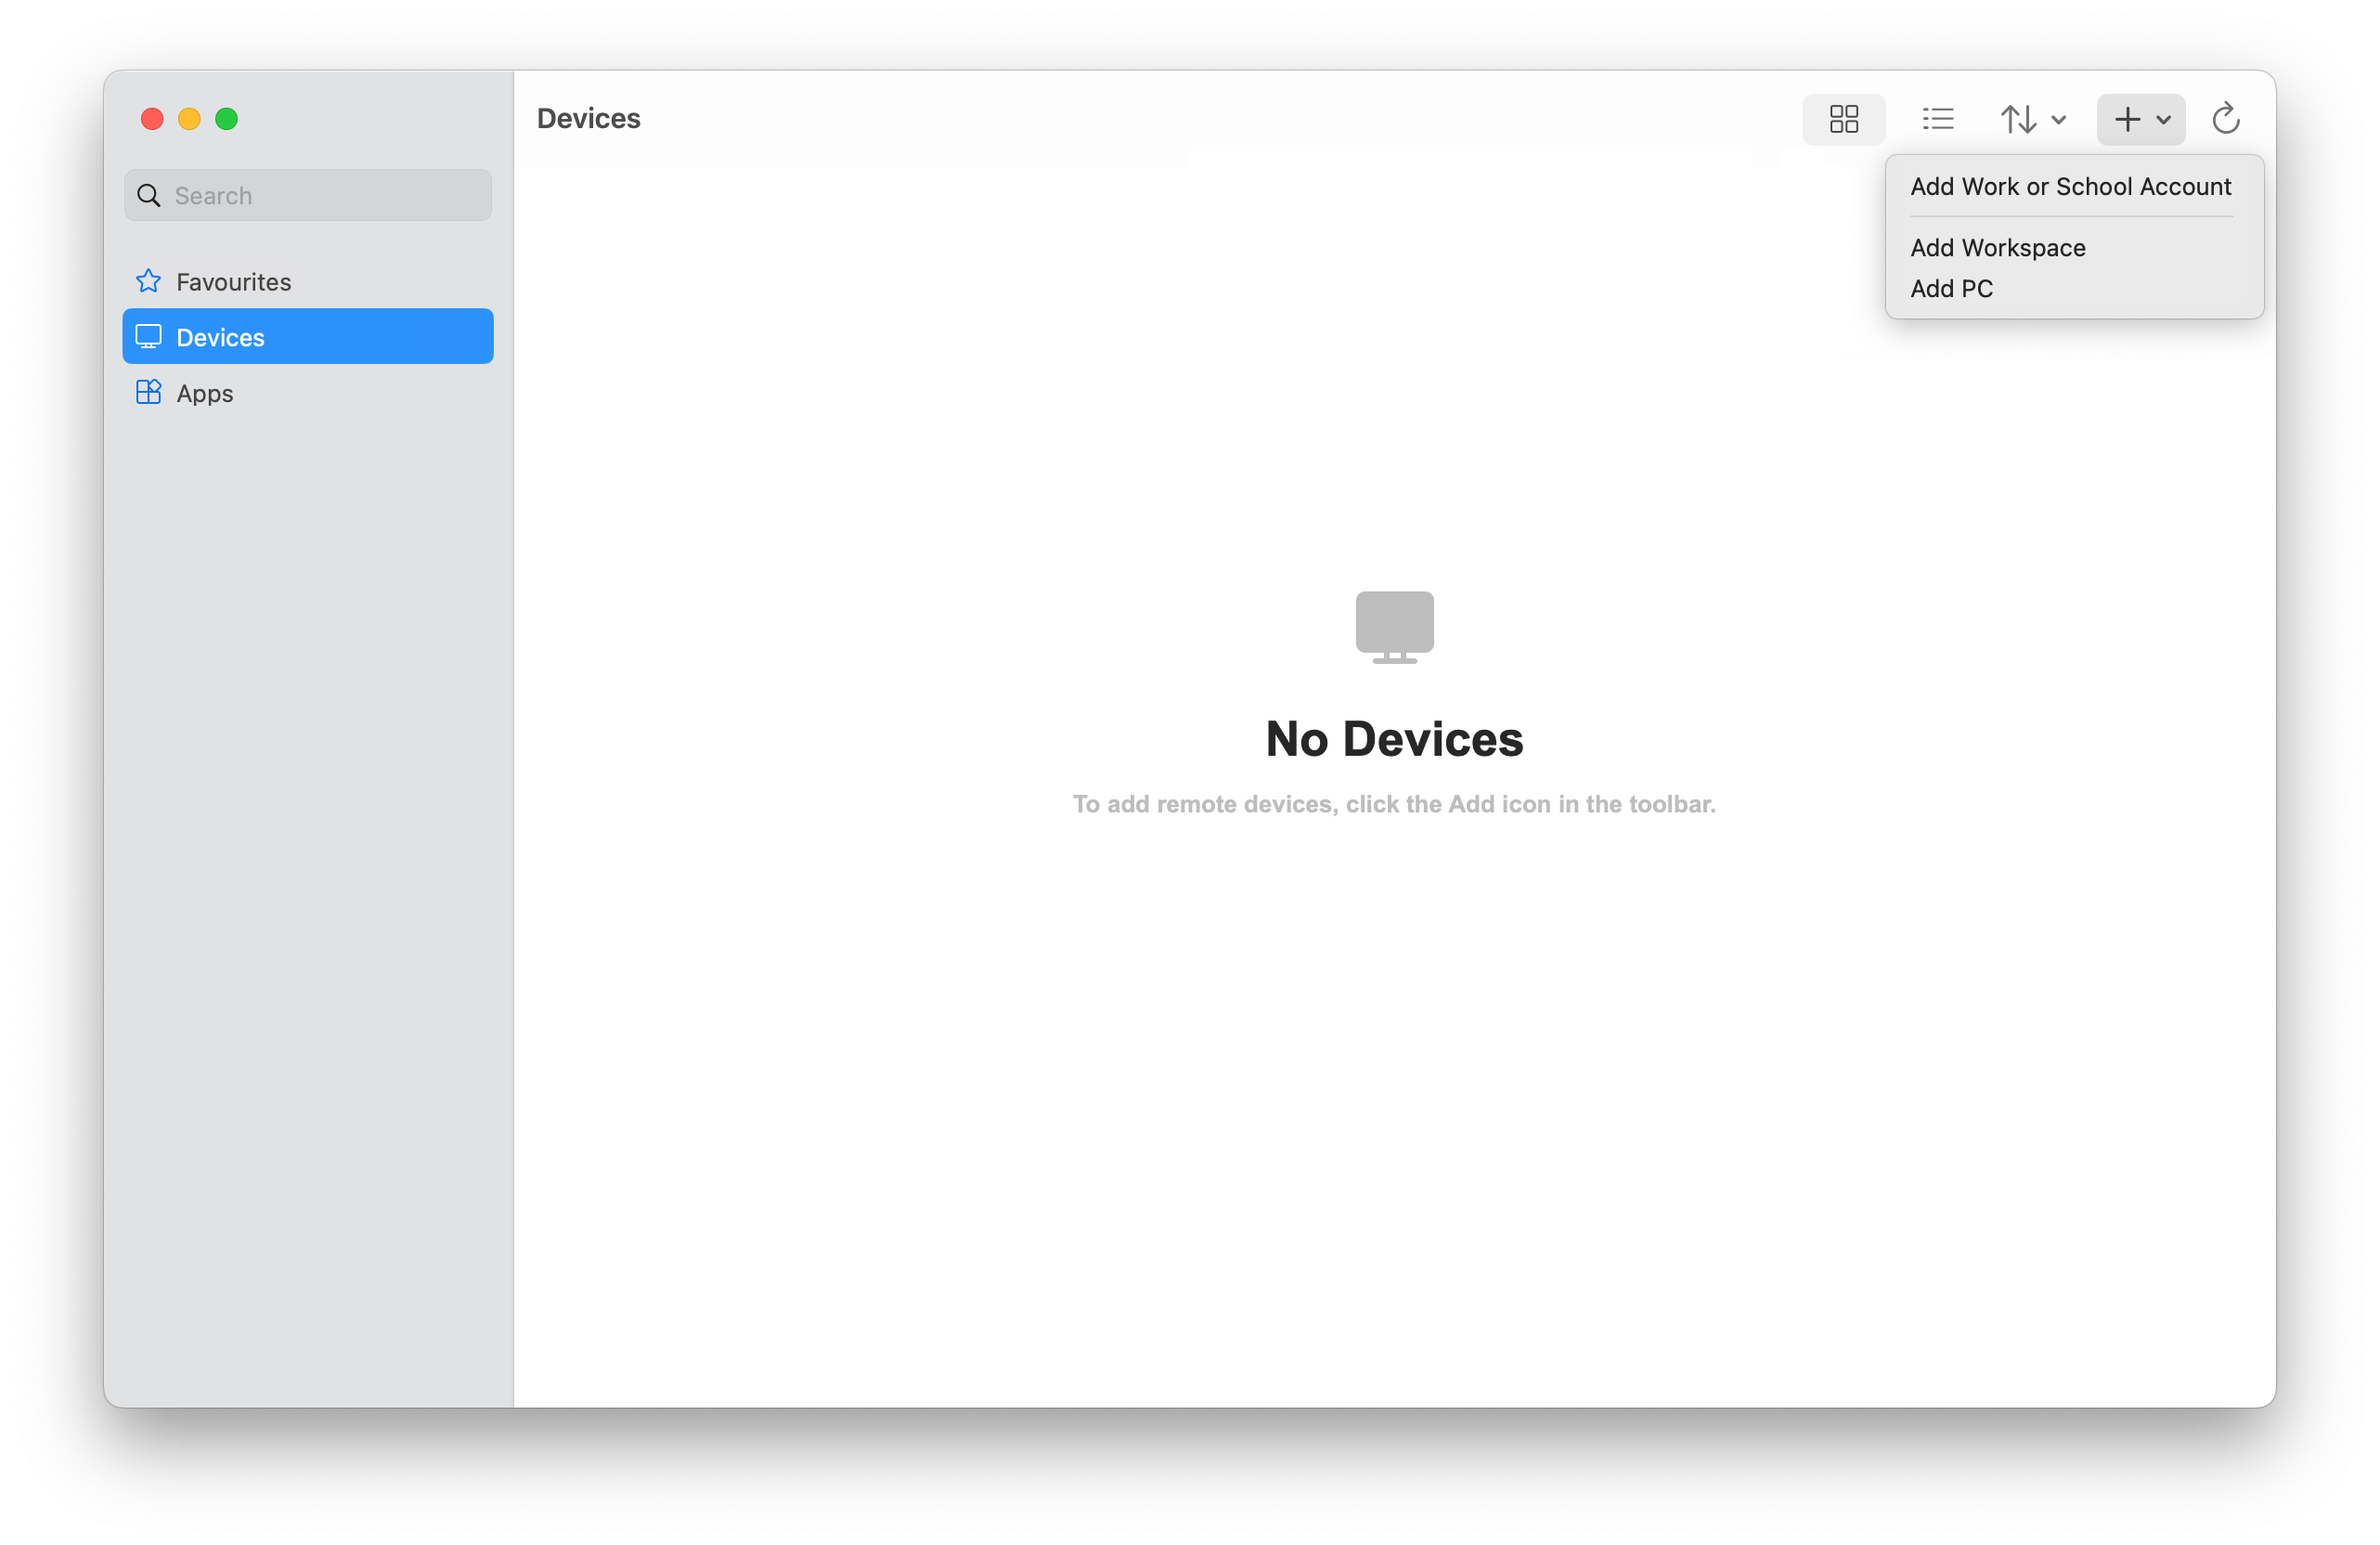
- Windows App opens on the Devices tab. Select the plus (+) icon, then select Add Workspace.
- Some clients have reported issues with the Devices tab, if you return 0x204 errors, please restart the process below starting from the Apps section.
- In the dialog box that appears, for PC Name, enter cloud.flexibake.com
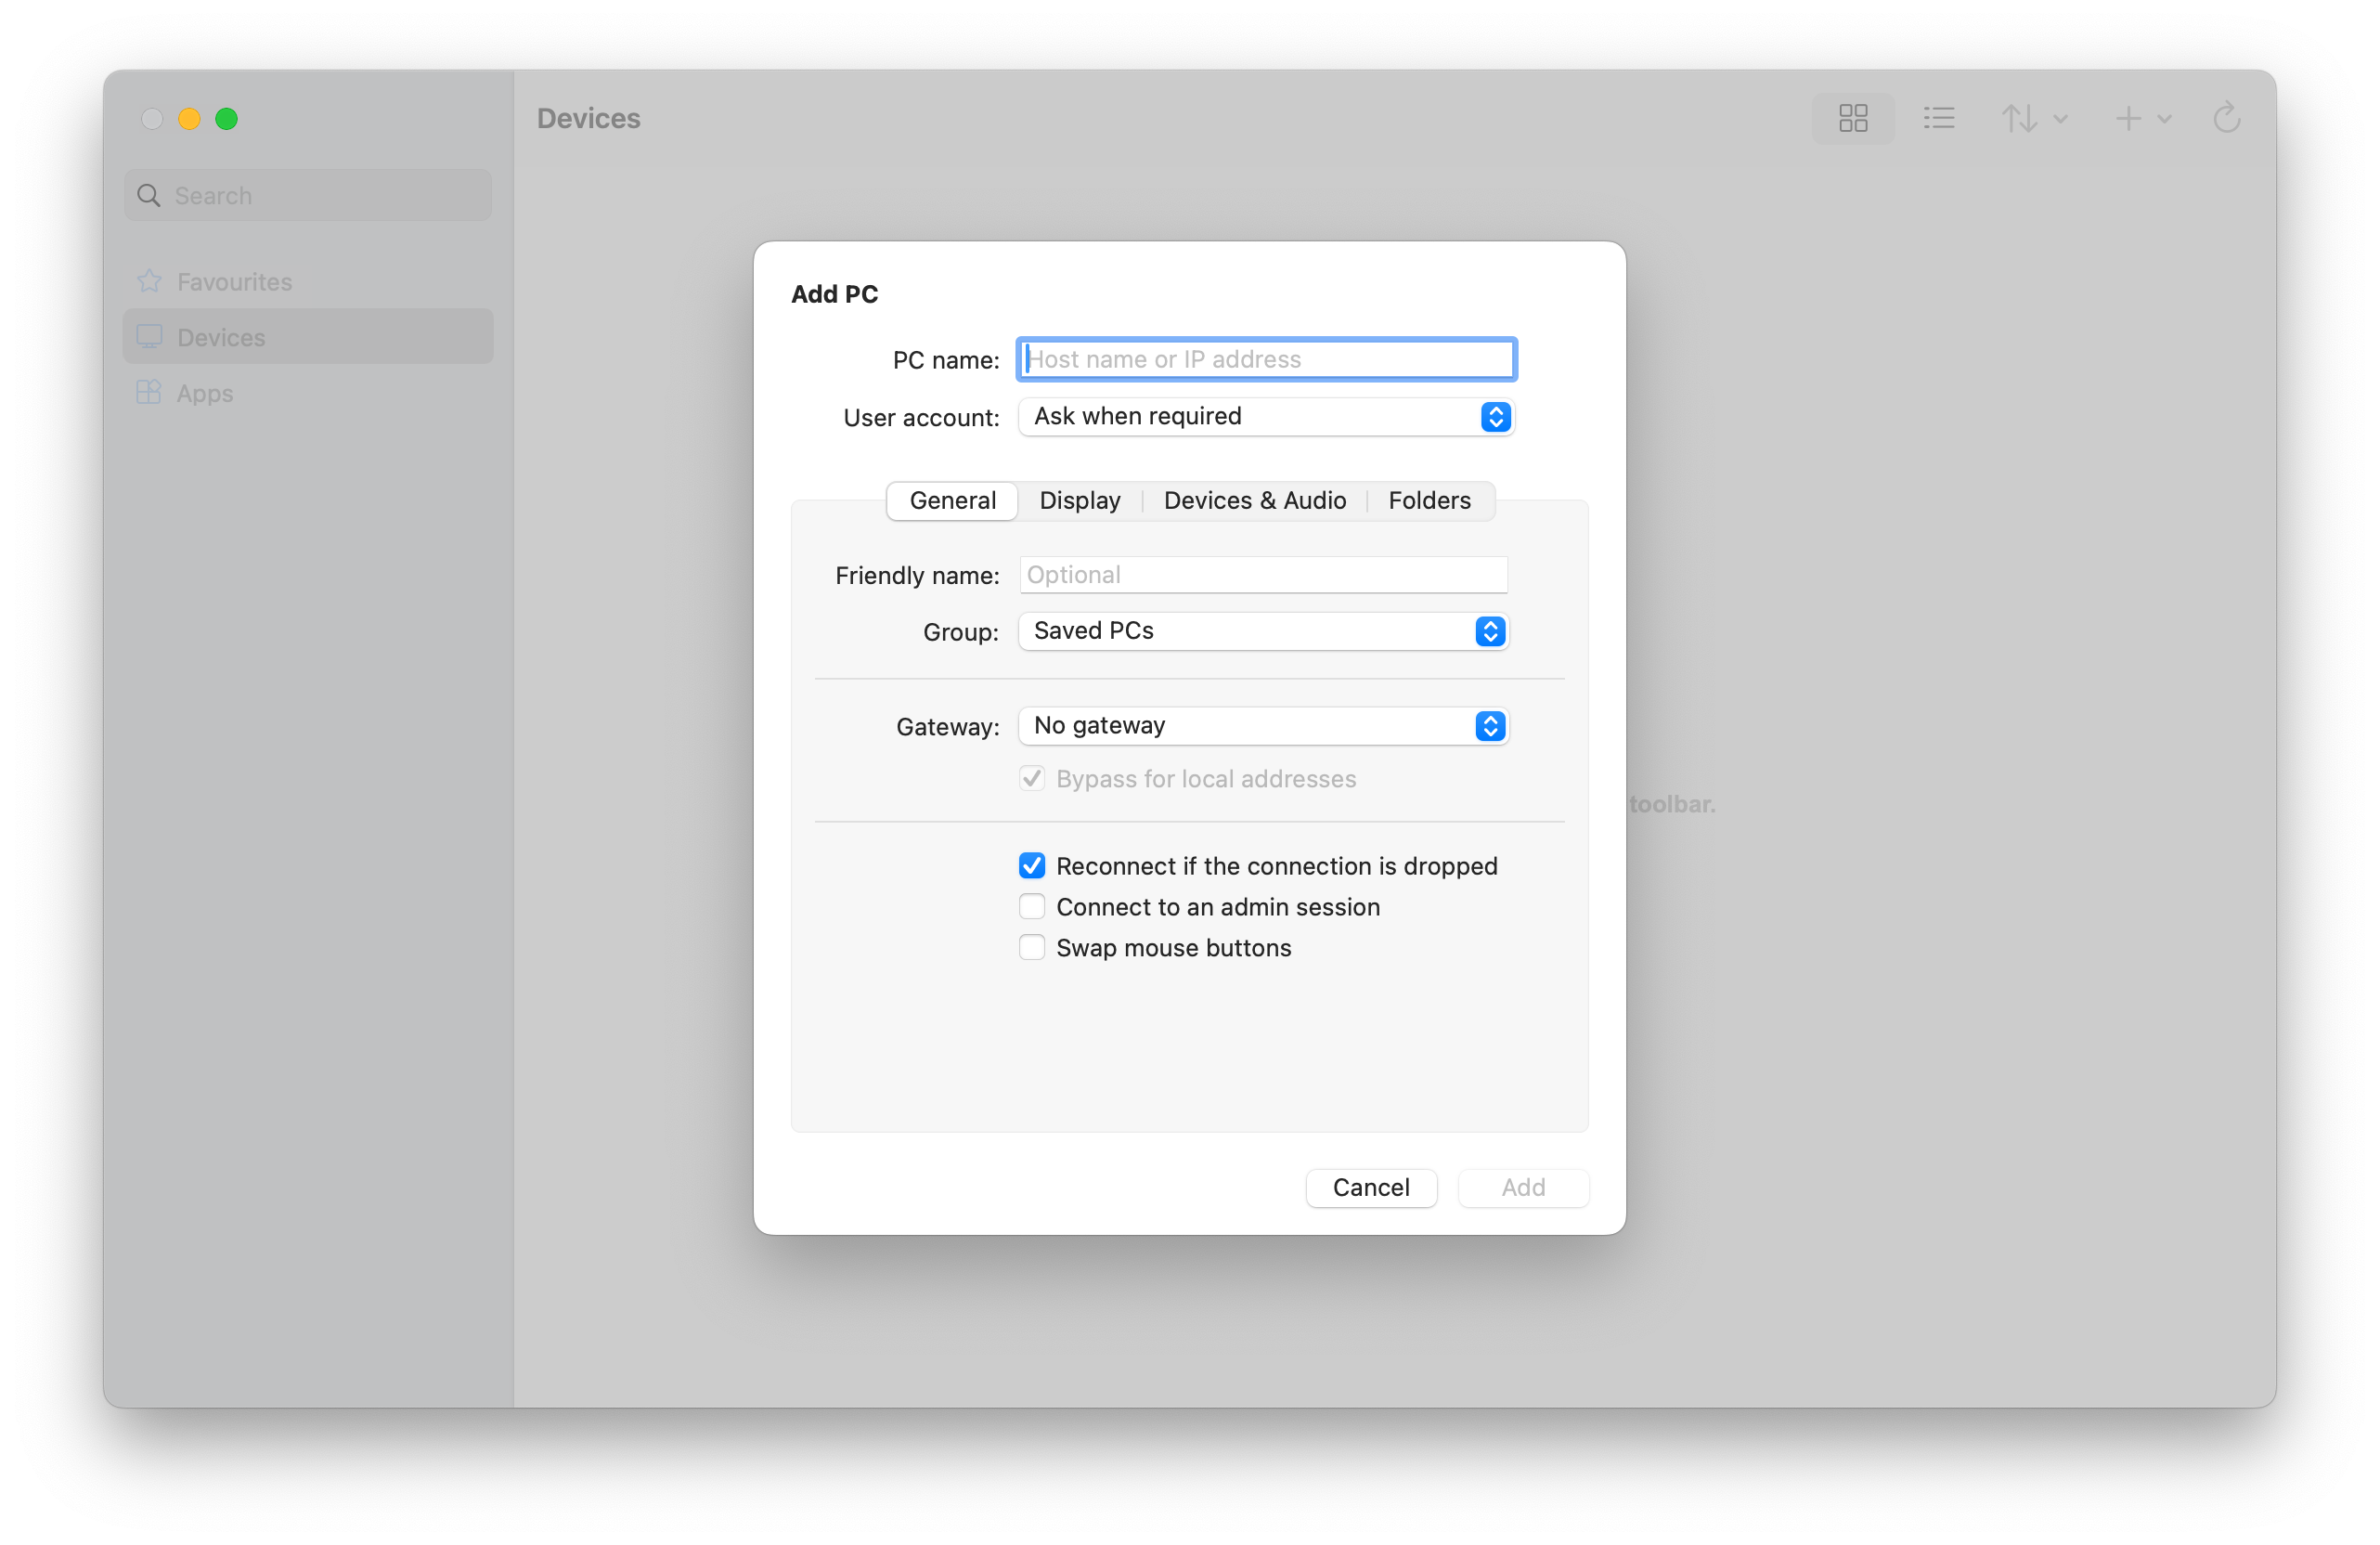
- Optional: you can make other changes, such as add a user account to connect with, provide a friendly name for the connection, configure display settings, and configure device and audio redirection. You can also configure these settings later. To learn more, see the links provided in Next steps.
- Select Add. Your remote PC is added to the Devices tab.
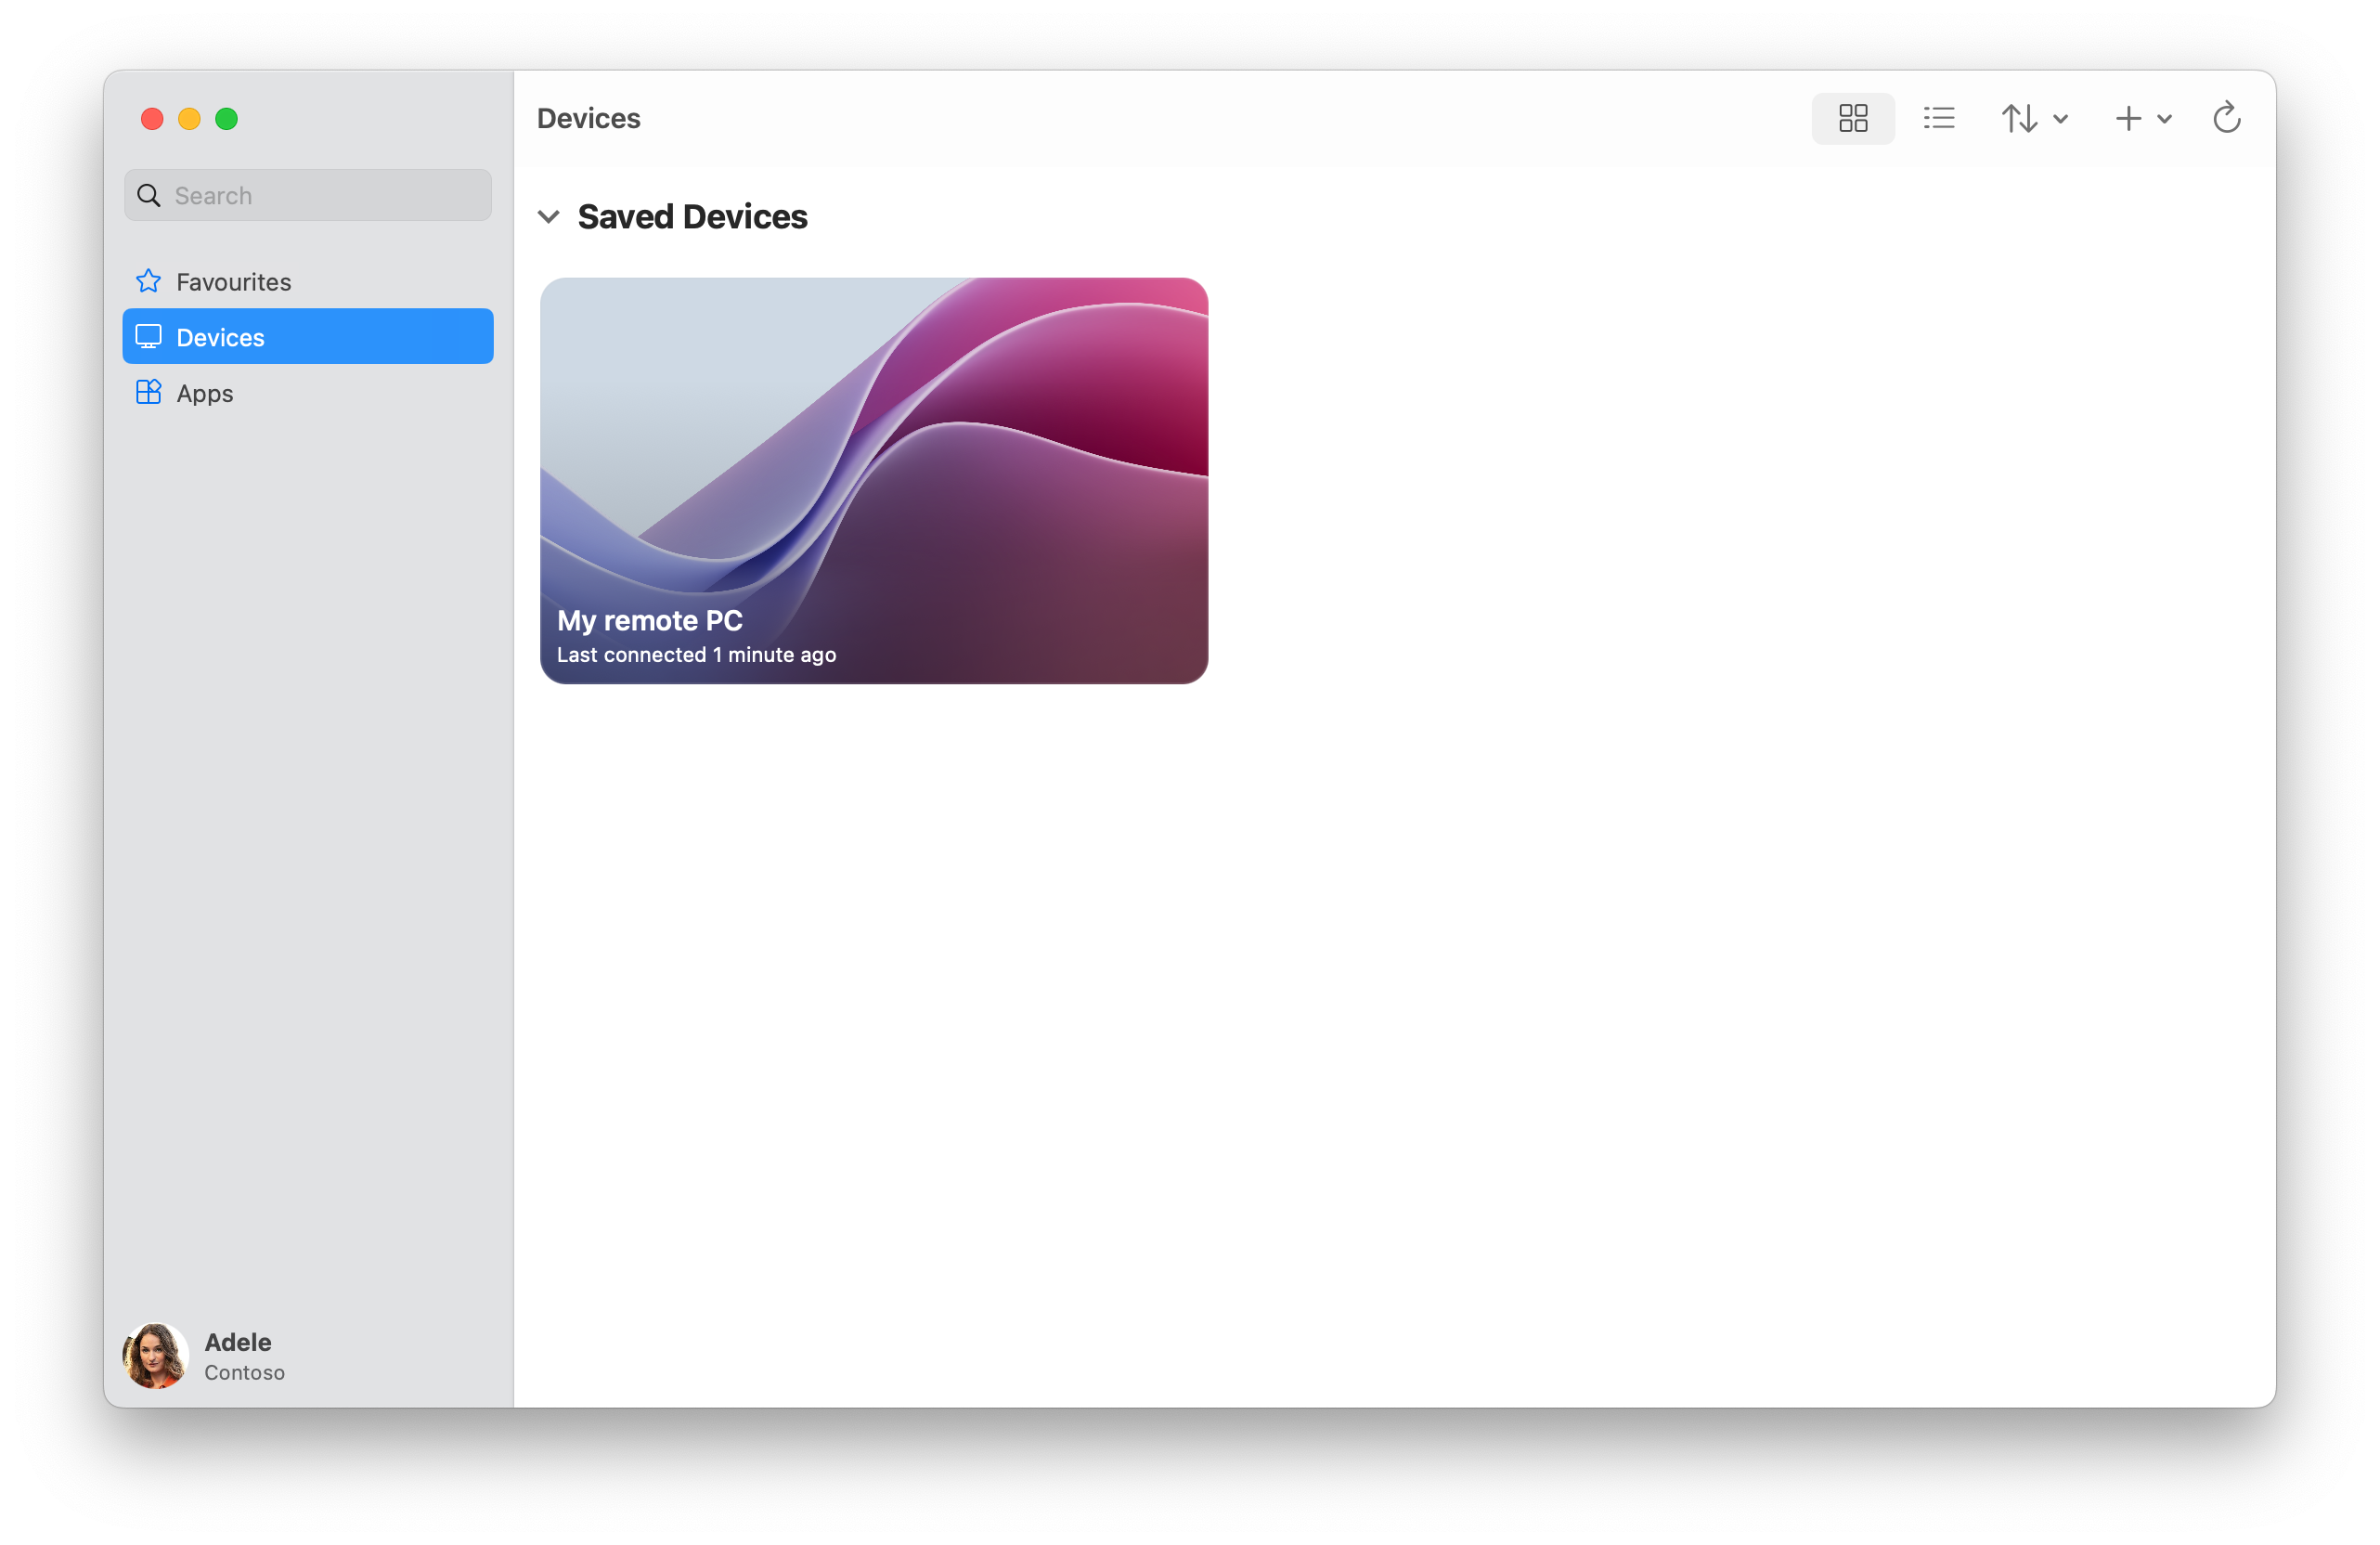
- On the Devices tab, double-click the remote PC to connect. If you didn't add a user account for this remote PC yet, you're prompted to enter a user account.
- Once the connection to your remote PC is complete, you're ready to start using it.
How to Sign In:
- You will always use the Windows App to access your hosted session.
- Once you have set up access by completing the above steps, you can simply launch the Windows App and select your resource from the Remote Resources list for future logins.
- You will still need to use cloud.flexibake.com to change your password and authenticate with MFA each month.