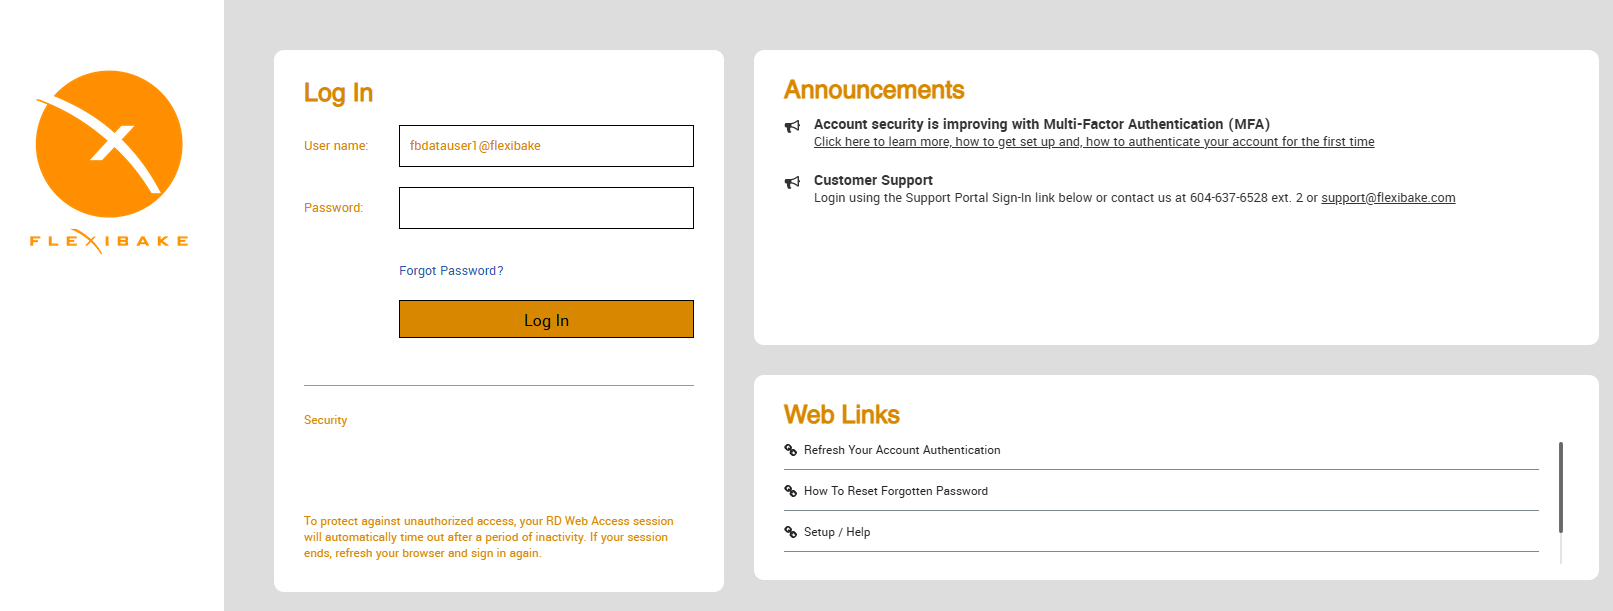
To get started, you'll want to open a web browser and type in cloud.flexibake.com to the URL bar.
- Log into cloud.flexibake.com with your FlexiBake Cloud credentials.
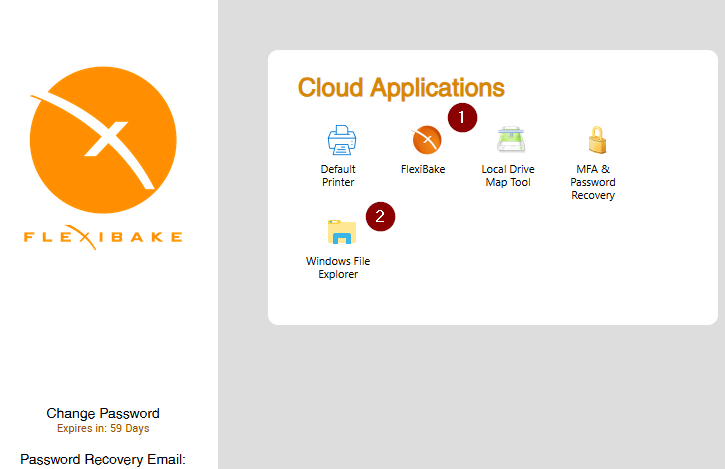
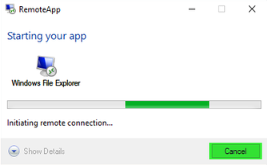
- Download the FlexiBake and File Explorer apps - These may try to open, for now press Cancel to stop the login process.
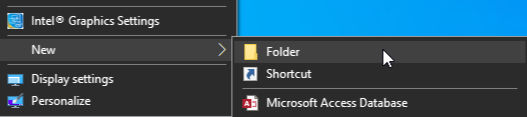
- Create a folder on your desktop and name it something FlexiBake related.
- Navigate to your downloads folder, select the Connection Apps and Right-Click + Cut.

- Paste these in your newly created FlexiBake folder for ease of access!

- With both files placed in the FlexiBake folder, you can rename them - This will help to track between the FlexiBake App, and the connected Windows File Explorer.

- Once you’re happy with the names, you can double click the FlexiBake Connection App and enter your credentials to connect to the RemoteApp!
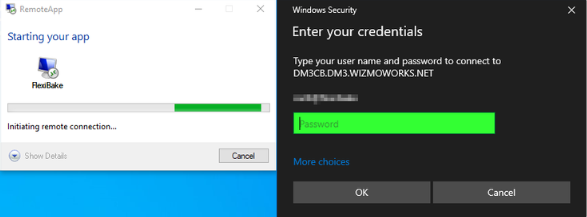
If your username does not appear, press More Choices and select Use a Different Account to enter your own.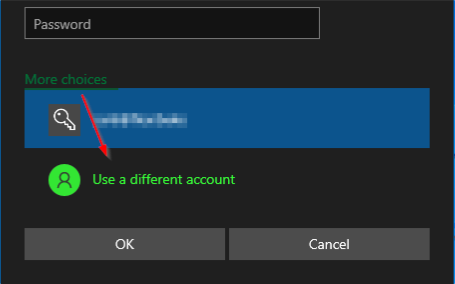
- The companion app File Explorer can be used to open the Private (P:) drive for your cloud seat and the Company Shared (S:) drive for your organization. This allows you to transfer files onto the Company drive - such as logos, or product pictures - or act as an intermediary location when you save reports or documents to your Desktop.
If you're new to the 2019 server and would like to save files directly to your desktop, please see our companion article Set a Shared Location with the Local Drive Map Tool for PC.