Set up EDI Exporting
If you're working with or planning to export information through EDI for your customers (in this example for Foodbuy), they may require you to send invoices and credit notes using EDI. FlexiBake can import and export documents through Delimited Files, but you'll first need to create a template to ensure that the data transfer connects.
You can tell FlexiBake how to write delimited files to a specific format outlined by your provider by creating an EDI template. Because many companies use different formats, it's a good idea to create this based on each companies direct specifications.
Follow these steps to set up an EDI template, these are the basic fields required for a regular transmission and will change depending on provider:
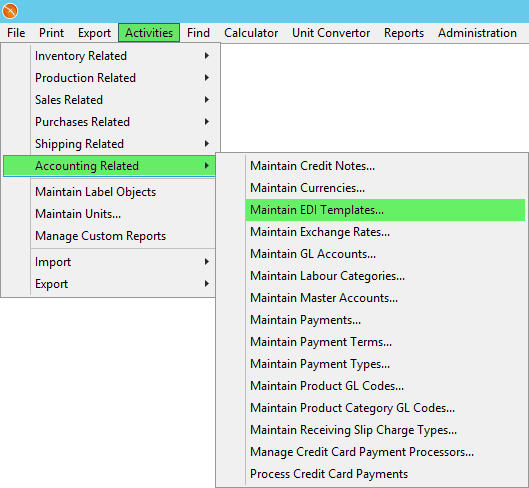
- In the Menu Bar, click on Activities. Go to Accounting Related, then select Maintain EDI Templates.
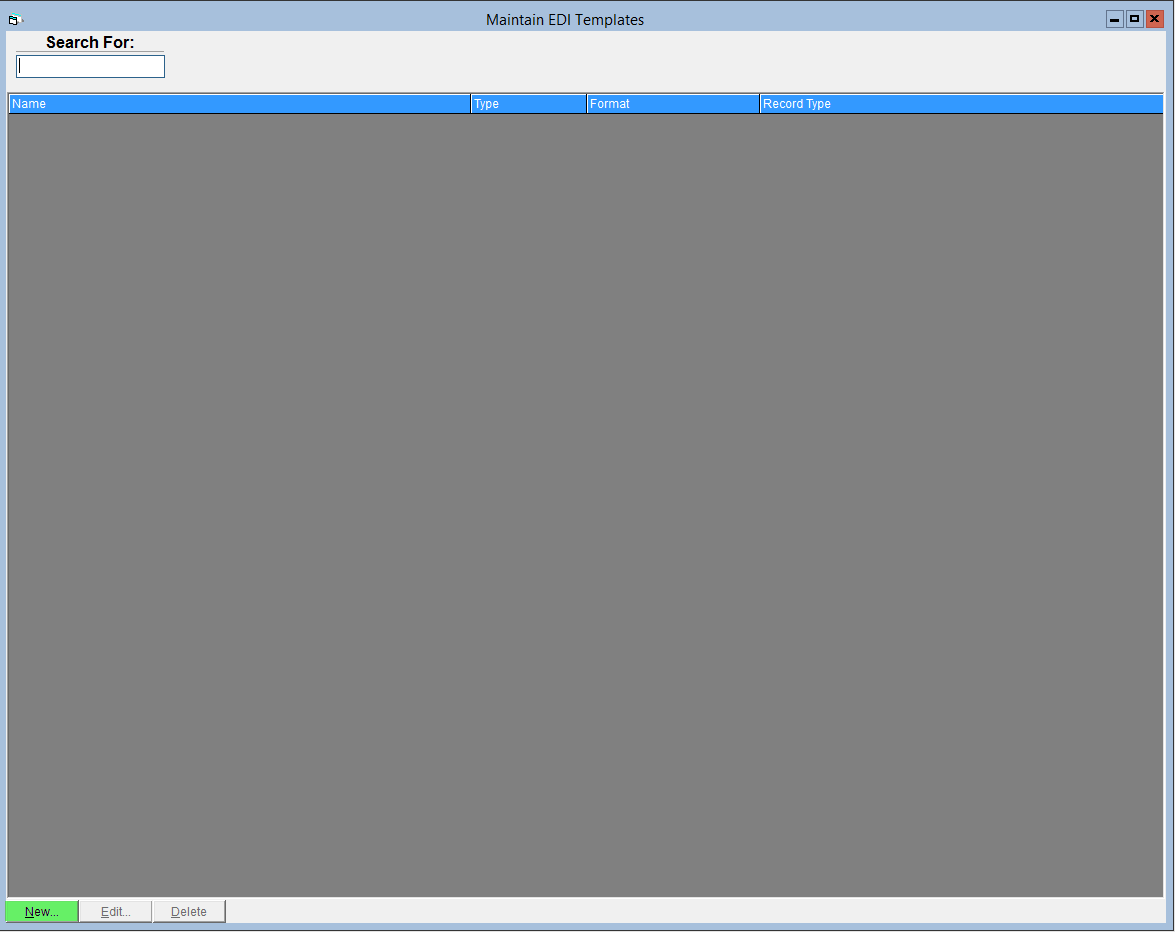
- In the bottom left corner, click on New.
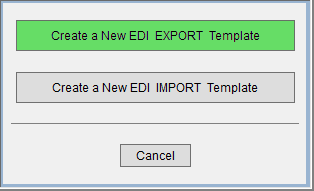
- Select Create a New EDI EXPORT Template.
- Enter a name for the template into the Template Name field.
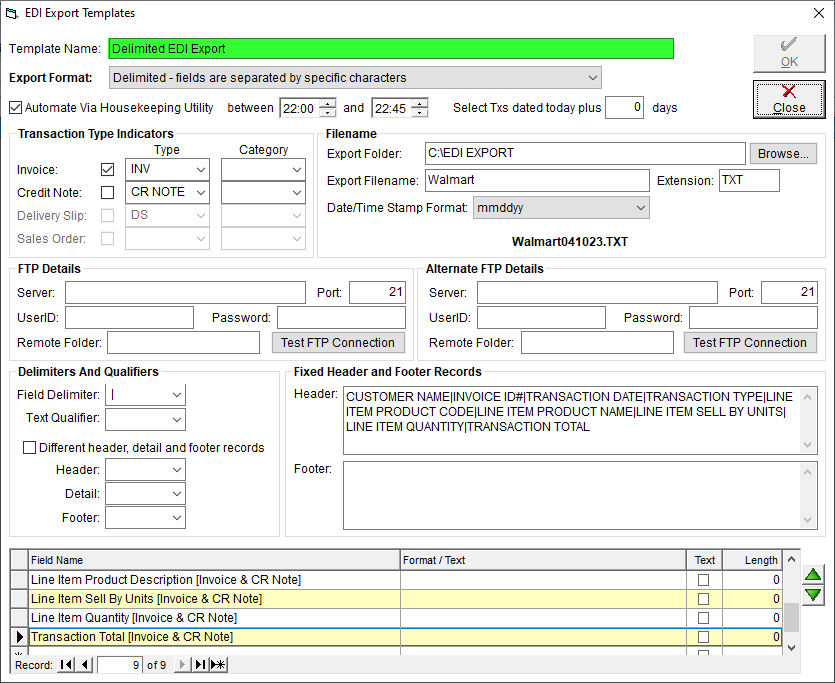
- Enter in the following information:
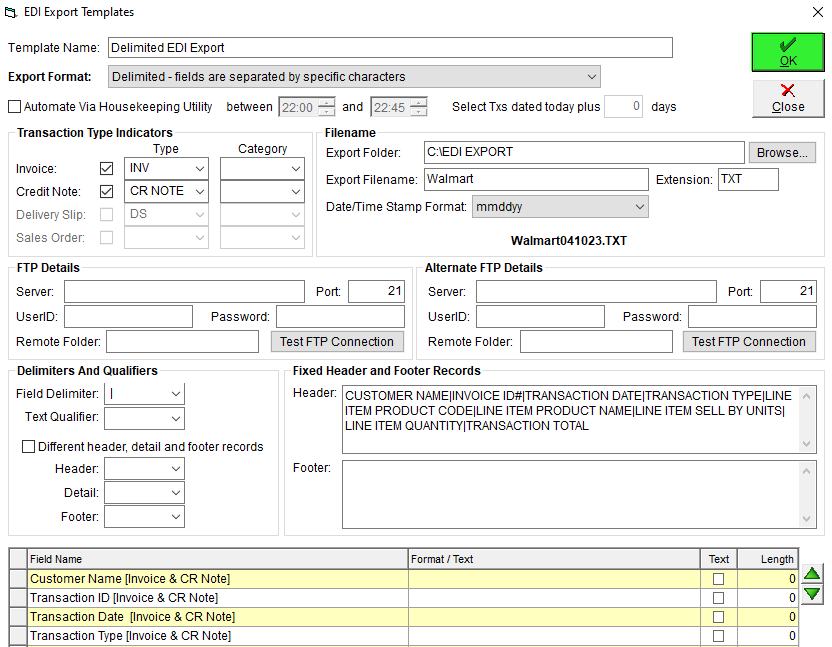
- Export Format - select "Delimited - fields are separated by specific characters" from the drop-down.
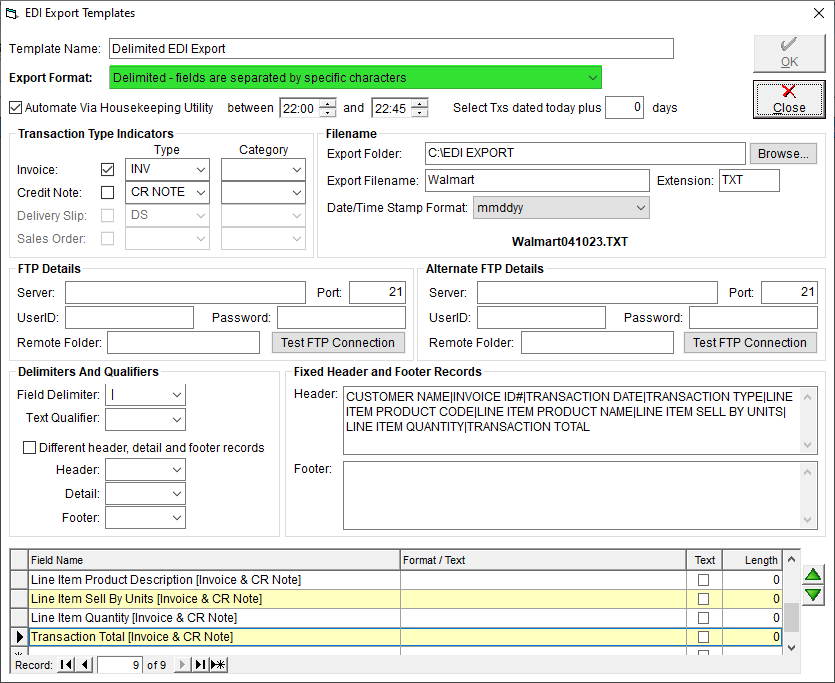
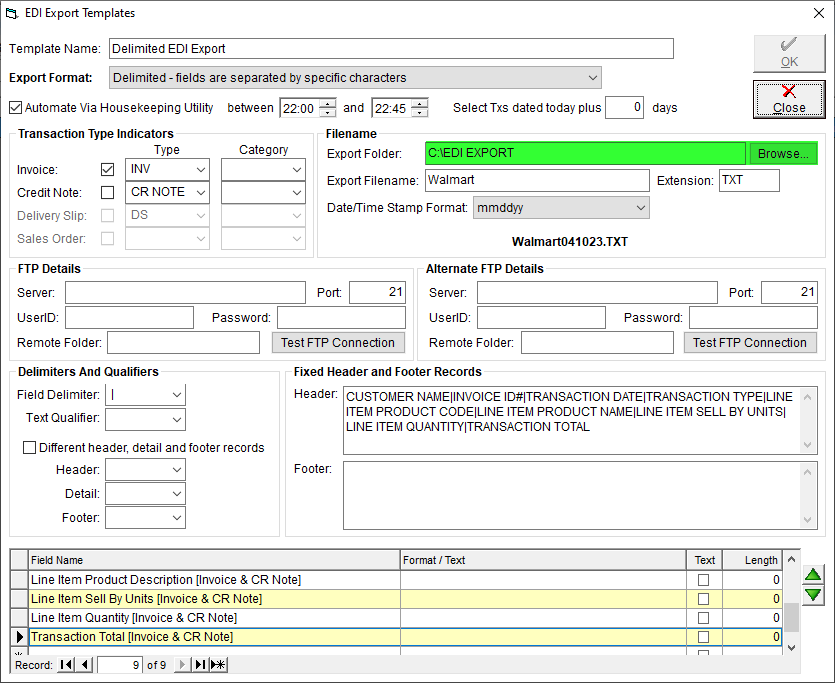
- Export Folder - Use the Browse button to select the folder where your export files will be stored. If you're on the cloud, check out our tutorials Transfer Files To/From Cloud on PC or Transfer Files To/From Cloud on Mac OS for instructions on setting up a folder that is accessible on both your computer and the cloud.
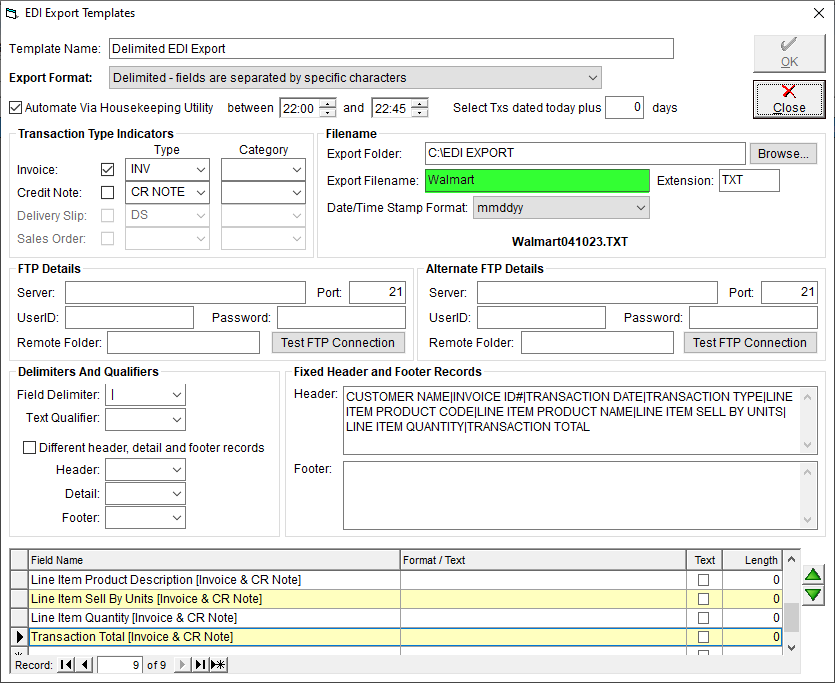
- Export Filename - Enter the name that your exported file will have. Please check with your Provider contact to see if there are specific filename requirements.
- Extension - Ensure this field reads "TXT" or "CSV", CSV require Commas to be removed from all data.
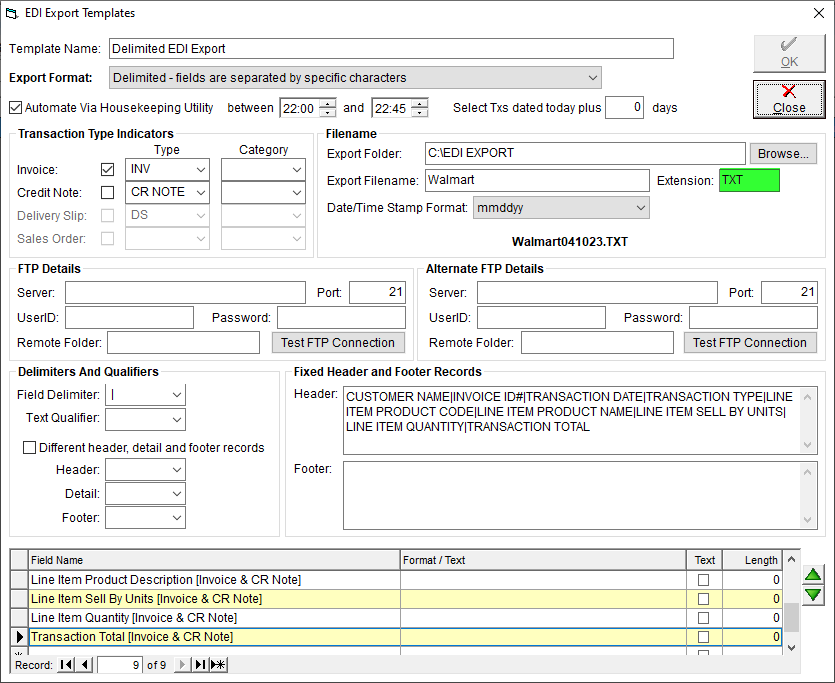
- Date/Time Stamp Format (optional) - if you're doing a large number of EDI exports, you can have FlexiBake add the date or the date and time of the export into the filename for easier organization. Select your preferred format from the drop-down.
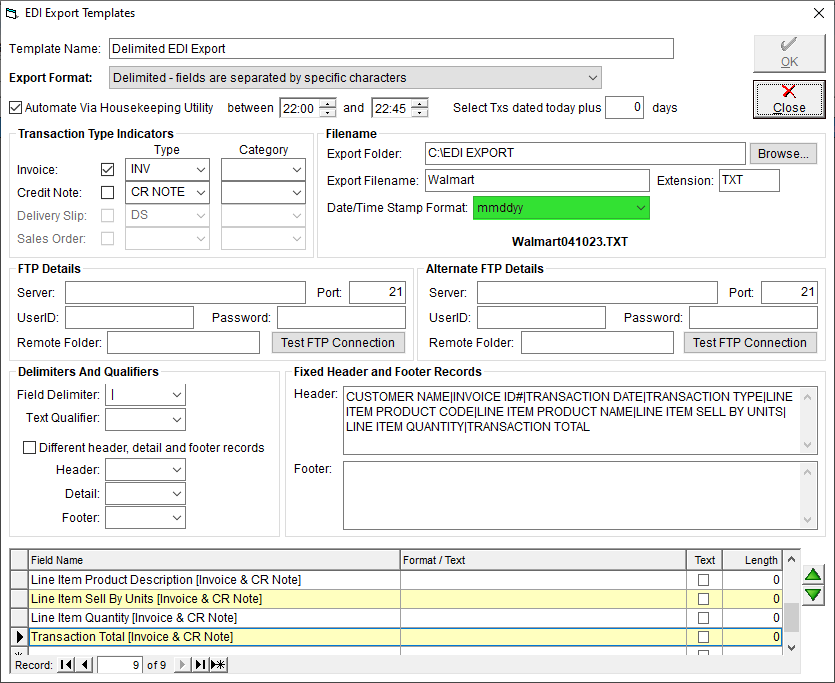
- Before continuing, please check the filename preview to make sure it's what you're looking for.
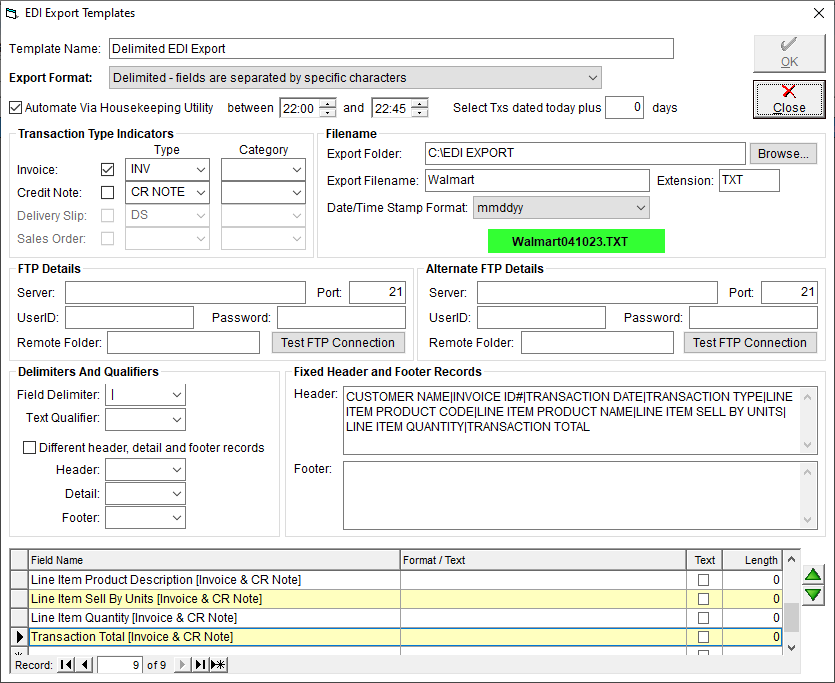
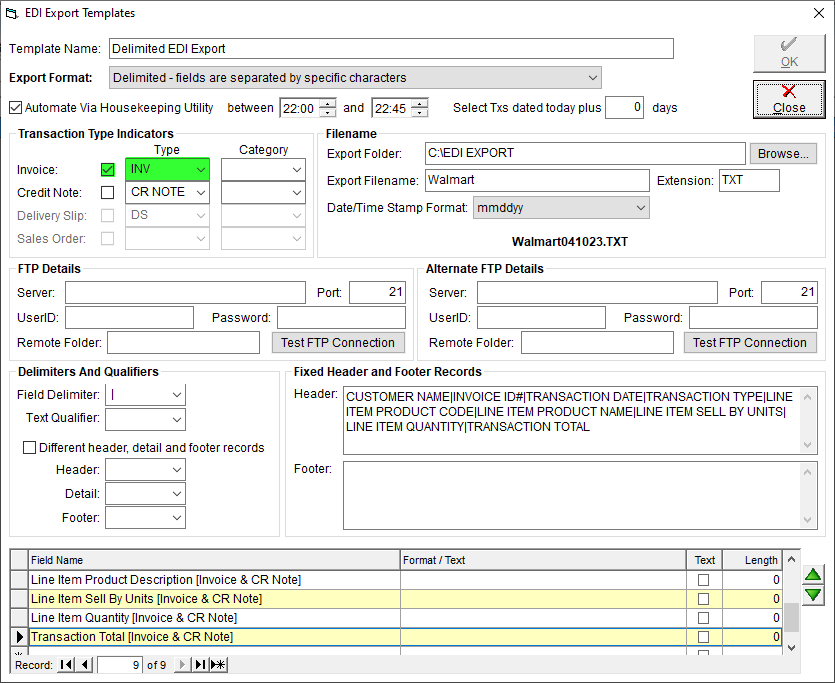
- Transaction Types and Indicators - Ensure that the Invoice box is checked, and "INV" selected from the Type drop-down.
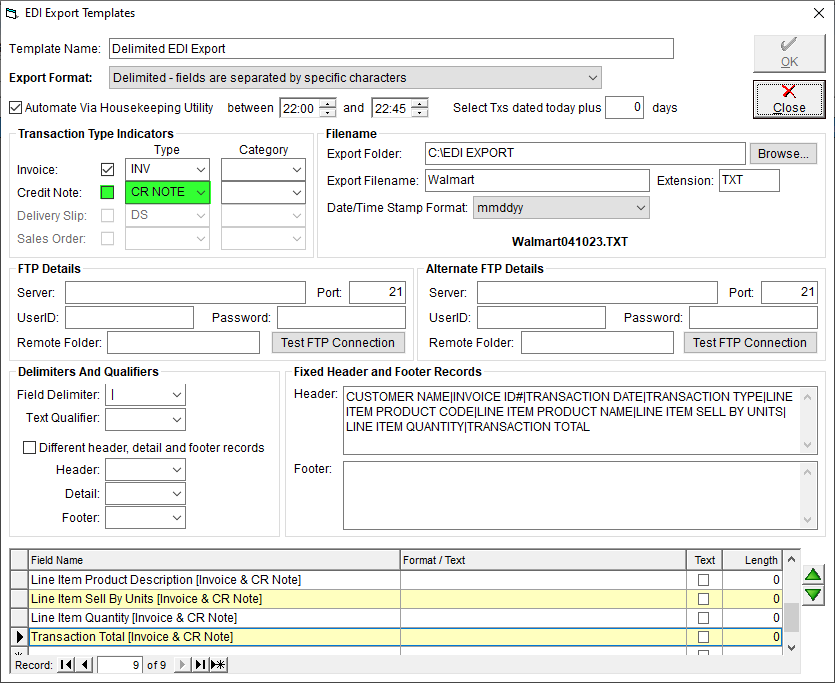
- If you would also like to include credit notes, ensure that the Credit Note box is checked, and "CR NOTE" selected from the Type drop-down.
- Delimiters and Qualifiers - Please select "Pipe (|)" from the Field Delimiter drop-down.
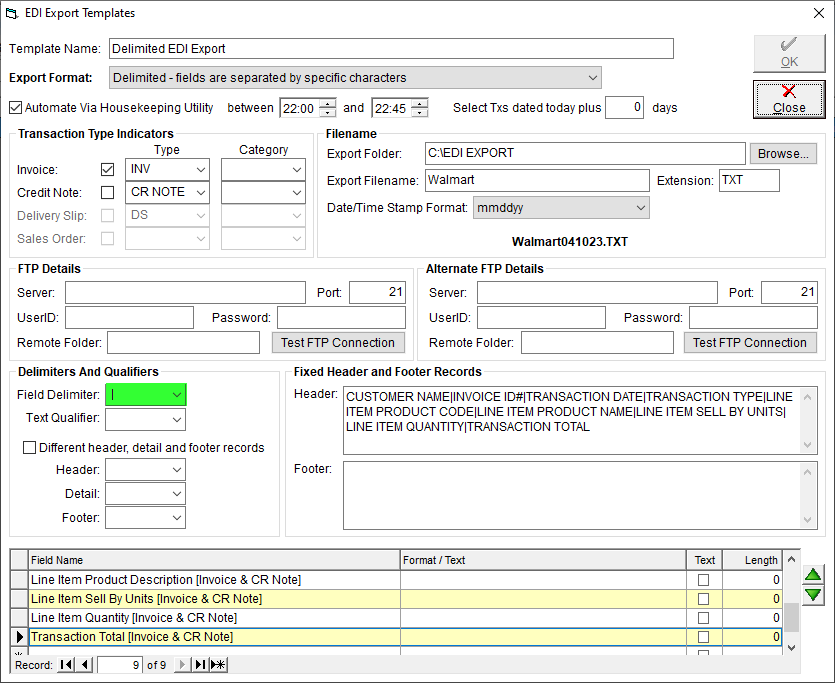
- Click OK to save the record, close and re-open it before moving on.
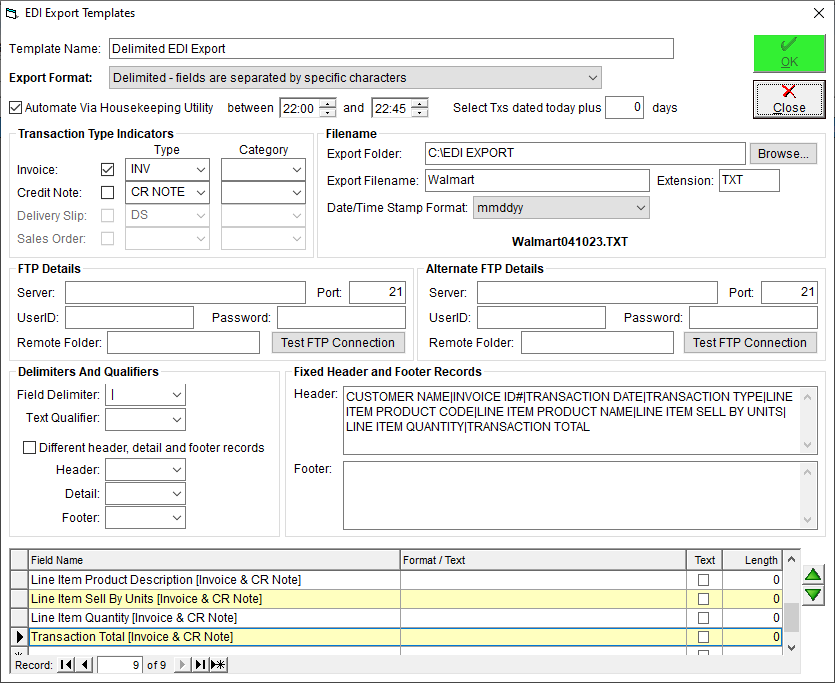
- Header - These are optional and used to create Column Headers in the exported file, these are not required but you may copy the following basic headers and paste them into the Header field, or see the attached .TXT file at the bottom of this article and create your own.
CUSTOMER NAME|INVOICE ID#|TRANSACTION DATE|TRANSACTION TYPE|LINE ITEM PRODUCT CODE|LINE ITEM PRODUCT NAME|LINE ITEM SELL BY UNITS|LINE ITEM|QUANTITY|TRANSACTION TOTAL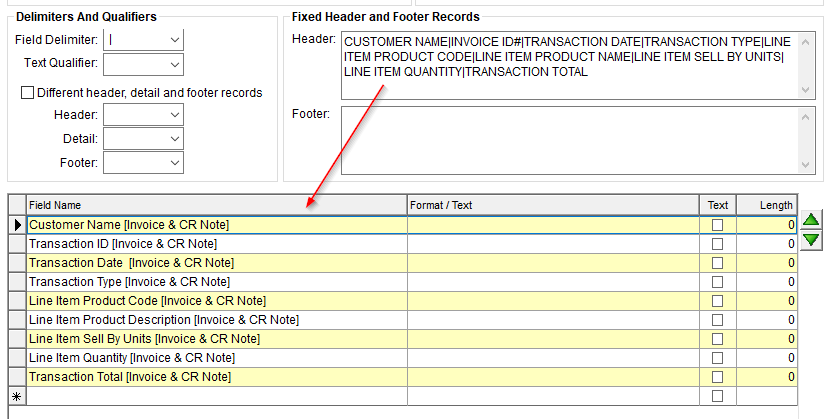
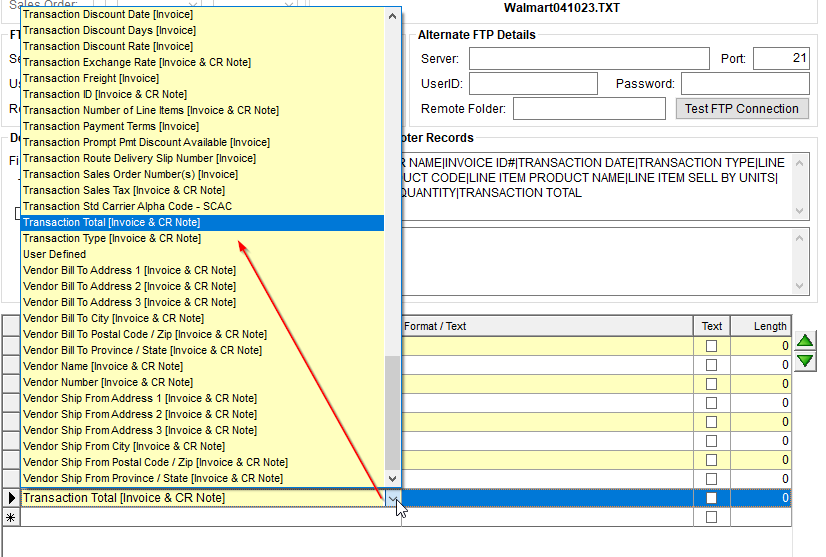
- Field Names - Click once on the top line to reveal the drop-down arrow, then, click the arrow to open the drop-down. Click to select a field. A list of all available fields is available in the second row of the attached file, Available Fields.xlsx. When using Headers, your Field Names should correlate.
- Headers act as the Column Headers for the defined Filed Names on the exported delimited document, these are not required but can assist when creating, or troubleshooting delimited Export Files.
Color Coded Example with Headers.
- Export Format - select "Delimited - fields are separated by specific characters" from the drop-down.
- Double check that the information you have entered matches the above, then click OK to save your template.
The template has now been created and is ready for use, see our article Assign an EDI Template to a Customer, or Export with EDI for next steps!
- HEADERS w EXAMPLE.txt
851 Bytes Download
- Available Fields.xlsx
10 KB Download