465Did you know that you can connect FlexiBake to your email provider so that you can send emails directly out of the program? No need to download reports and manually attach them! You can even save time, and paper, bulk emailing out your invoices and statements.
This guide will take you through the steps to configure your email so you can send documents quickly and securely from within FlexiBake.
Step 1
In the upper menu bar, click on Administration then select FlexiBake Preferences.

Step 2
Click on the General tab.

Step 3
Click the Email Preferences button at the bottom.

Step 4
Fill in your SMTP settings, including the SMTP Server Address, Port, and enable or disable SSL as appropriate.

You can select your Email Provider to autofill the most common settings for that provider.

Here are some links to common provider security settings, but these may vary depending on your organization's setup.
| Provider | SMTP Server (Hostname) | Port(SSL/TLS) | Port (SMARTTLS) |
|
GMail |
smtp.gmail.com | 465 | 587 |
| Office 365 | smtp.office365.com | 587 | |
| Outlook | smtp-mail.outlook.com | 587 | |
| Yahoo | smtp.mail.yahoo.com | 465 | 587 |
| GoDaddy (Legacy | smtpout.secureserver.net | 465 | 587/80/3535 |
Step 5
Enter your Username and Password in the corresponding fields.
In general, the Username will be the email address you would like to use to power emailing in FlexiBake, but you can also enter a non-email username if you're using a service like SendGrid to send emails.

Step 6
You will also need to enter an email into the From Address. This email will be the one that appears as the sender email address on emails sent from FlexiBake. This can be the same as the email that was entered in the Username field, but does not have to be
Depending on your email provider/email settings, a different From Address may not be accepted, and the email address in the Username used instead. In this case, enter the same email in the From Address and the Username fields.
You can also set the following optional information:
- From Name - The name you would like to have appear as the sender
- Reply to Address - This optional field allows you to set a different email that will be used if the recipient replies to an email sent from FlexiBake. You may wish to use this if you're using a no-reply address and would like to direct any responses to your order desk.
- Reply to Name - The name that will be used for the Reply To.
- BCC Address - Any email addresses listed here will receive a copy of all emails sent from FlexiBake

Step 7
Click OK in the top right corner to save your settings.

Step 8
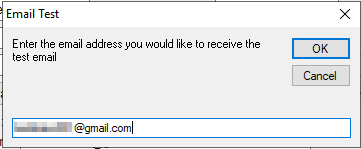
Click Test.

A prompt will appear to ask which email address you would like to send a test email to, enter one then click OK.
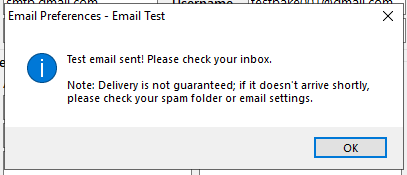
A message will let you know if the test has succeeded or failed. If you do not receive a success message, review the SMTP settings and password entered, or check your email provider’s security requirements and adjust accordingly.