Exporting accounting data from FlexiBake to Xero is a breeze, but it requires having your system set up first. This guide will take you through the steps needed to connect the two programs and get them talking to each other.
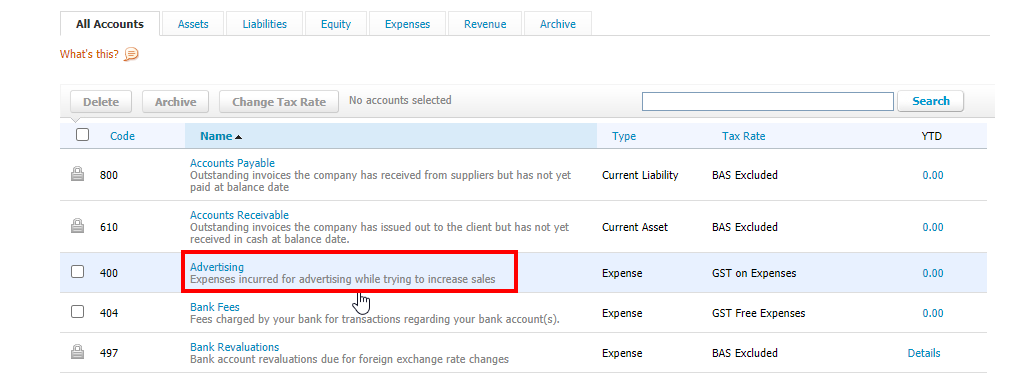
Verify GL Accounts Have Account Codes In Xero
FlexiBake requires that GL Accounts have unique Account Codes, so the first step in getting setup is to make sure that your accounts are set up. Please note that not all GL Accounts will need to be entered in FlexiBake; at minimum a Bank, an Accounts Receivable, an Income and and Expense account will be necessary!
To add or edit an account code in Xero:
- Log into Xero.
- In the Accounting drop-down, click on Chart of Accounts.

- Click on the account in the list to edit it.
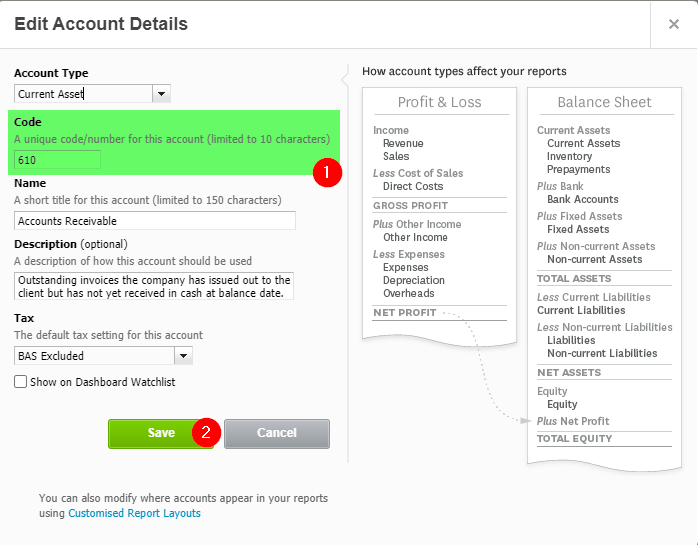
- This will open a pop-up. Enter an Account Code into the Code field then click Save to apply the change.
Set Xero As Default Accounting Software
To be able to export to Xero, we'll need to set FlexiBake to use Xero as the accounting software. Here's how you can do that:
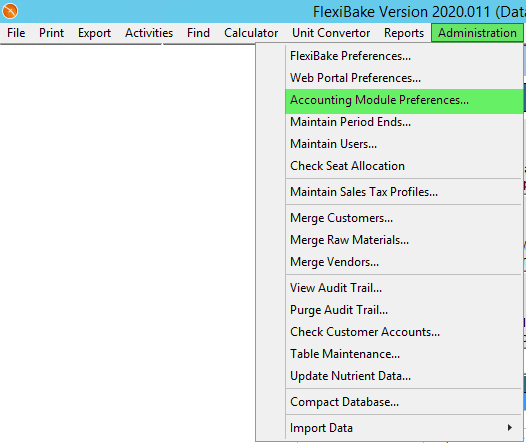
- In the Menu Bar, click Administration and then Accounting Module Preferences from the drop-down.
- In the top left corner, from the Accounting Software Used drop down, select Xero.
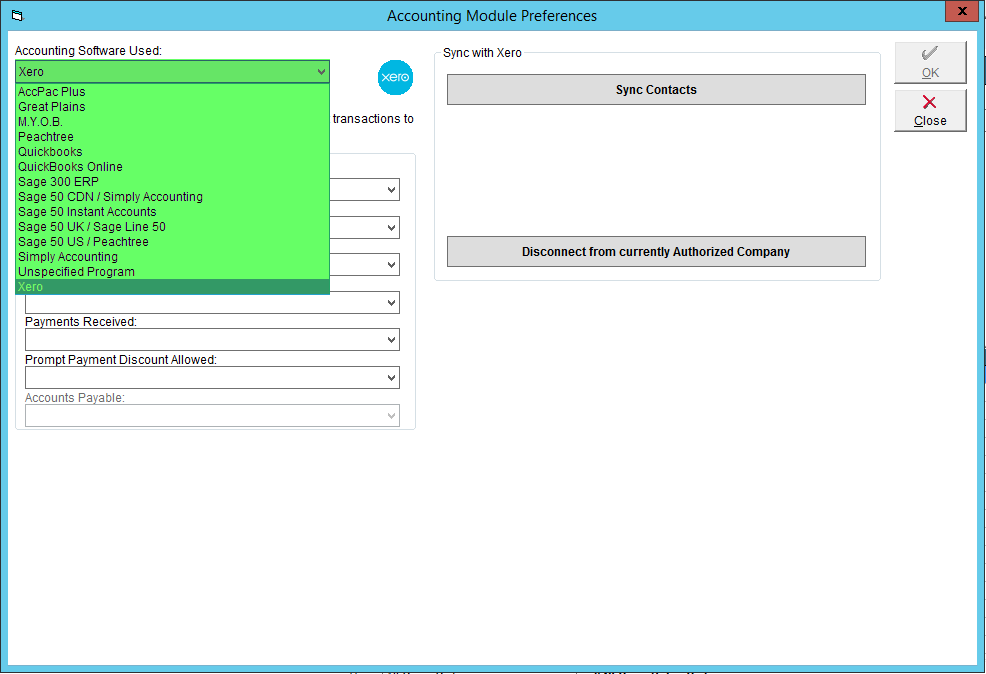
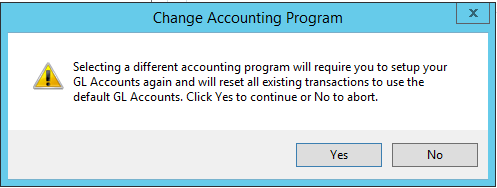
- Click OK to save. If you are changing from another accounting software, you'll receive a warning that GL account data will be cleared and will need to be redone, click Yes to proceed.
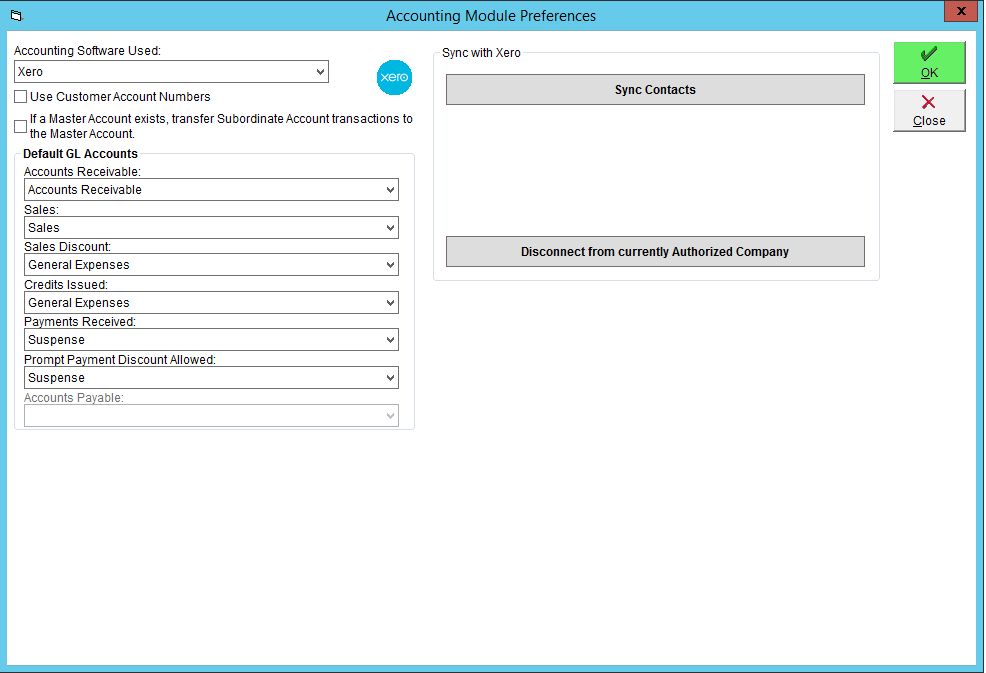
Authorize FlexiBake to Access Xero
- In the Menu Bar, click Administration and then Accounting Module Preferences from the drop-down.

- If you have been connected to another company in Xero, click the Disconnect from currently authorized company button.
- A pop-up will appear to warn that a new company must be authorized prior to the next sync, and confirm the you would like to proceed with the disconnect. Click OK to continue
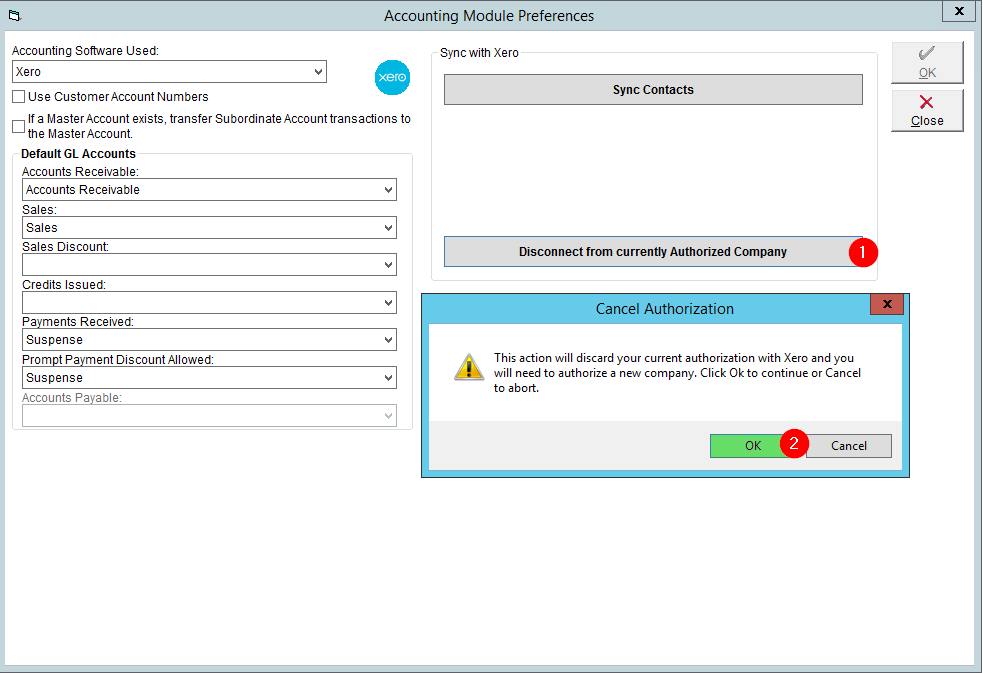
- A pop-up will appear to warn that a new company must be authorized prior to the next sync, and confirm the you would like to proceed with the disconnect. Click OK to continue
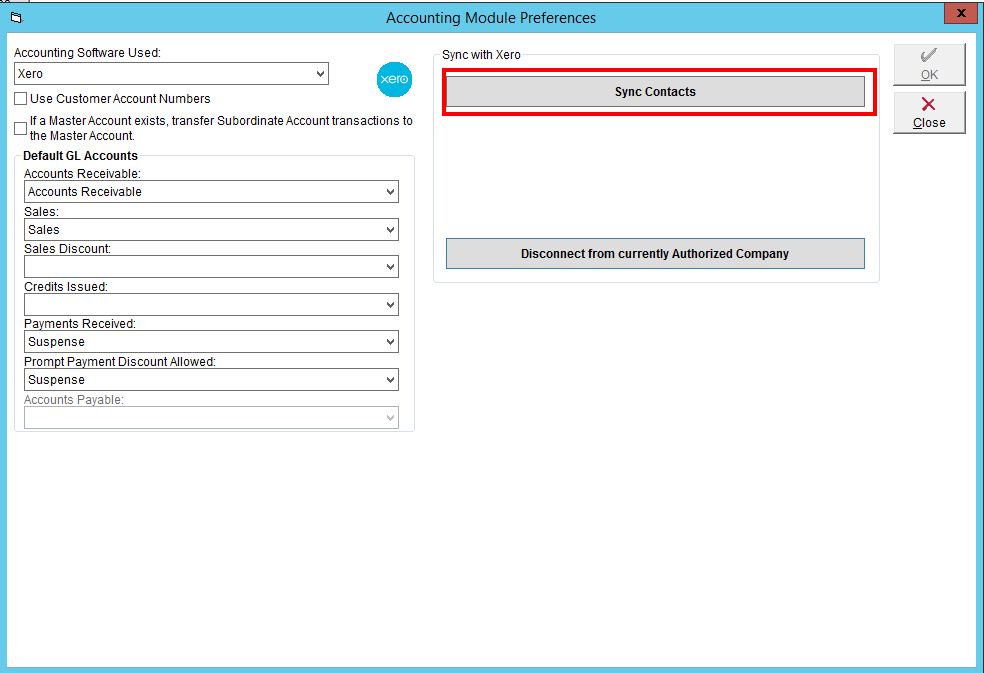
- Click the Sync Contacts button.
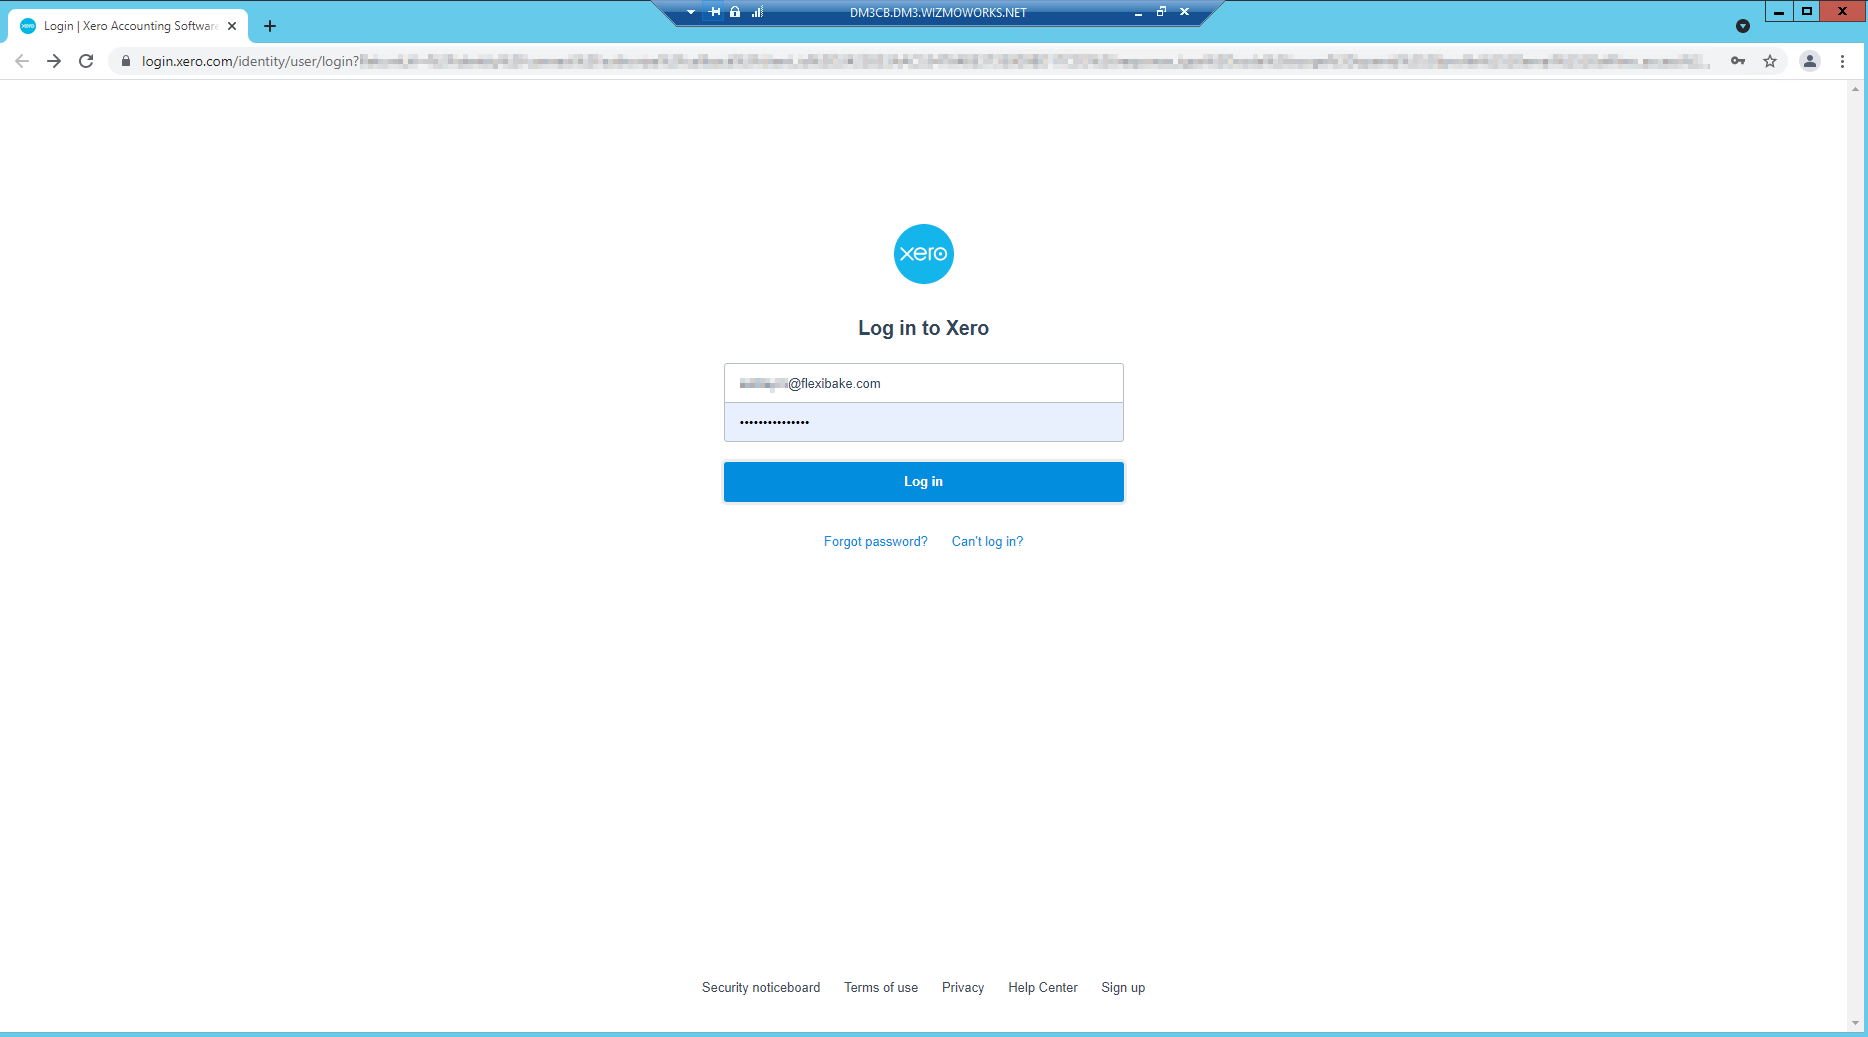
- This will cause a browser window to open to the Xero login. Enter your credentials and click Log In
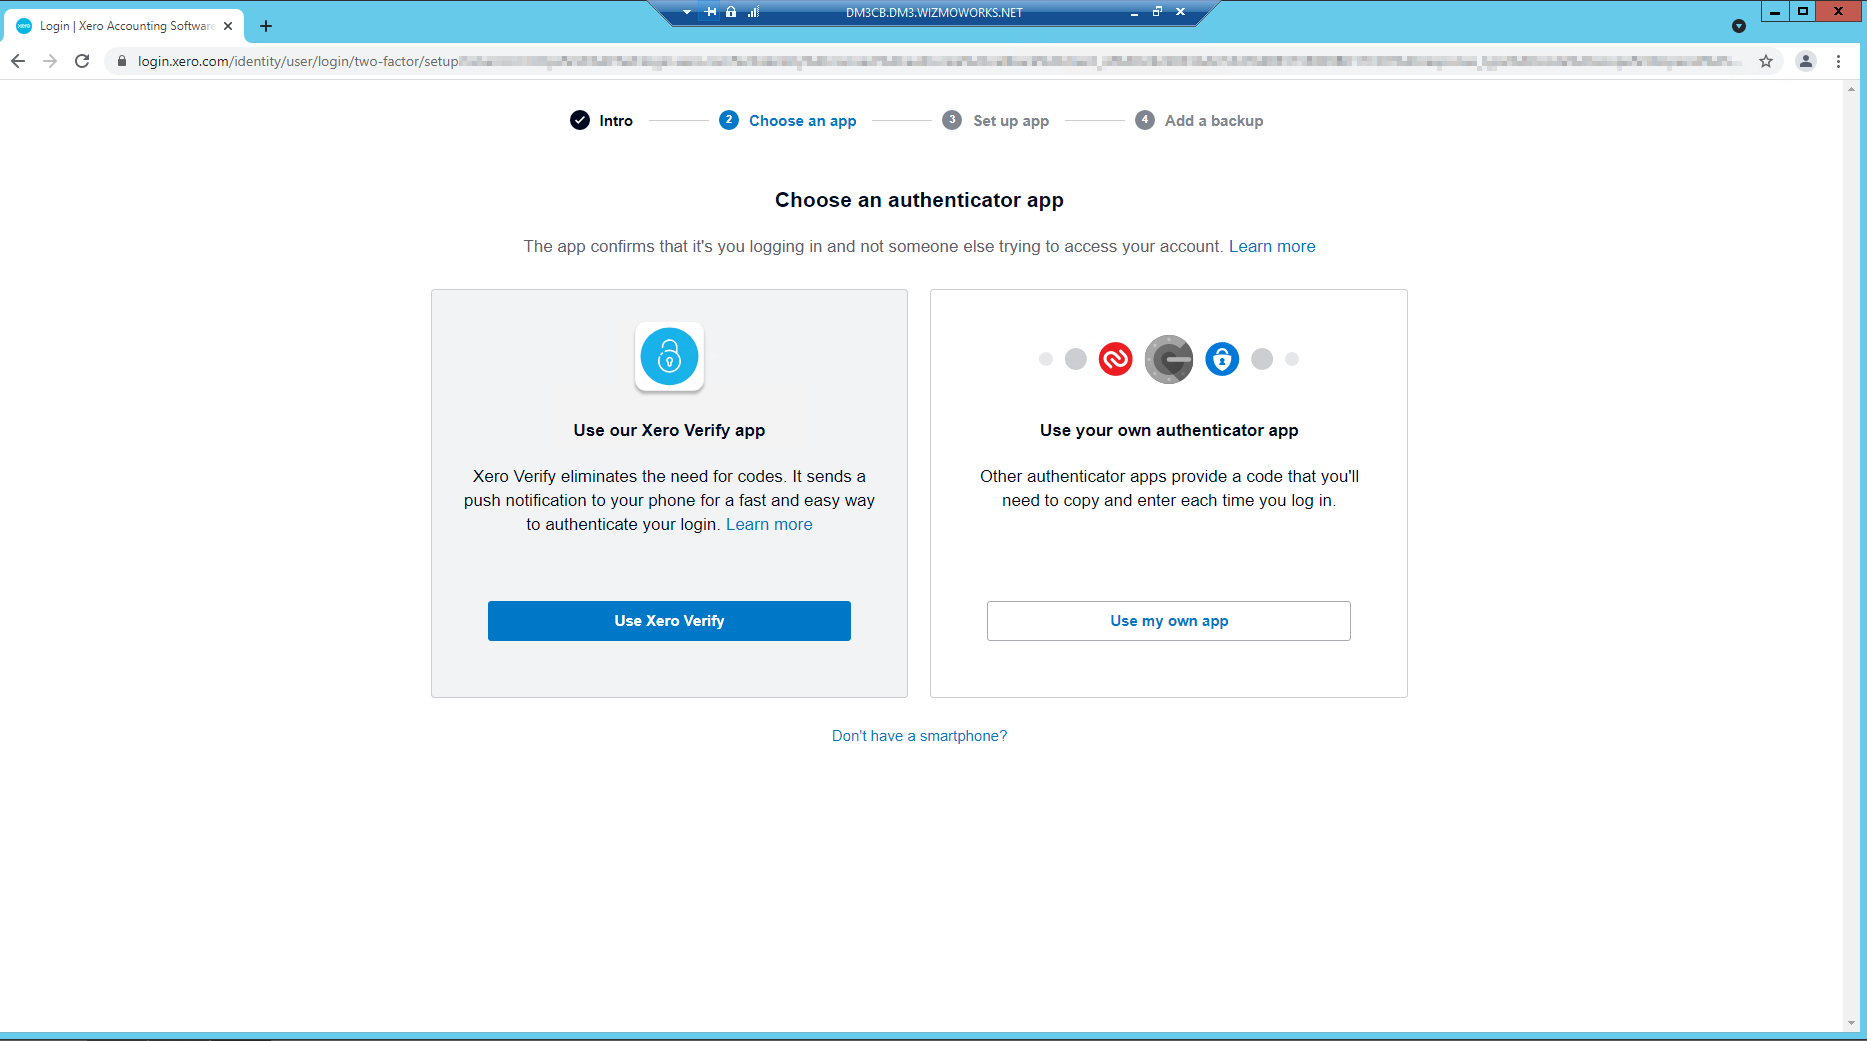
- If Two-Factor Authentication has not been set up, you will be asked to do so.

- Select the desired authentication method, we recommend using the Xero Verify App.
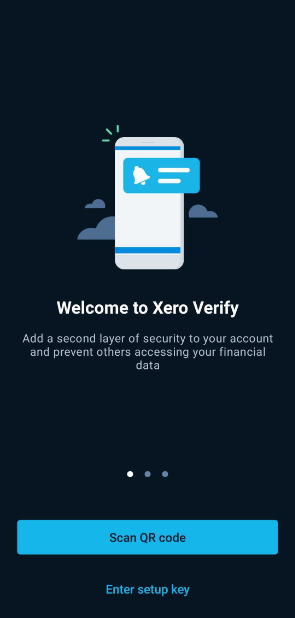
- After downloading the app, scan the QR code provided.
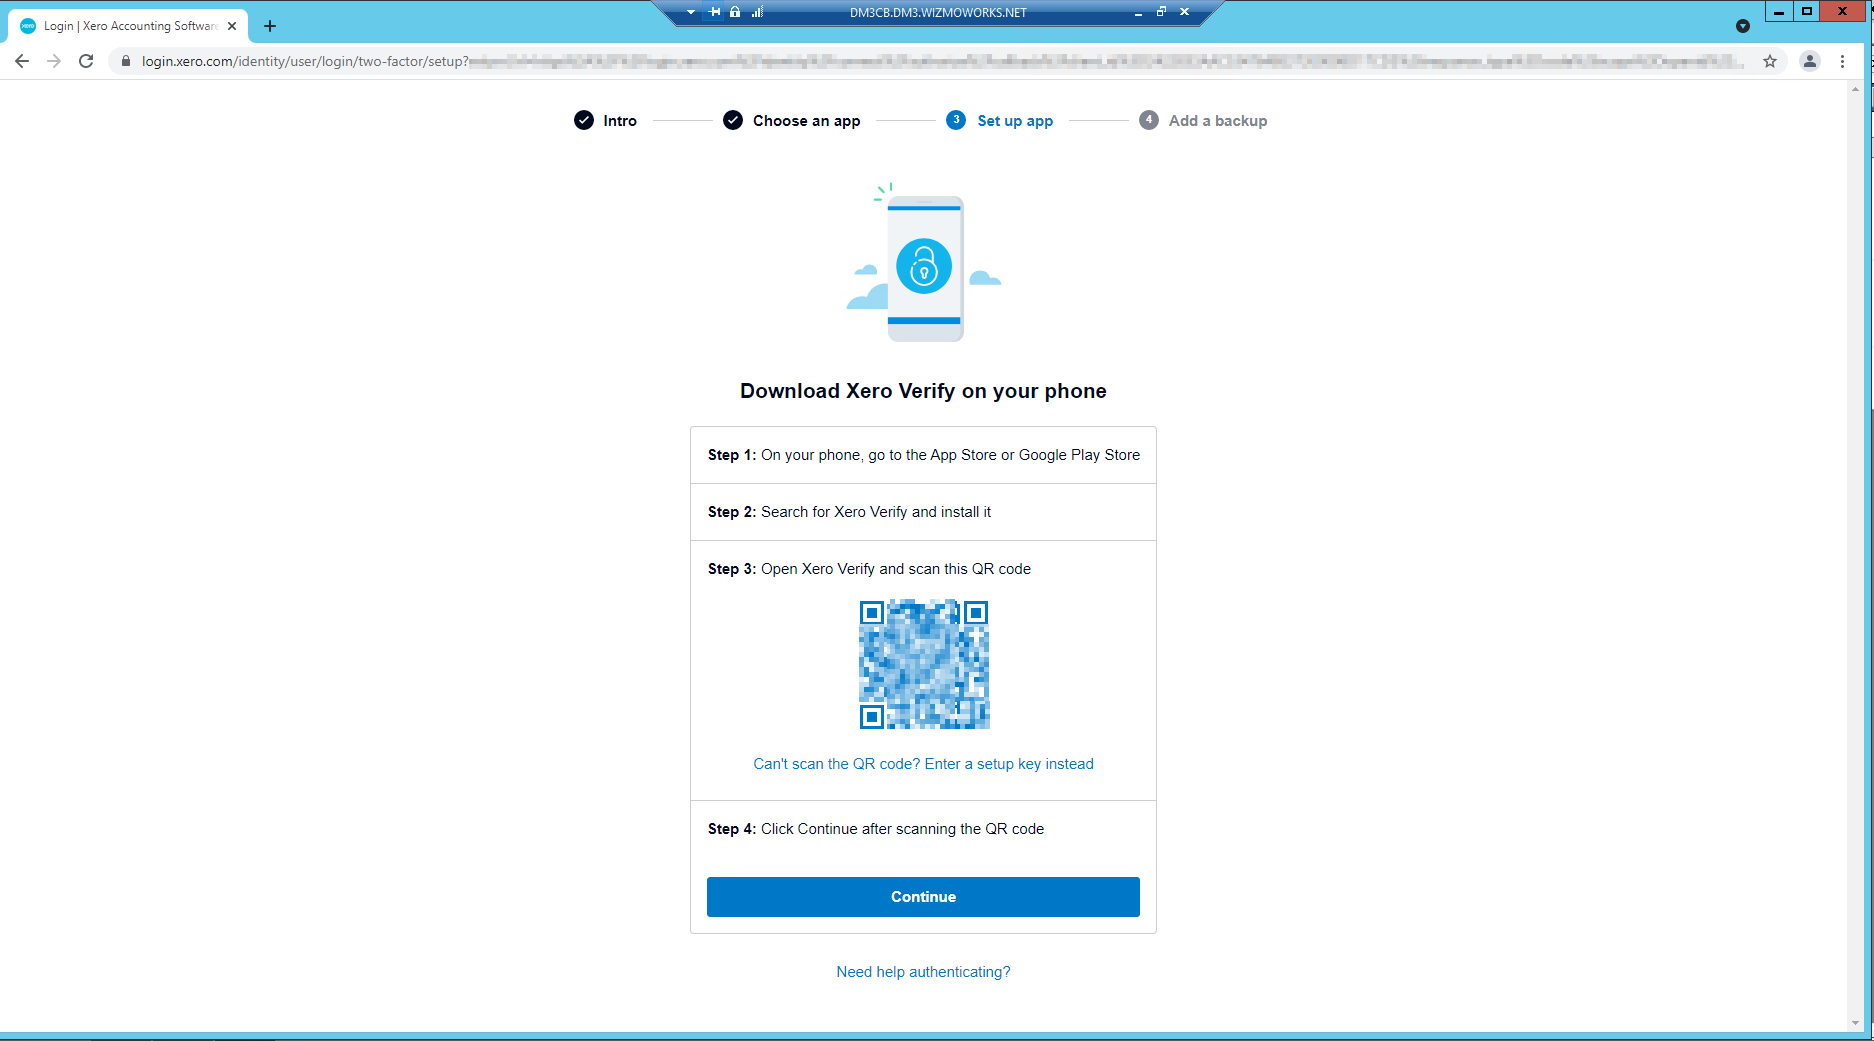
- When the scan is successful, you'll be directed to return to the browser.
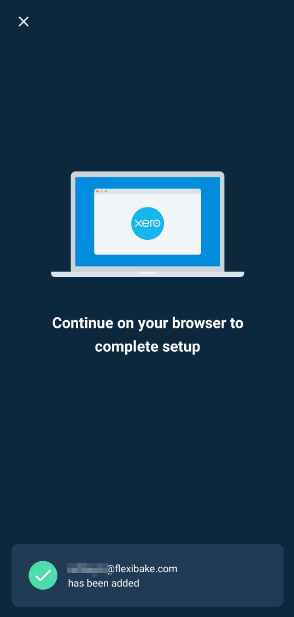
- Add a backup email, or security questions:
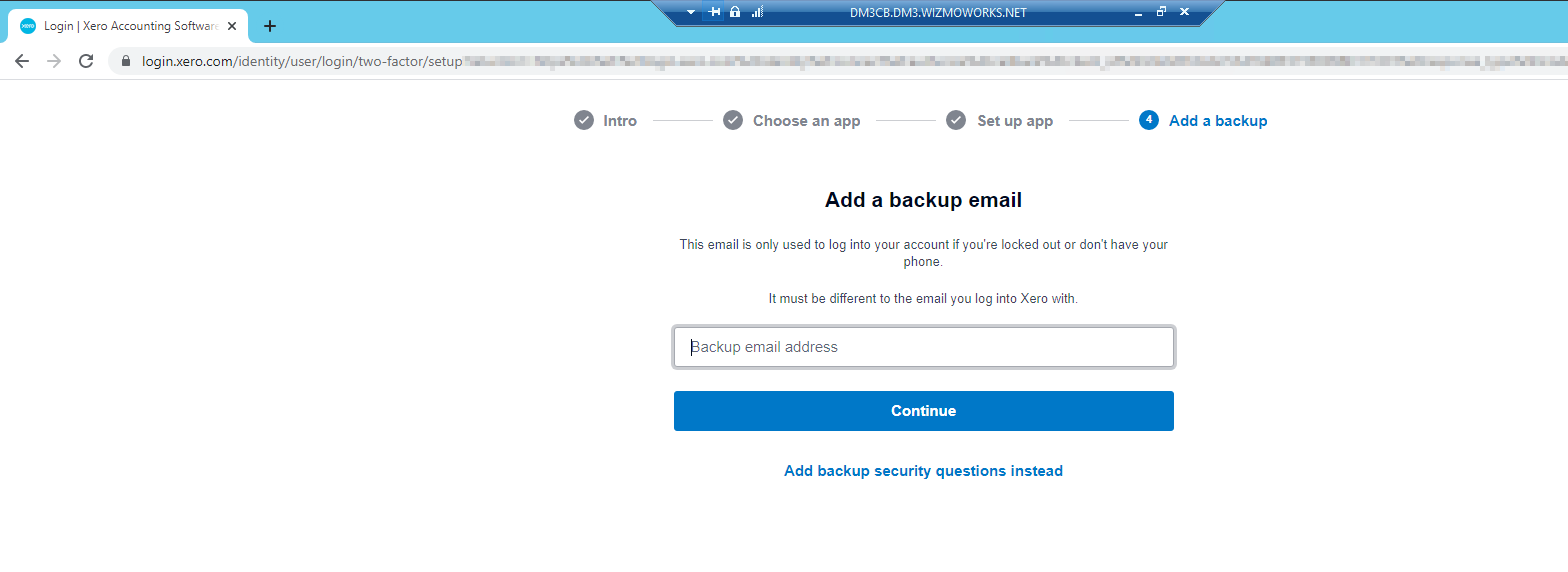
- And you're done! Click Continue to Xero to proceed.

- If Two-Factor Authentication has not been set up, you will be asked to do so.
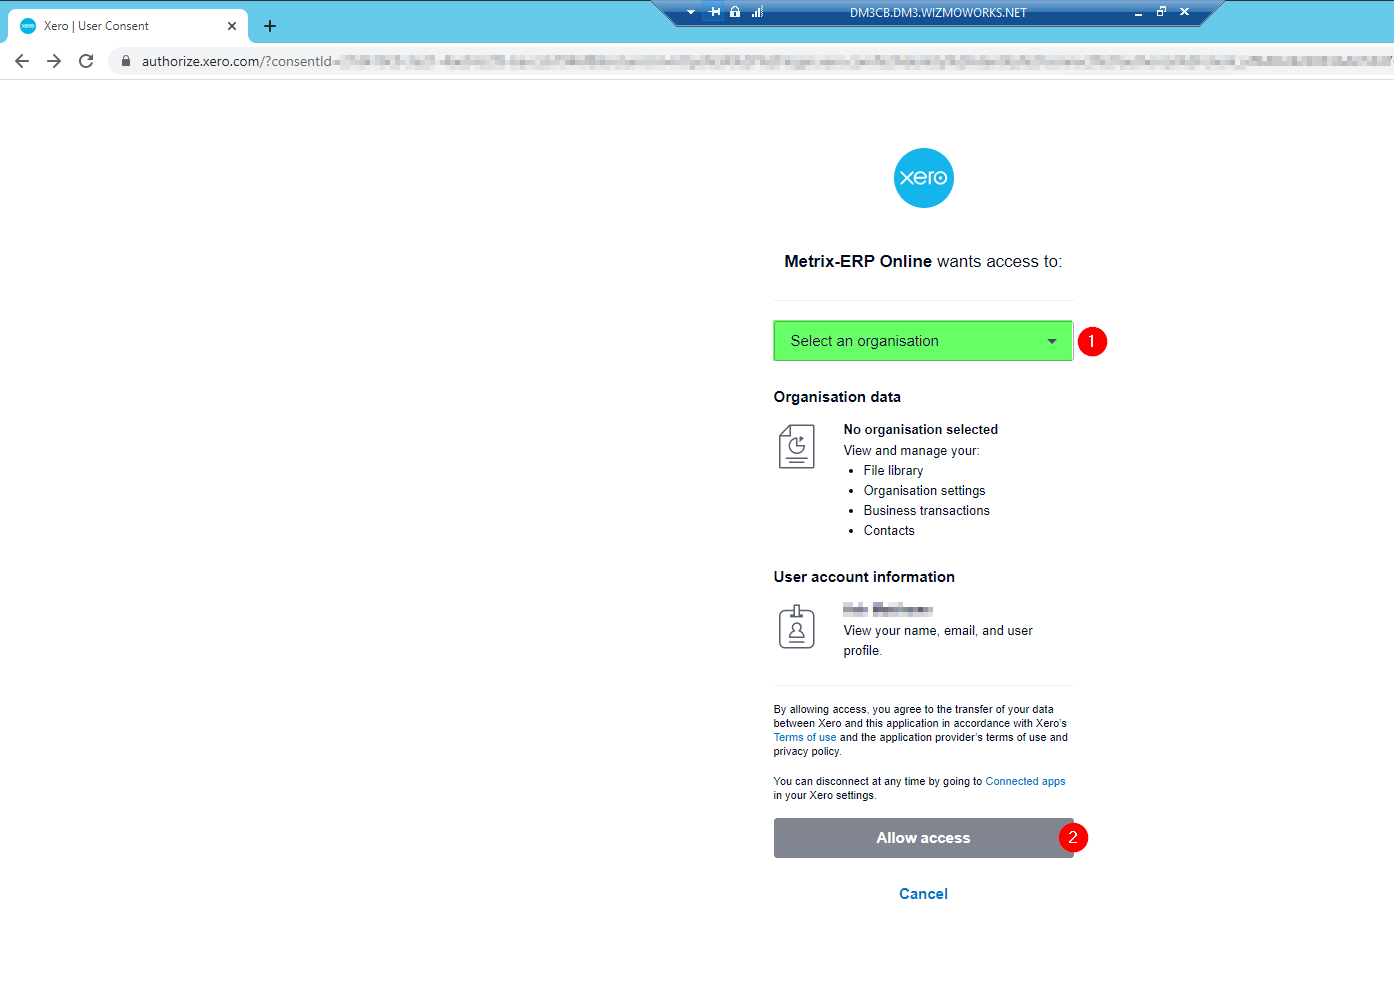
- Select the organization you would like to link from the drop-down, and then click on Allow access.
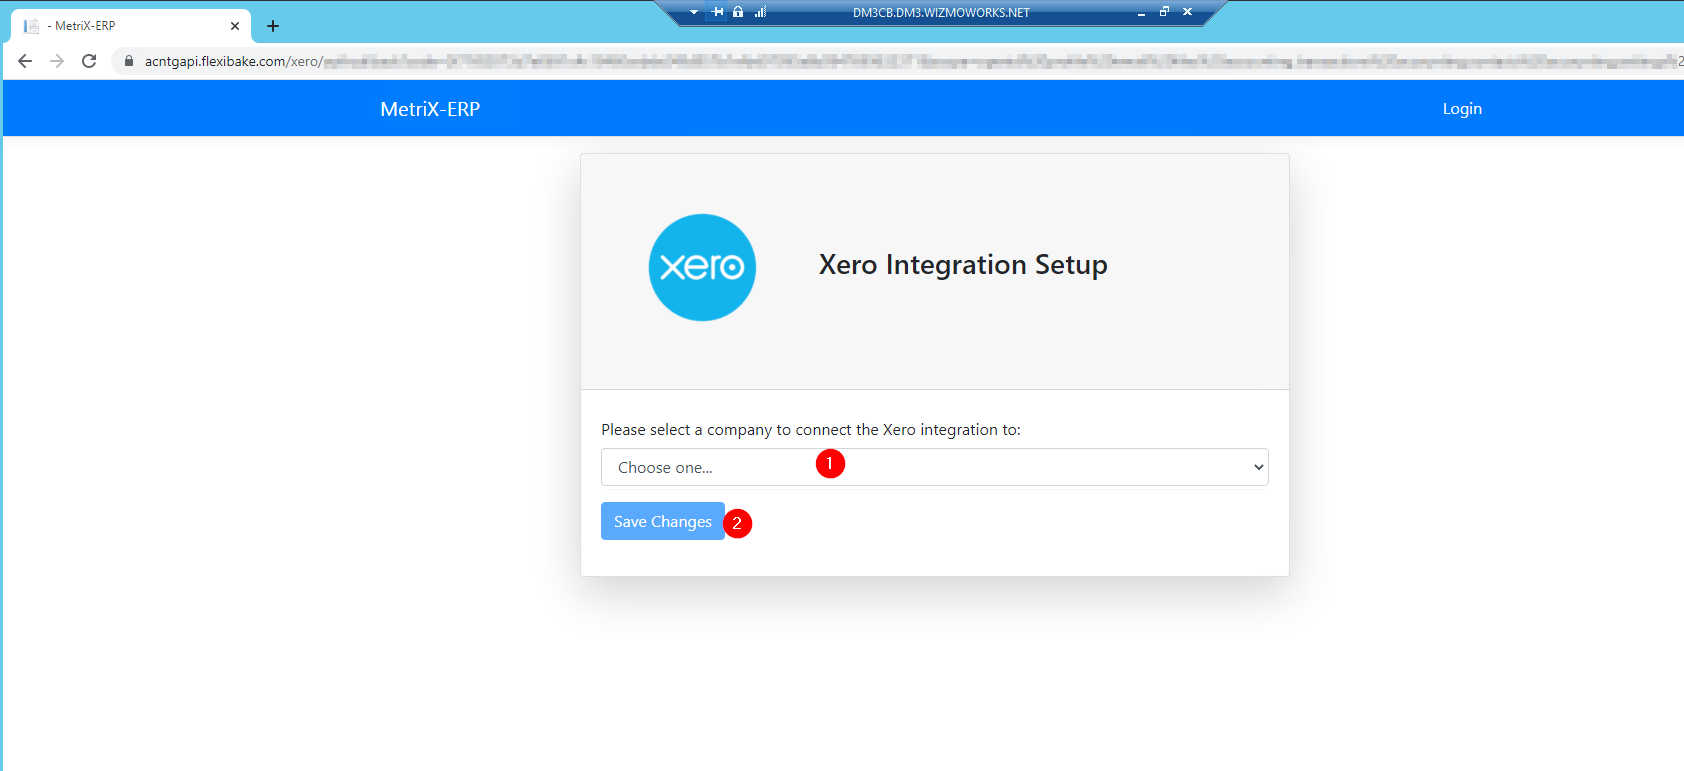
- You'll be re-directed to the Metrix ERP site (that's us!), where you'll need to select the company from the drop-down and then click Save Changes to continue
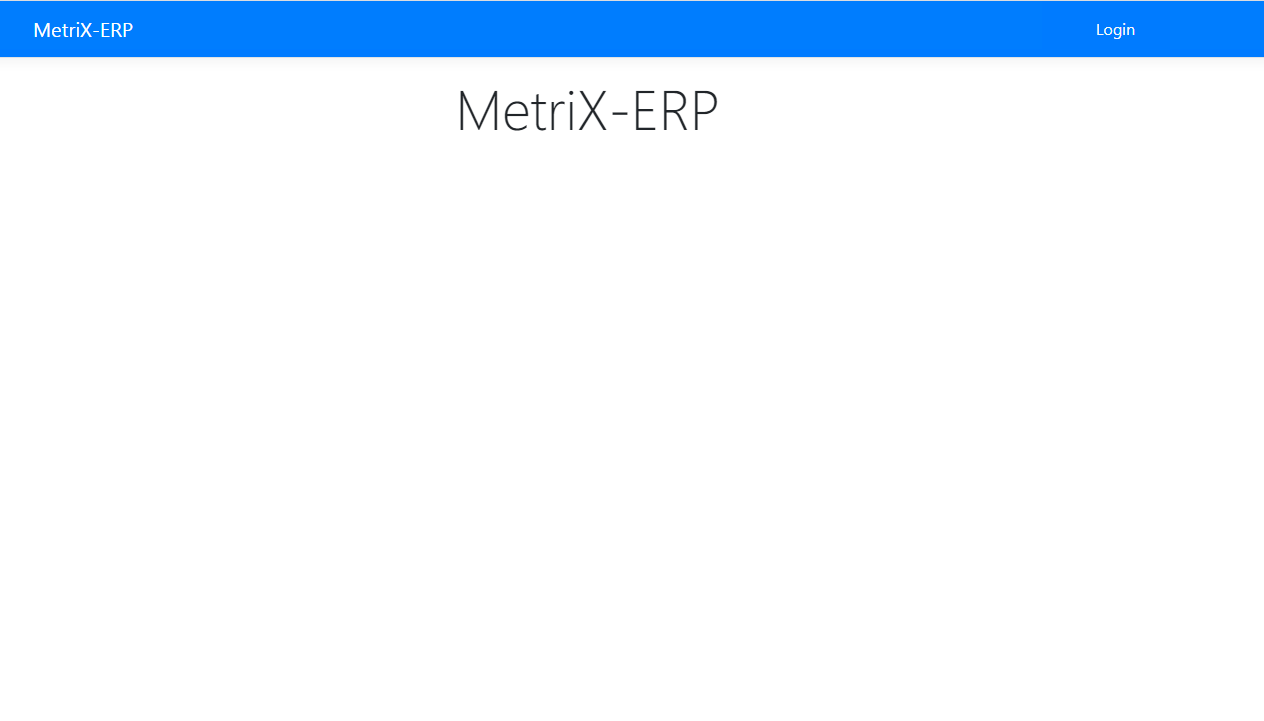
- When you're displayed a blank screen, you're done. You may close the browser window and return to FlexiBake.
- In FlexiBake, click OK on the pop-up to indicate you're done authorizing; FlexiBake will begin syncing contacts with Xero.
Link GL Accounts to FlexiBake
Now that FlexiBake has been authorized to communicate with Xero, we can use this connection to pull in the GL Account information contained in your Xero Chart of Accounts.
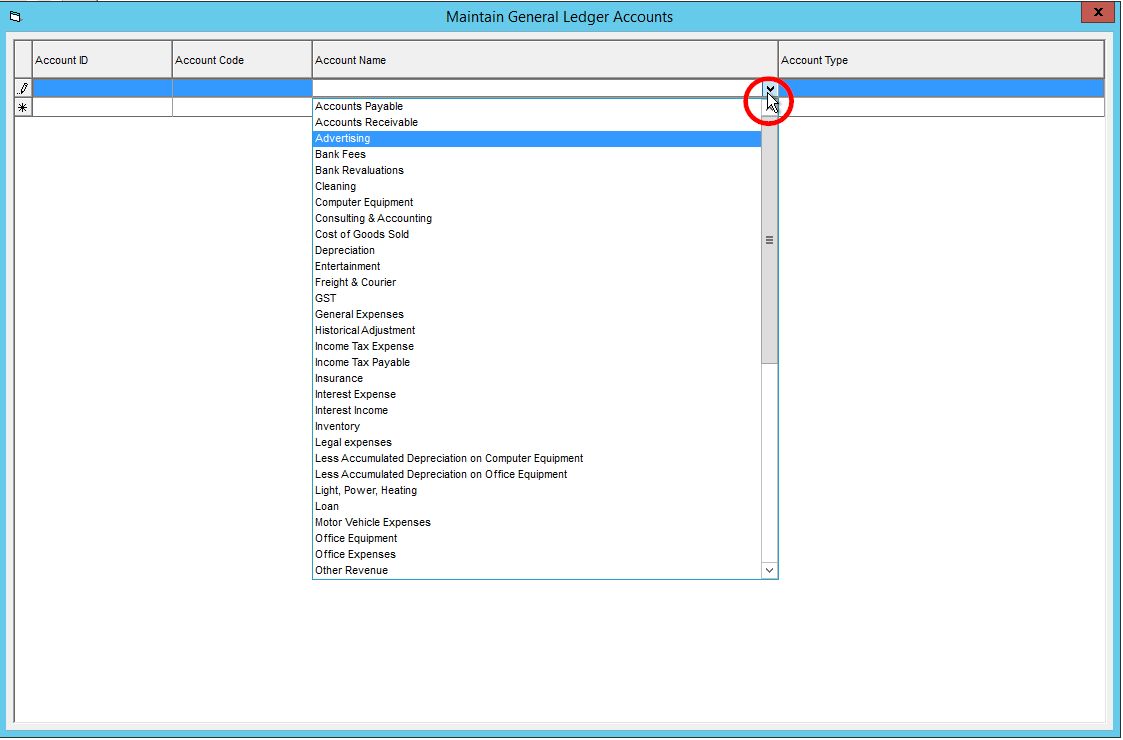
- In the upper menu bar, click on the Activities Menu, and then into the Accounting Related section. From the drop-down, select Maintain GL Accounts.

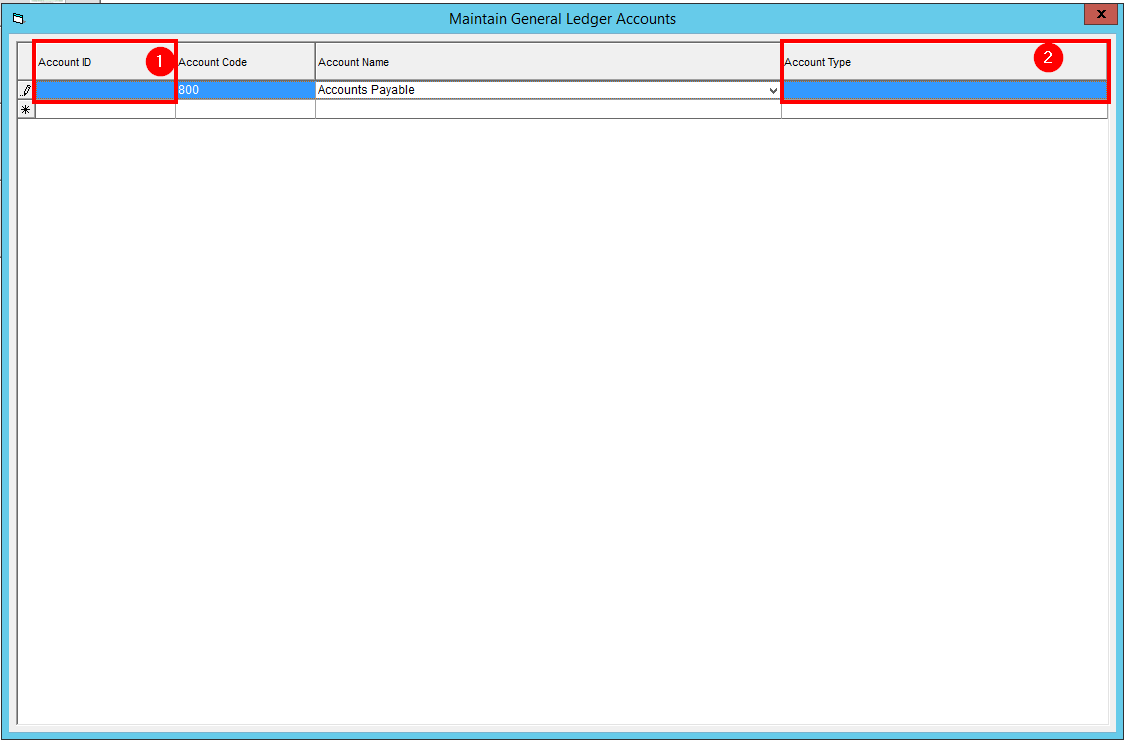
- This will open up a pop-up window. Click into the Account Name column and use the drop down to select from a list of all GL Accounts in your Xero Account.
- The Account Code and Account Name will automatically populate from Xero. Fill in the Account ID field (you can make this the same as the code if desired) and select the Account Type using the drop-down.
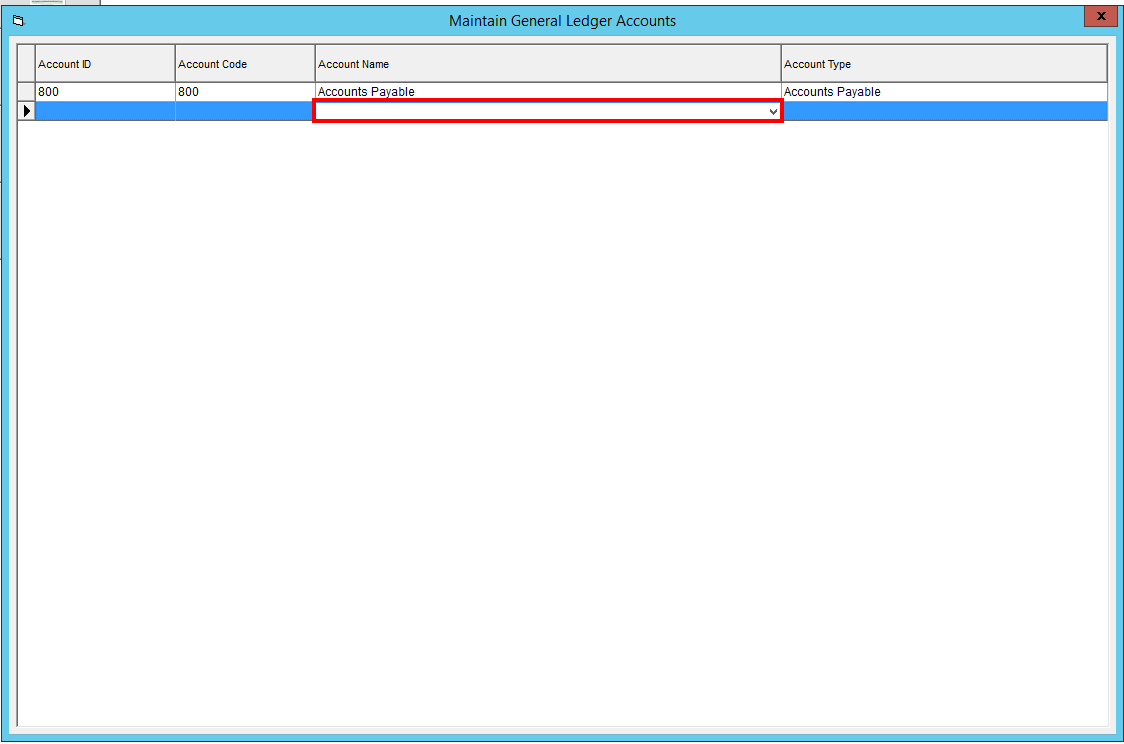
- To add another account, move to the blank line at the bottom and repeat steps 2 and 3.
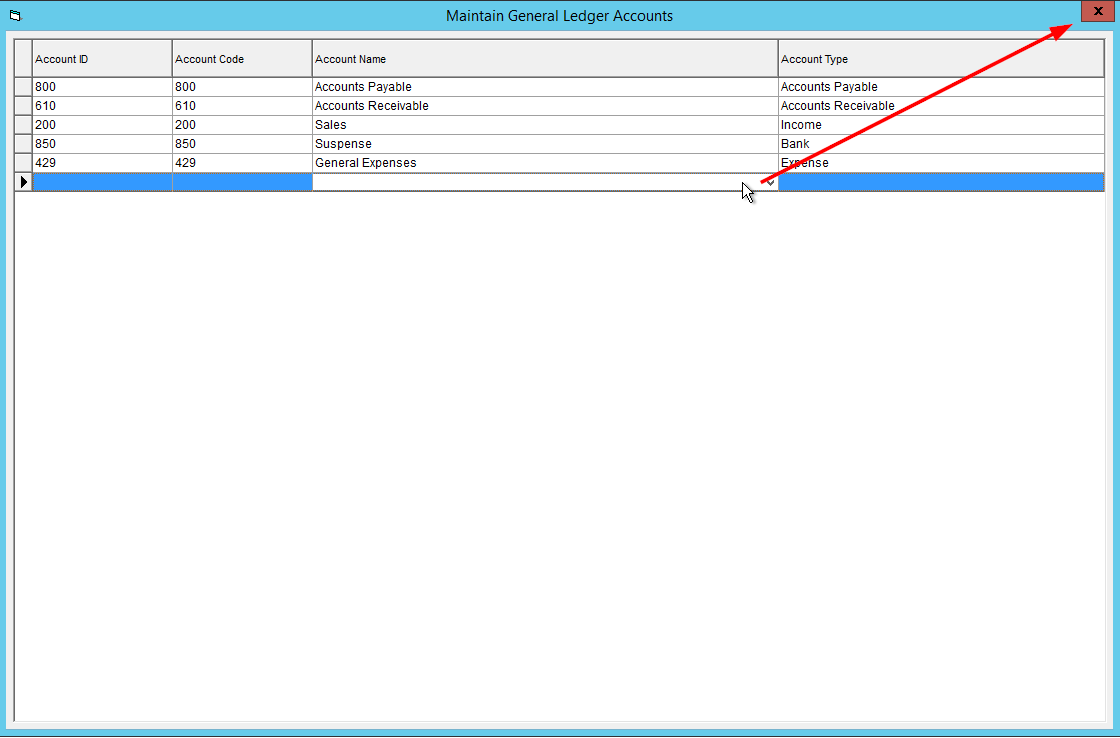
- Once you have added all the GL Accounts you would like to use in FlexiBake, click into the blank line once more to save the last GL Account added, then use the X button to close the pop-up. Your GL Accounts will save automatically.
Define Default Catch-all GL Accounts
Now that the GL Accounts are loaded into FlexiBake, the last required step for the Xero export is to define which of those accounts should be used as defaults. Default GL Accounts will be used as a fall back if a more specific GL Account is not specified for a transaction.
- In the upper menu, click on the Administration menu, and select Accounting Module Preferences.
- For each transaction category, select a GL Account to be used as the default from the drop-down. Each drop-down will only display GL Accounts of the appropriate type(s) for that transaction category.
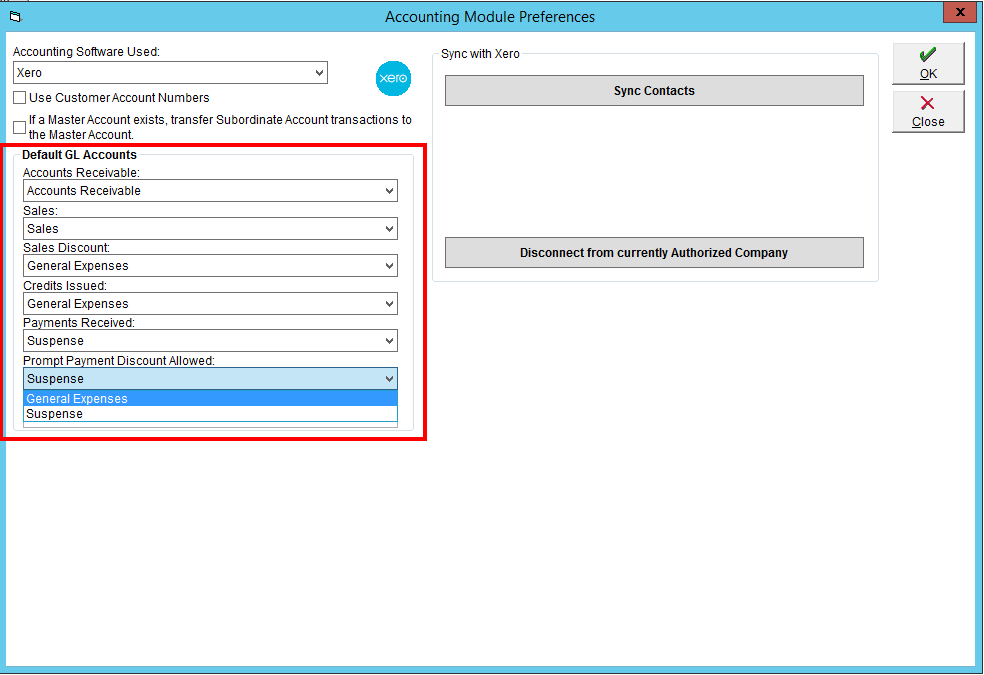
- Once you have selected default GL Accounts for all transaction categories. click the OK button to save your changes.
If you'd like to define more detailed GL Accounts, please see the following tutorials:
- Assign GL Codes to Freight Charges
- Assign GL Codes to Tax Profiles
- Assign GL Codes to Payment Types
- Assign GL Codes to Product Categories
- Assign GL Codes to Products