Customer statements are a great way to send your customers a nice overview of their outstanding invoices, or of their account activity during a certain period of time. This is particularly handy if you have customers that order multiple times, but pay on a weekly or monthly basis instead of individually per invoice.
Follow these steps to learn how to produce your own Statements:
-
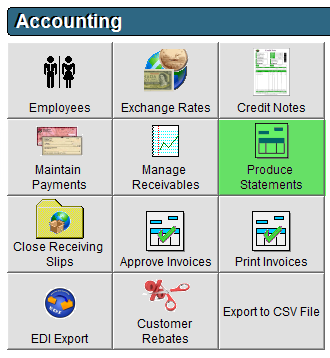
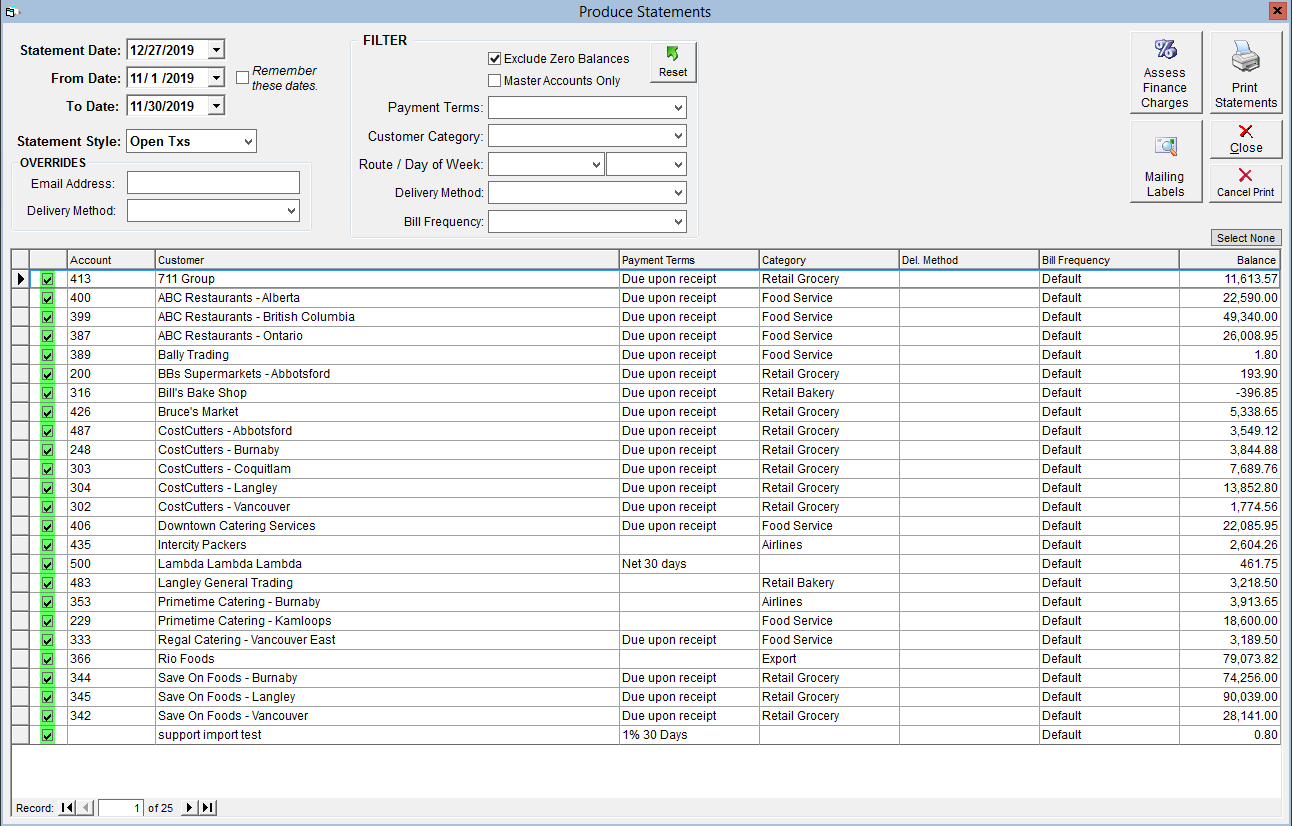
- Navigate to the Accounting Centre then the Produce Statements button.
- Select the following dates using their respective drop-down calendars:
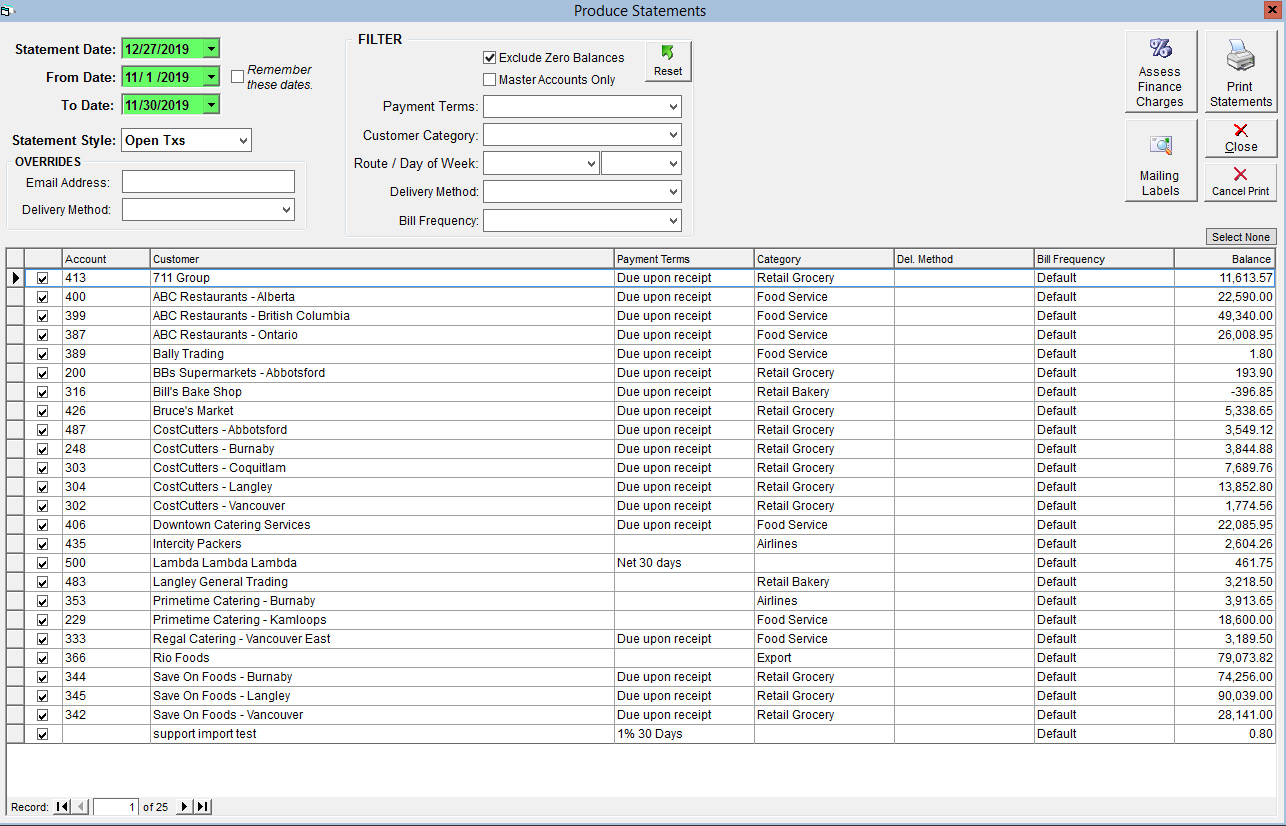
- Statement Date - The date you would like to appear on the statement. This may be the date issued, or the 'as of' date.
- From Date - The opening date of the time period you would like to cover on the statement.
- To Date - The closing date of the time period you would like the statement to cover.
- Select a Statement Style:
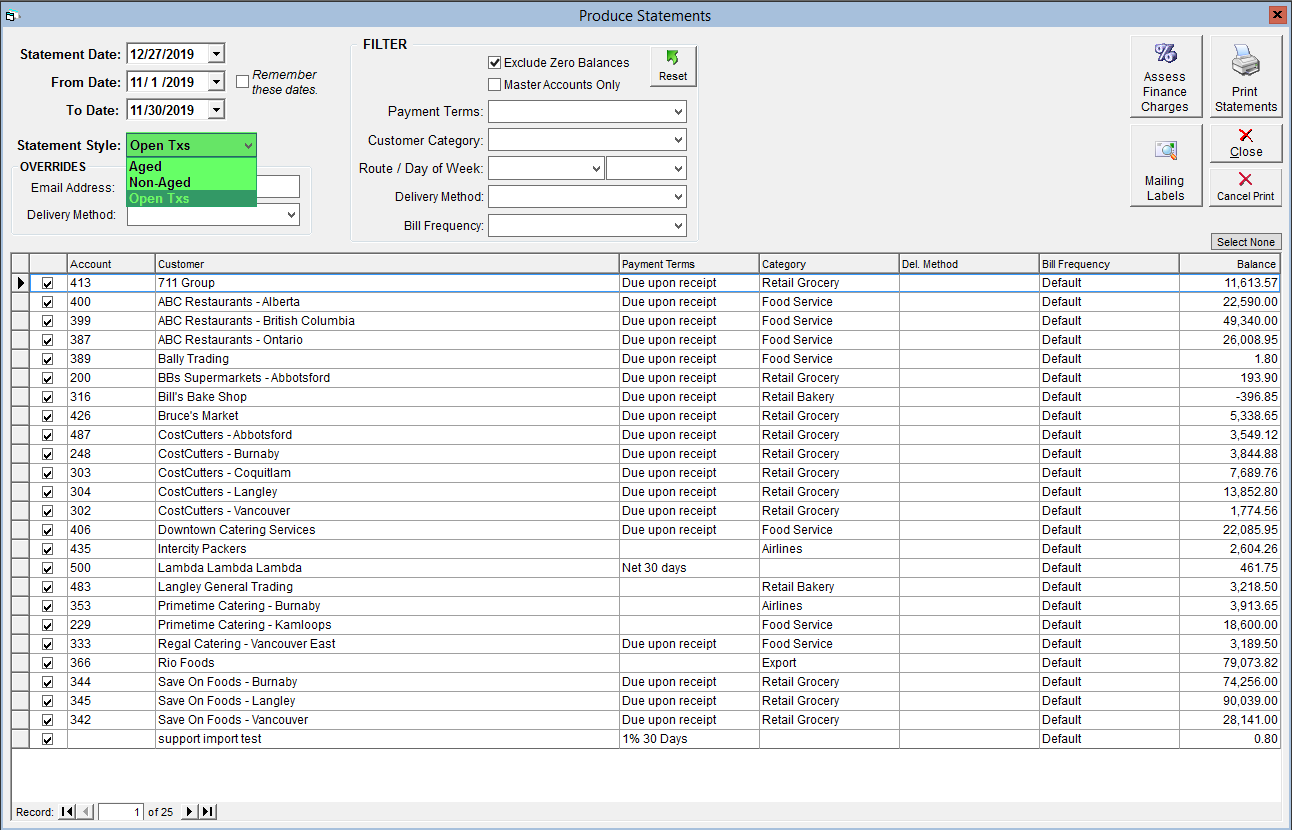
- Aged - Displays invoices and payments, discounts and credits that have been applied to that invoice in an oldest to newest format.
- Non-Aged - Displays all transactions (invoices, discounts, credits, payments) in the sequence that they were created with a running balance.
- Open Txs - Displays transactions that have not yet been exported.
- If desired, use the drop-downs in the Filter section to limit the results in the grid below.
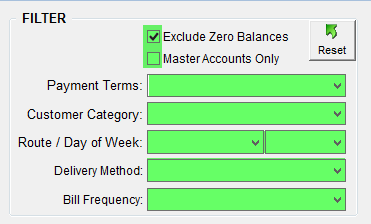
- Exclude Zero Balances - Customers with a current account balance of 0 will not be displayed.
- Master Accounts Only - If you use Master-Subsidiary accounts, only the Master account will be displayed in the grid.
- Payment Terms - Only customers whose default payment terms match the selected option will be displayed.
- Customer Category - Only customers belonging to the selected category will be displayed.
- Route / Day of the Week - Select a route from the left drop-down and a weekday from the right to limit the grid to customers serviced by that route on that weekday.
- Delivery Method - Select an option to limit the grid results to customers set to receive the statement via the selected delivery method.
- Bill Frequency - Only customers with the selected billing frequency will appear in the grid.
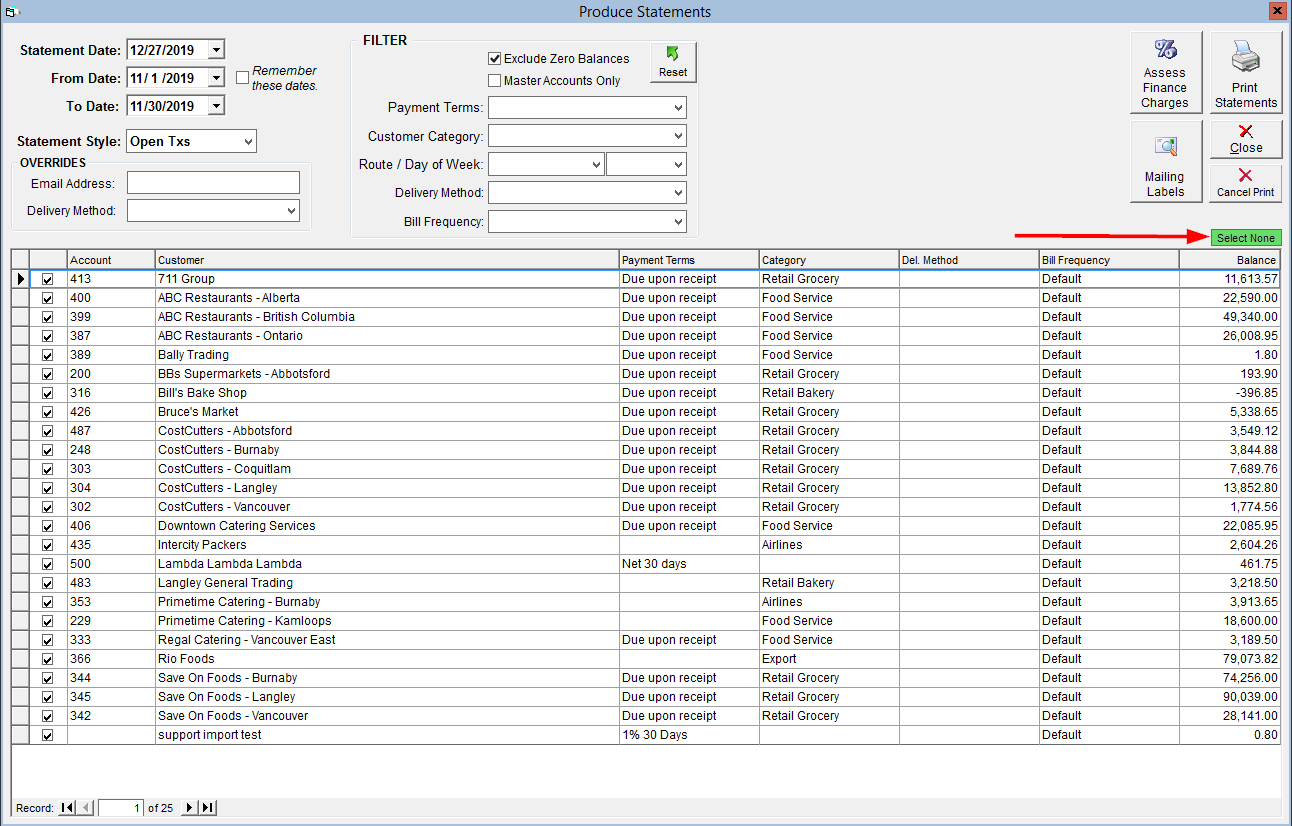
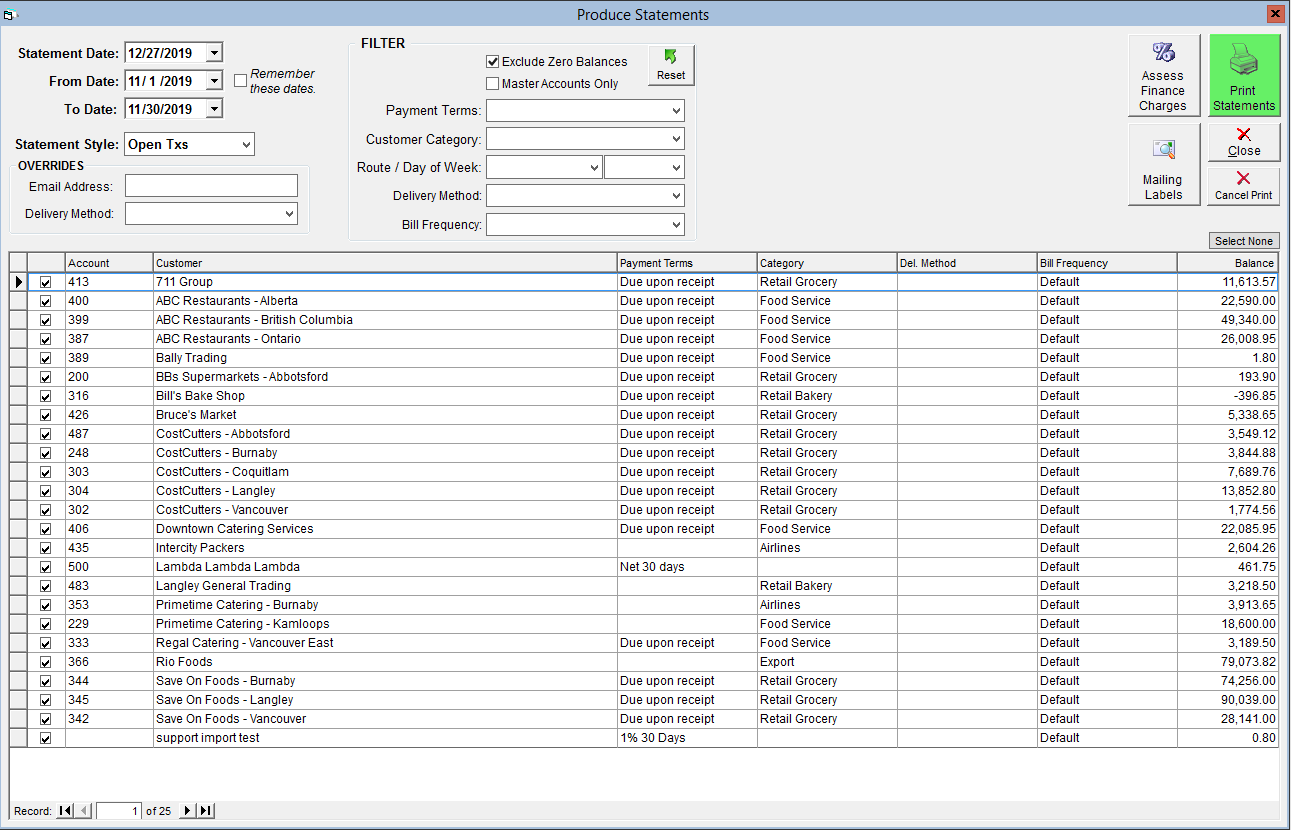
- Use the checkboxes to select which customers you would like to create statements for; only customers with a checked box will have a statement produced.
- You can also use the Select All/ Select None button above the upper right corner of the grid to speed things up.
- You can also use the Select All/ Select None button above the upper right corner of the grid to speed things up.
- Click Print Statements in the top right corner to have statements automatically emailed or printed depending on the customer's "Del. Method". For instructions on how to set this for your customers, please see Set Invoice and Statement Delivery Methods.
- Navigate to the Accounting Centre then the Produce Statements button.