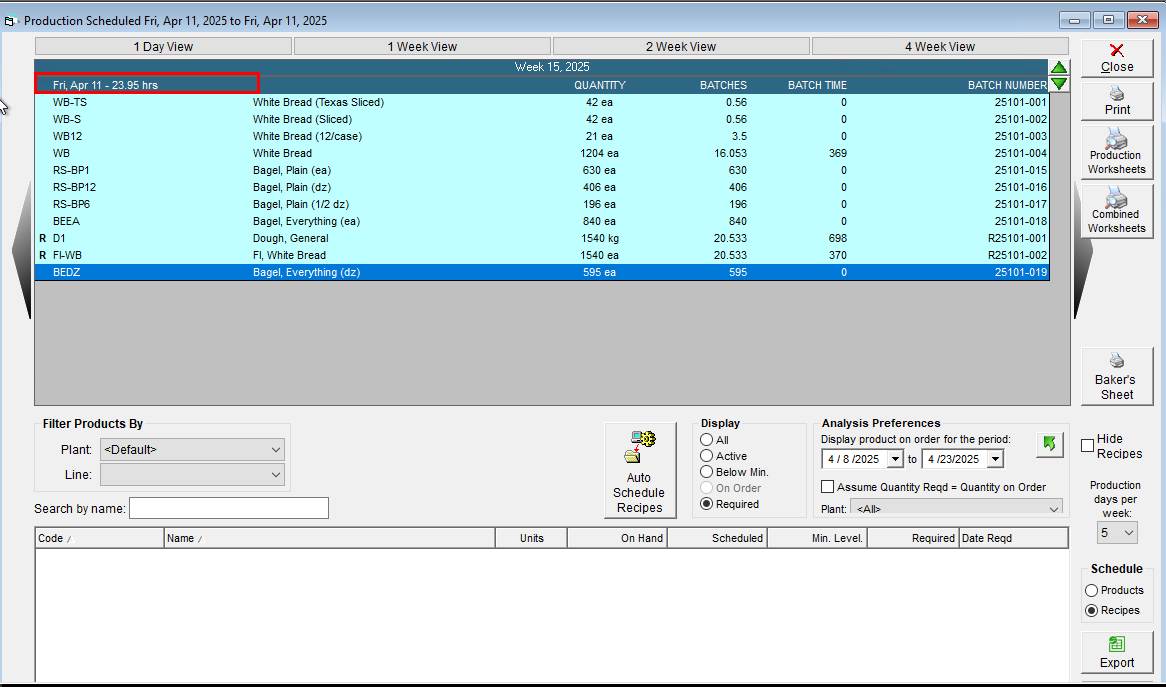
Looking to take production planning to the next step with extra details? You can now assign start times to your production in Schedule Production. FlexiBake will use this, the number of batches and time per batch to estimate when production will be completed. Couple this with the ability to record start and end times, and you've got yourself a powerful analysis tool at your fingertips
Set Start Times When Scheduling Production
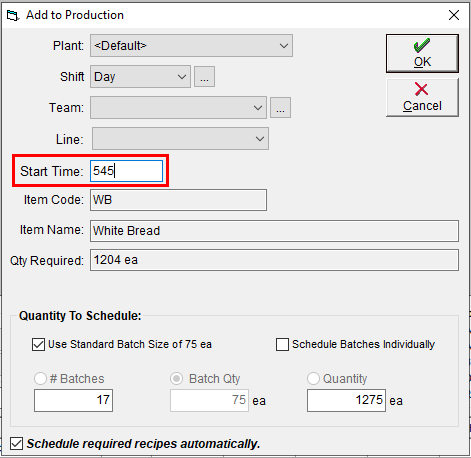
If manually scheduling production, you can record the desired start time when adding the item into your production calendar:
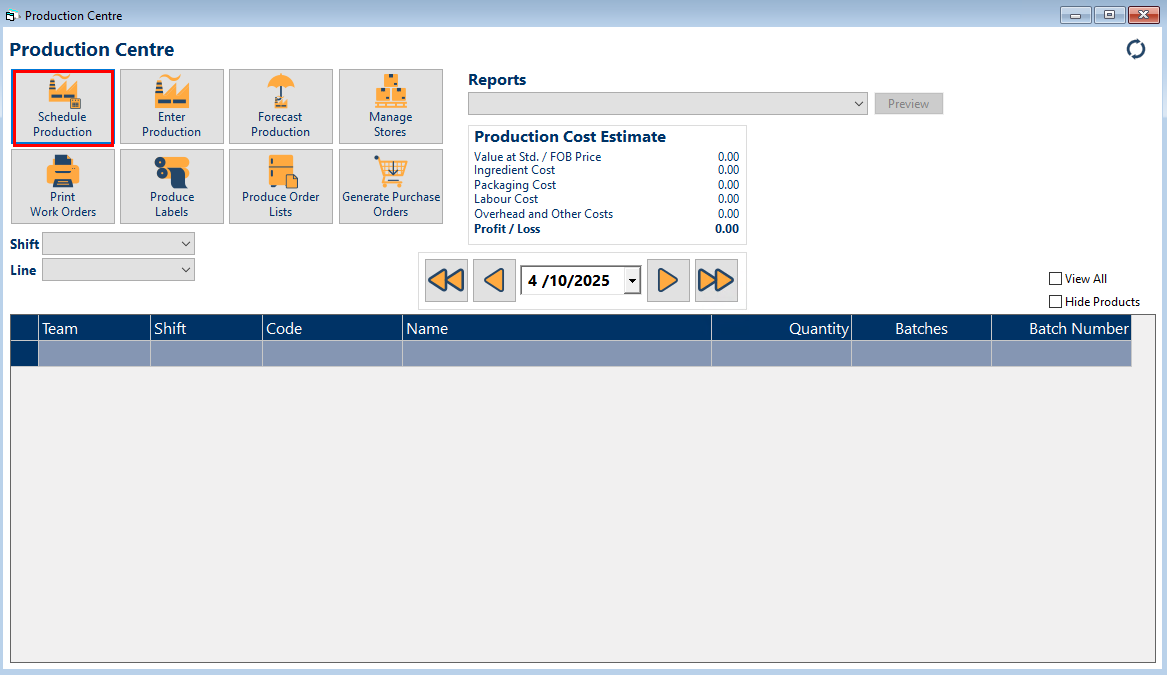
- In the Production Centre, open Schedule Production
- Drag an item from the bottom grid onto the date you would like to schedule it on
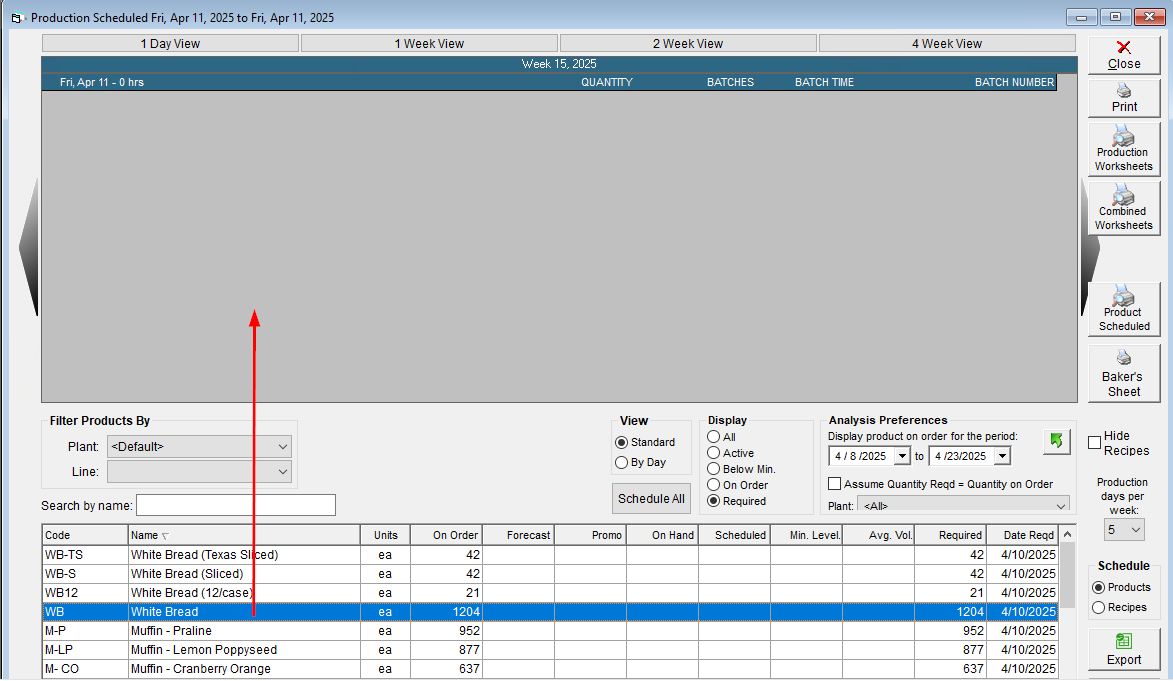
- Adjust the quantities and team/shift information as desired. Please Note: Scheduling a start time will not affect any sub recipes scheduled automatically.
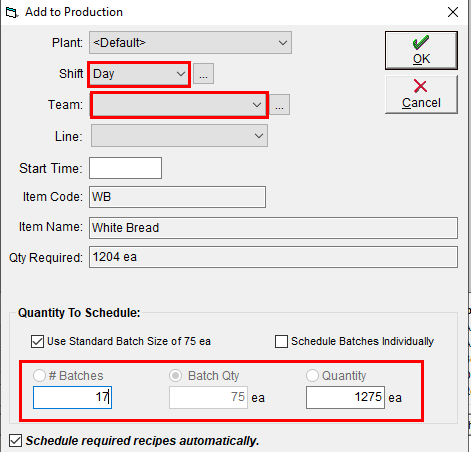
- In the Start Time field, enter the time that this item should start.
- The time can be entered in either 12 or 24 hour format. If using 12 hour format, then you can use a, am or AM to indicate morning and p, pm or PM to indicate afternoon. Hours and minutes do not need to be separated by a colon or period
- The time can be entered in either 12 or 24 hour format. If using 12 hour format, then you can use a, am or AM to indicate morning and p, pm or PM to indicate afternoon. Hours and minutes do not need to be separated by a colon or period
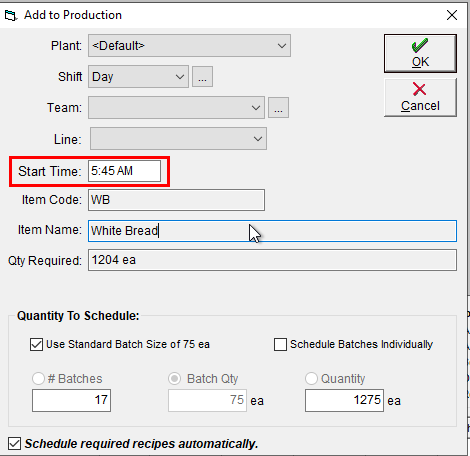
- Clicking out of the field will cause the program to convert the time entered to the standard 12 hour format of H:MM AM/PM. Double check that the time entered is correct.
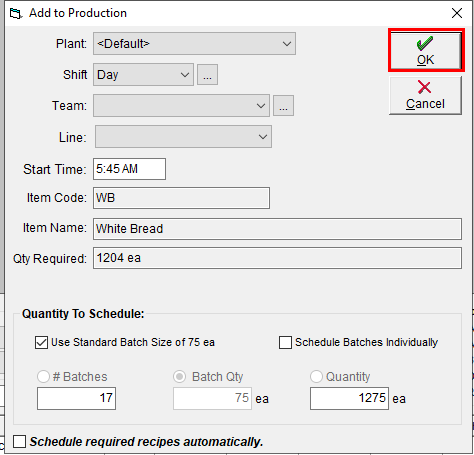
- Once ready, click OK to schedule the item
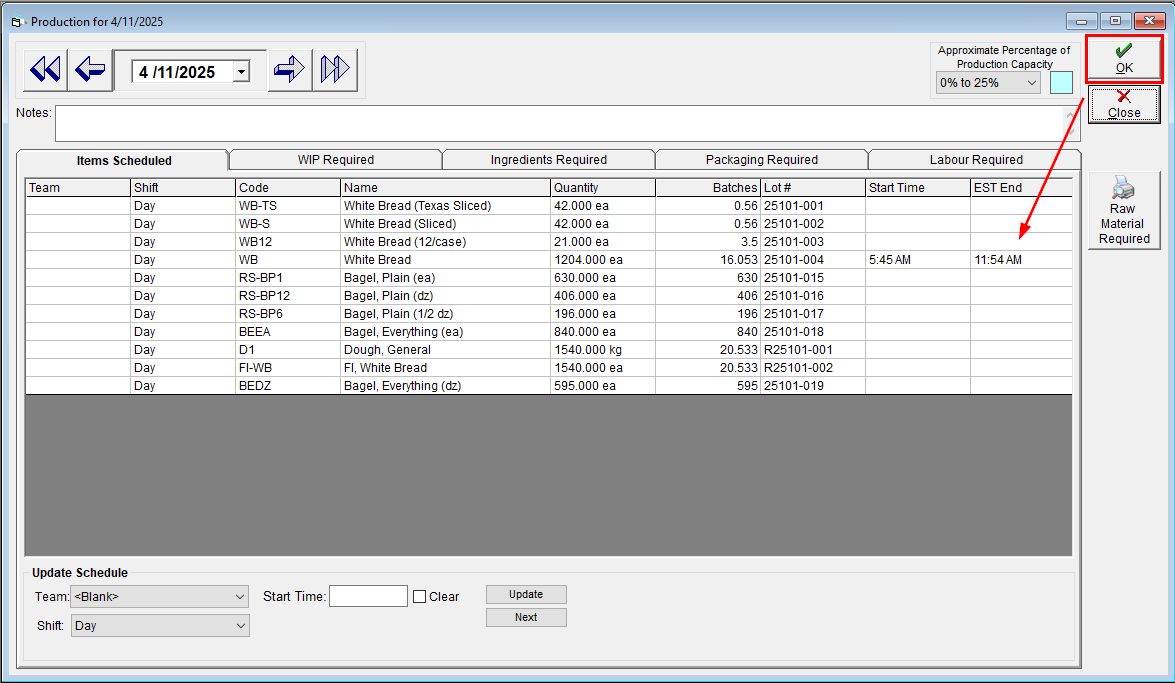
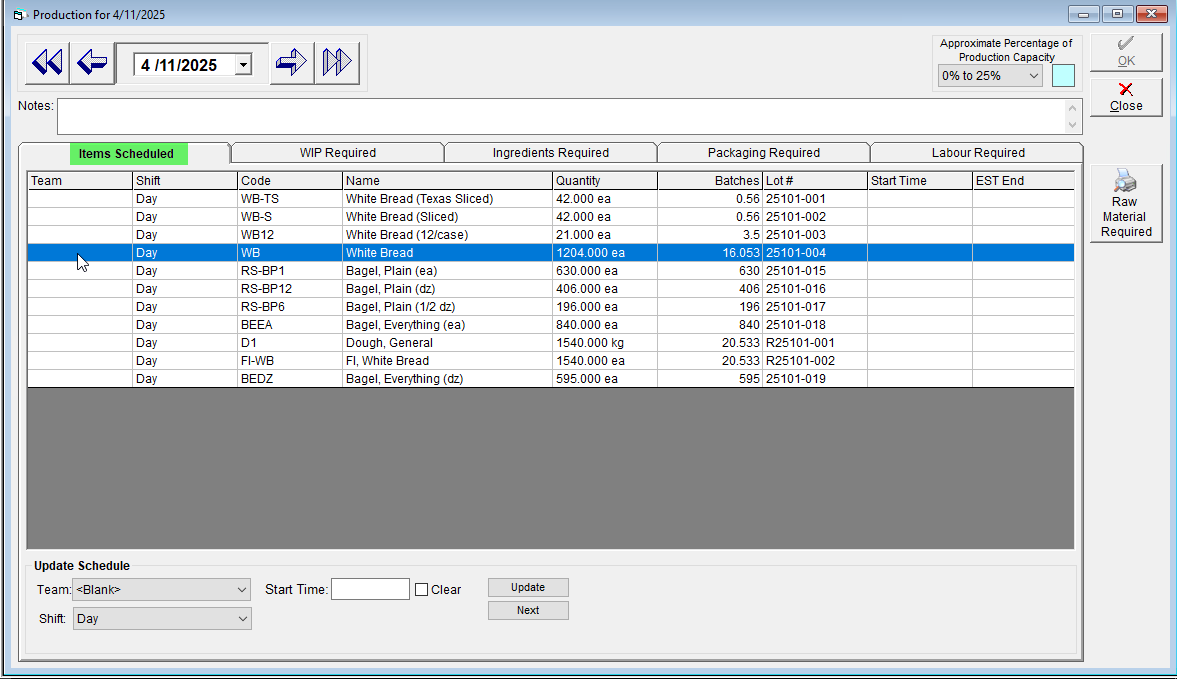
Set or Adjust Start Times on Existing Production
If you take advantage of the bulk scheduling tools, or simply need to make some changes after production is already on the calendar, then you can change the start times using these steps:
- In the Production Centre, open Schedule Production

- On the calendar, double click on the Date bar for the date the production is scheduled
- In the Items Scheduled tab, click once on the item you would like to update the Start Time for
- Multiple items can be selected to be updated in bulk! Click and drag over the items you would like to select to highlight them all, or click on the top record and hold the shift key when clicking the bottom item to highlight everything between
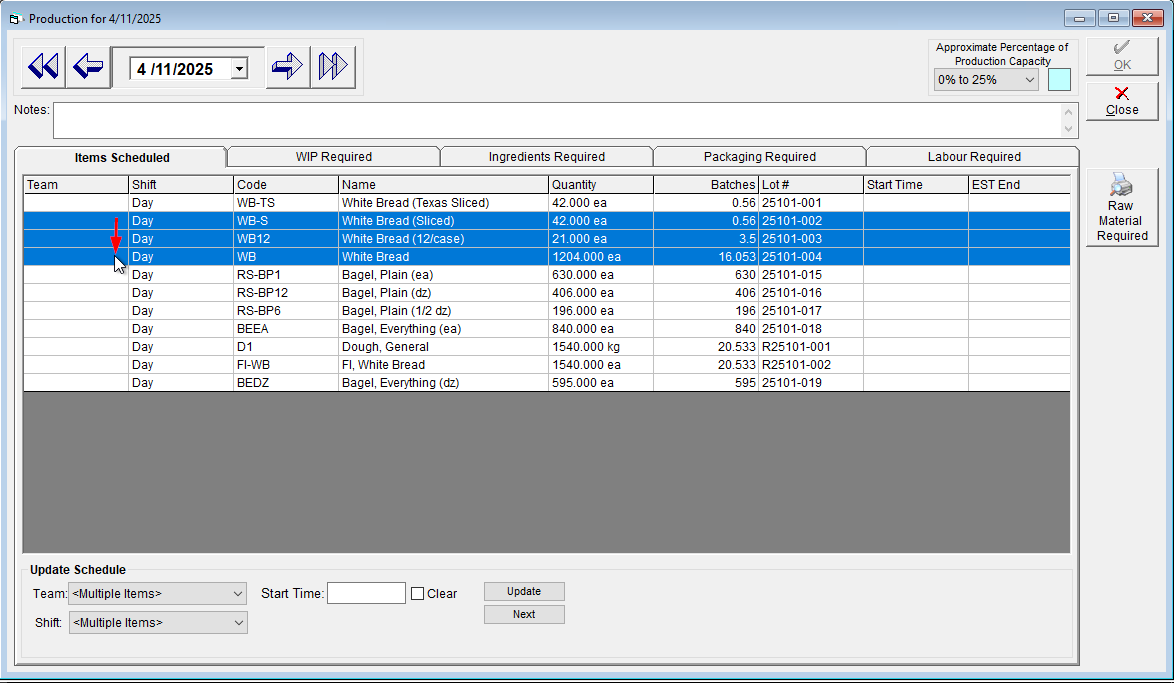
- Multiple items can be selected to be updated in bulk! Click and drag over the items you would like to select to highlight them all, or click on the top record and hold the shift key when clicking the bottom item to highlight everything between
- In the Start Time field, enter the time that this item should start.
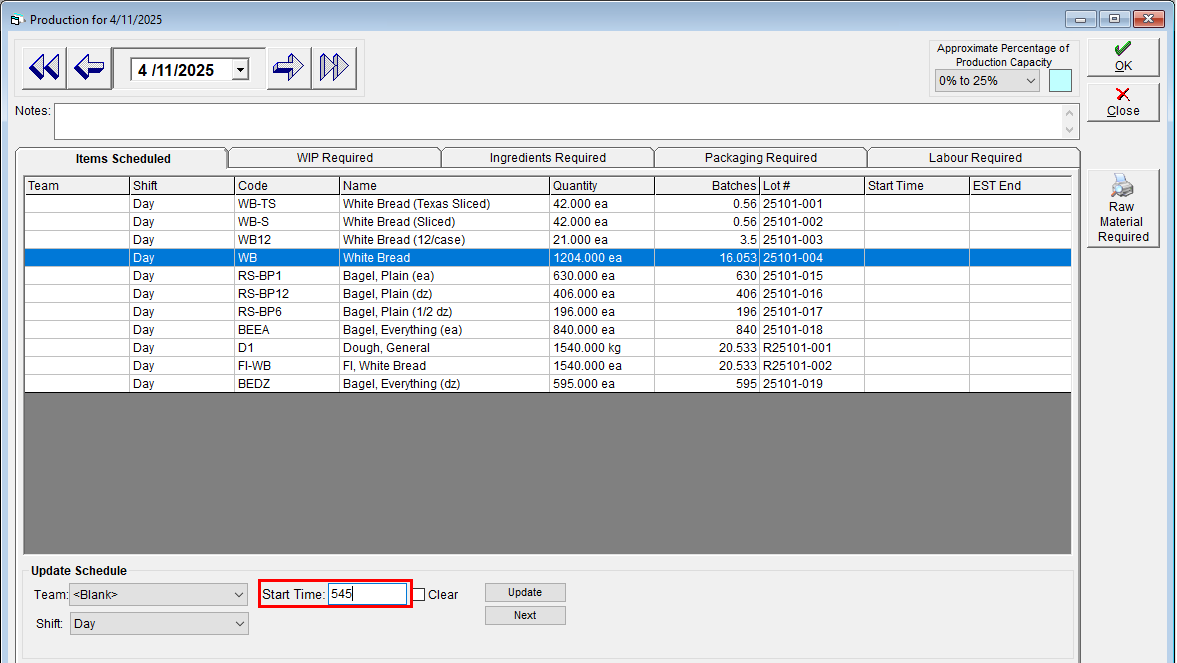
- The time can be entered in either 12 or 24 hour format. If using 12 hour format, then you can use a, am or AM to indicate morning and p, pm or PM to indicate afternoon. Hours and minutes do not need to be separated by a colon or period
- Click Update to apply the change to the highlighted item(s) in the grid

- Once satisfied, click OK to save your changes. The Estimated End Time will update.