With the move to Window Server 2019, we have updated how you choose the Profile for your Seat Account. This article is a companion to Setup TSPrint for Printing on FlexiBake 2019, please see that article for the step by step instructions.
When selecting your default printer, it is suggested to select the best profile for the seat you are accessing; TSPrint Printer Default for Window PC, TSPrint Default (MacOSX / Linux) or None for MacOS Computers and None for both Windows and MacOS Computers when printing Labels.
The Default Printer is set on a per-seat basis, it's suggested to isolate different operating systems as to not create confusion with the printing process.
Follow these instructions to download the utility and set your Default Printer Profile:
-
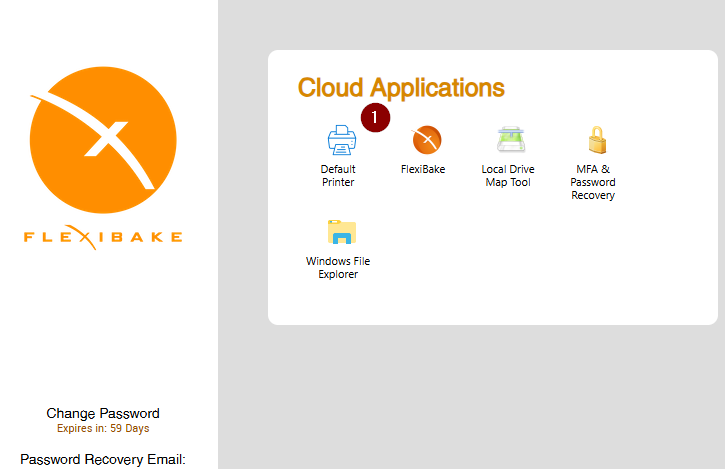
Sign into your Seat Account through cloud.flexibake.com and click on the Default Printer utility.
-
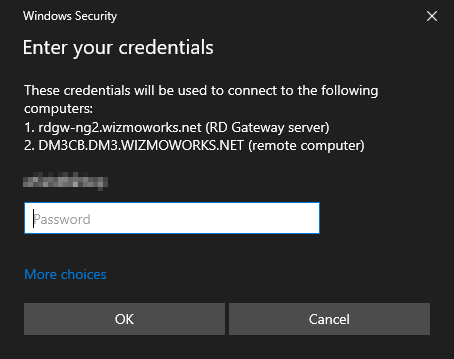
The connection will load and prompt you to enter your password. (This screen may look different based on OS version)
-
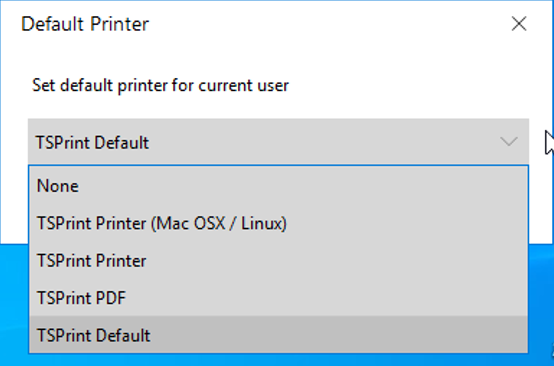
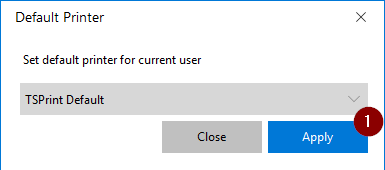
Select the Default Printer Profile related to your Installation.
-
TSPrint Default = TSPrint Installed - Windows PC / MacOSX
- None = TSPrint not Installed / Label Printing
-
- Press the Apply button to close the tool and set the Default Printer Profile.
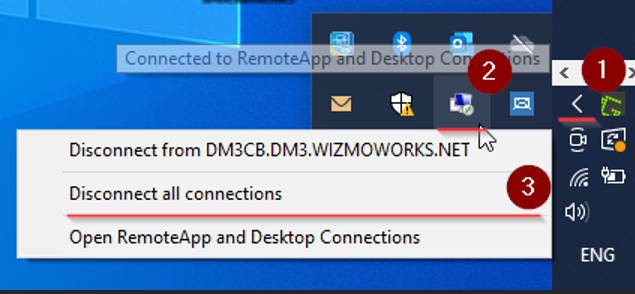
- If FlexiBake was open while making this change, please log out and disconnect from the RDP connection, then try printing again.