Set up Customers for Use with Daily Order Log
If you have staff which take orders over the phone, the Daily Order Log could be a helpful tool to make their lives easier. Everything they need to take orders is available in this screen: When to call, which number to call, and a direct shortcut to entering sales orders. They can also track who has already called or been called and if they decided to place an order.
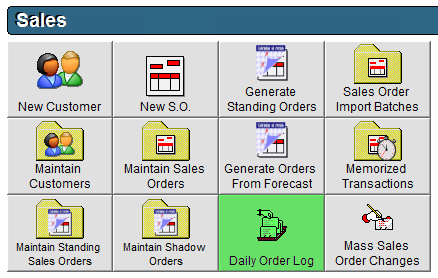
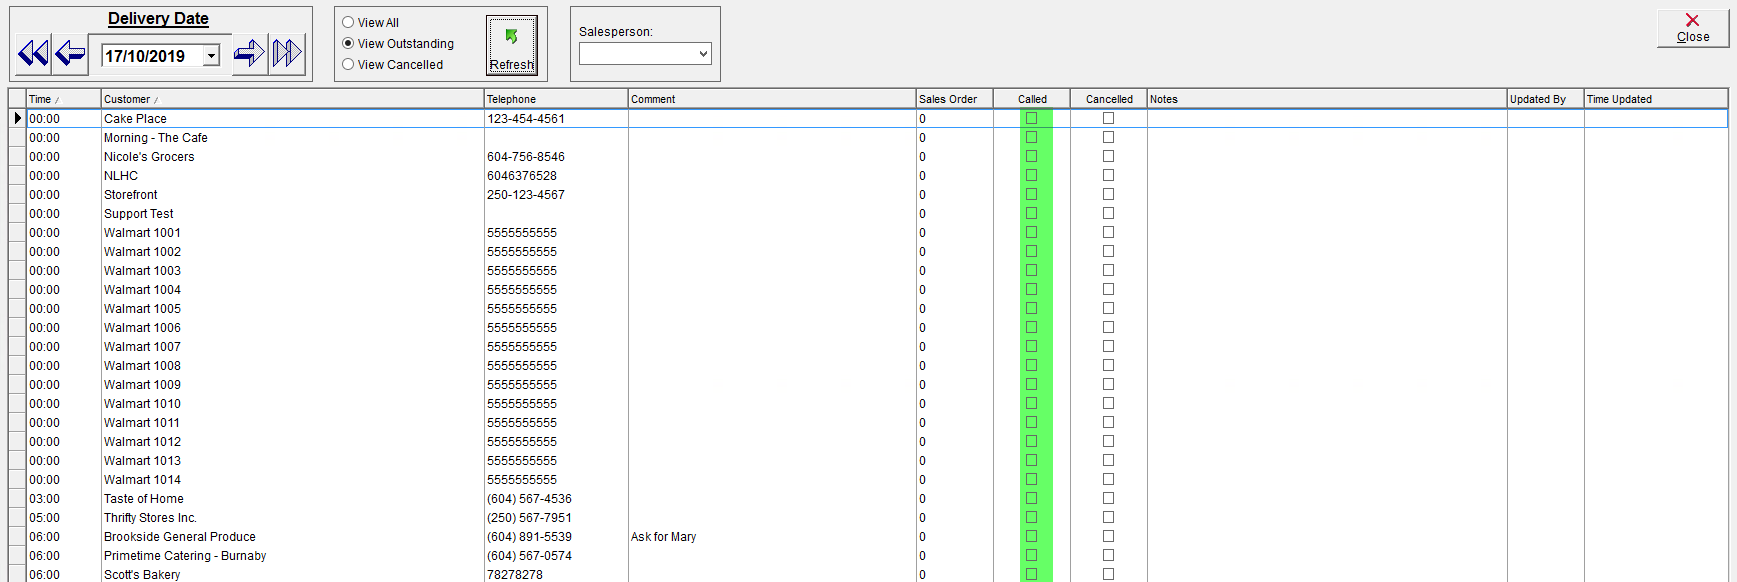
To use the Daily Order Log:
- Navigate to the Sales Centre and click the Daily Order Log button.
- Select the Delivery Date in the top left corner.
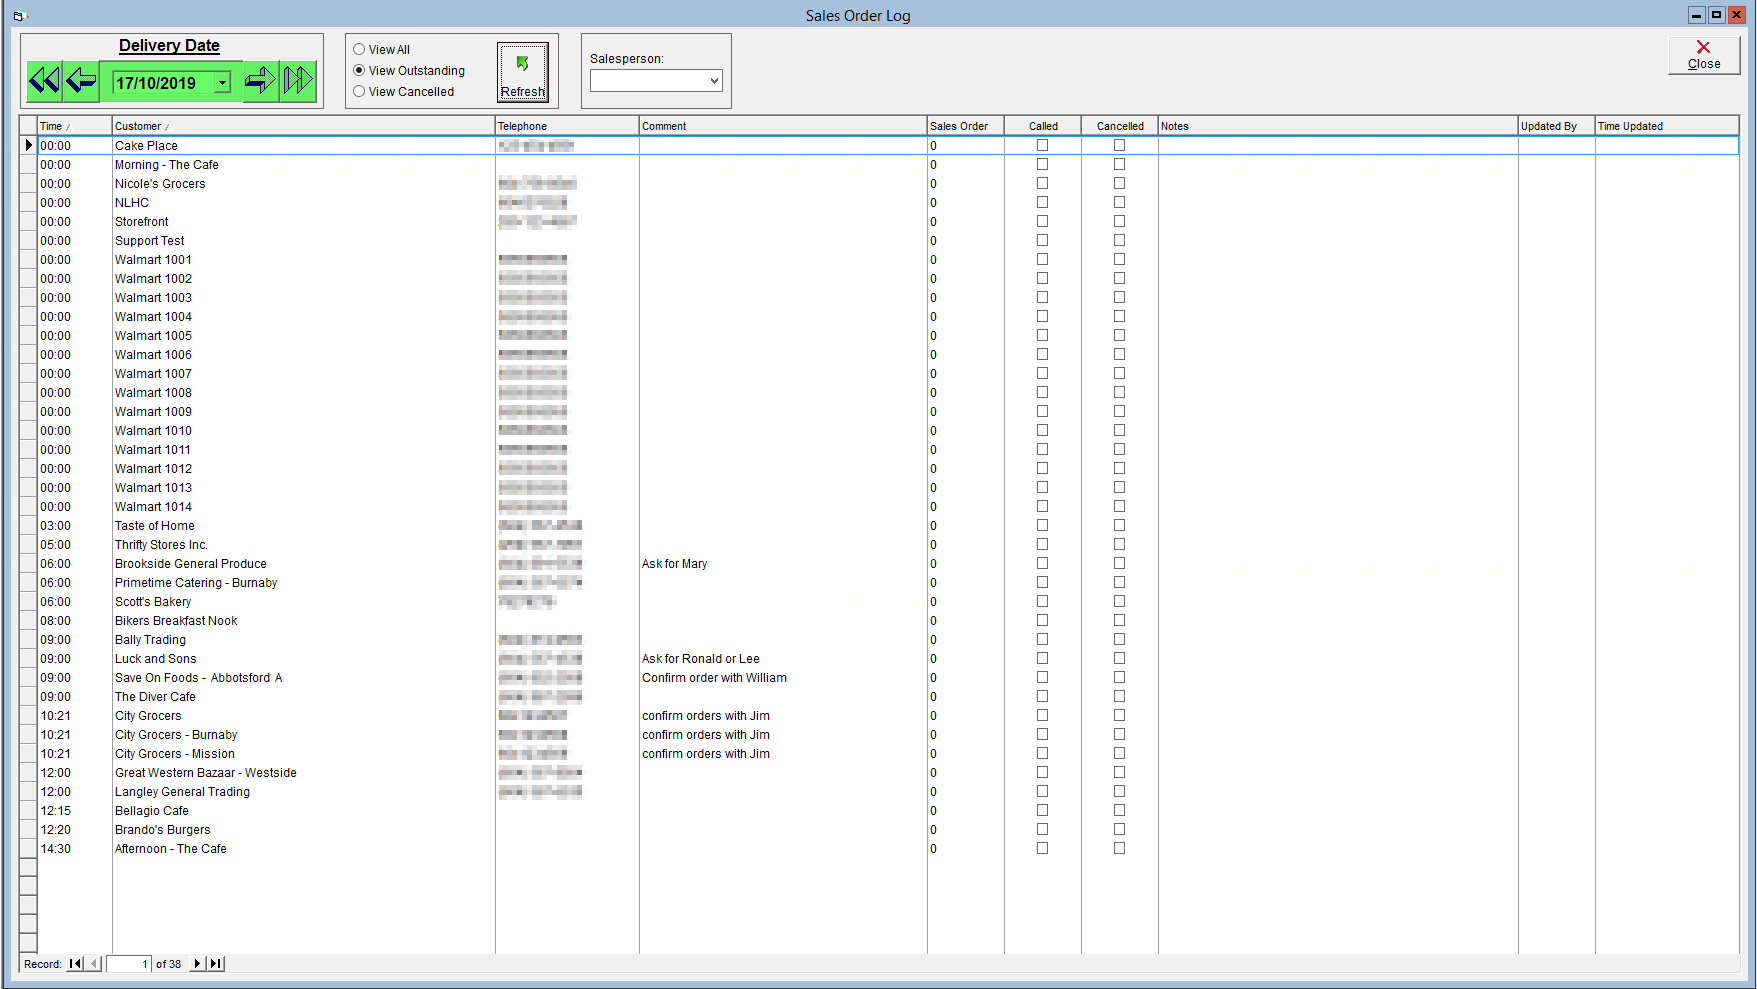
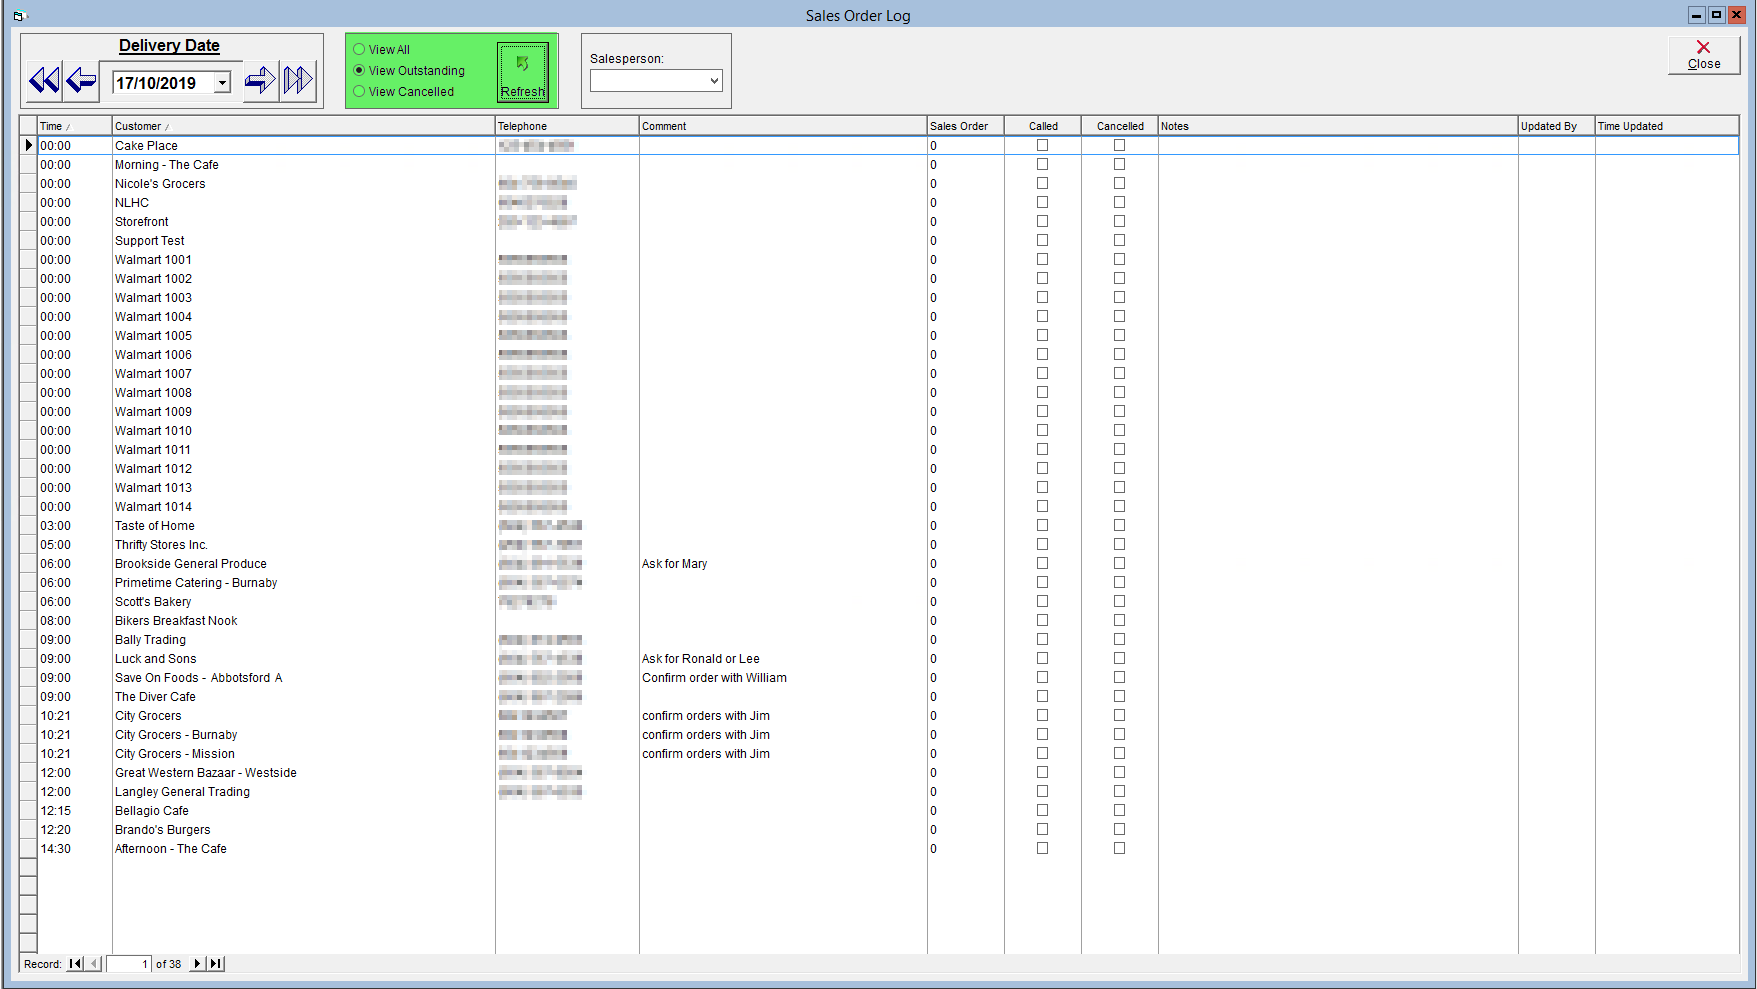
- Select the appropriate View option:
- View All: View all customers with Expected Delivery Days/Times set. If viewing all, placed orders will appear green, cancelled orders will appear red and outstanding orders will appear in black.
- View Outstanding: Only customers with Expected Delivery Days/Times set that have not yet had orders placed for the specified Delivery Date will be displayed.
- View Cancelled: Only customers that have had the cancelled checkbox on the Daily Order Log screen checked will be displayed.
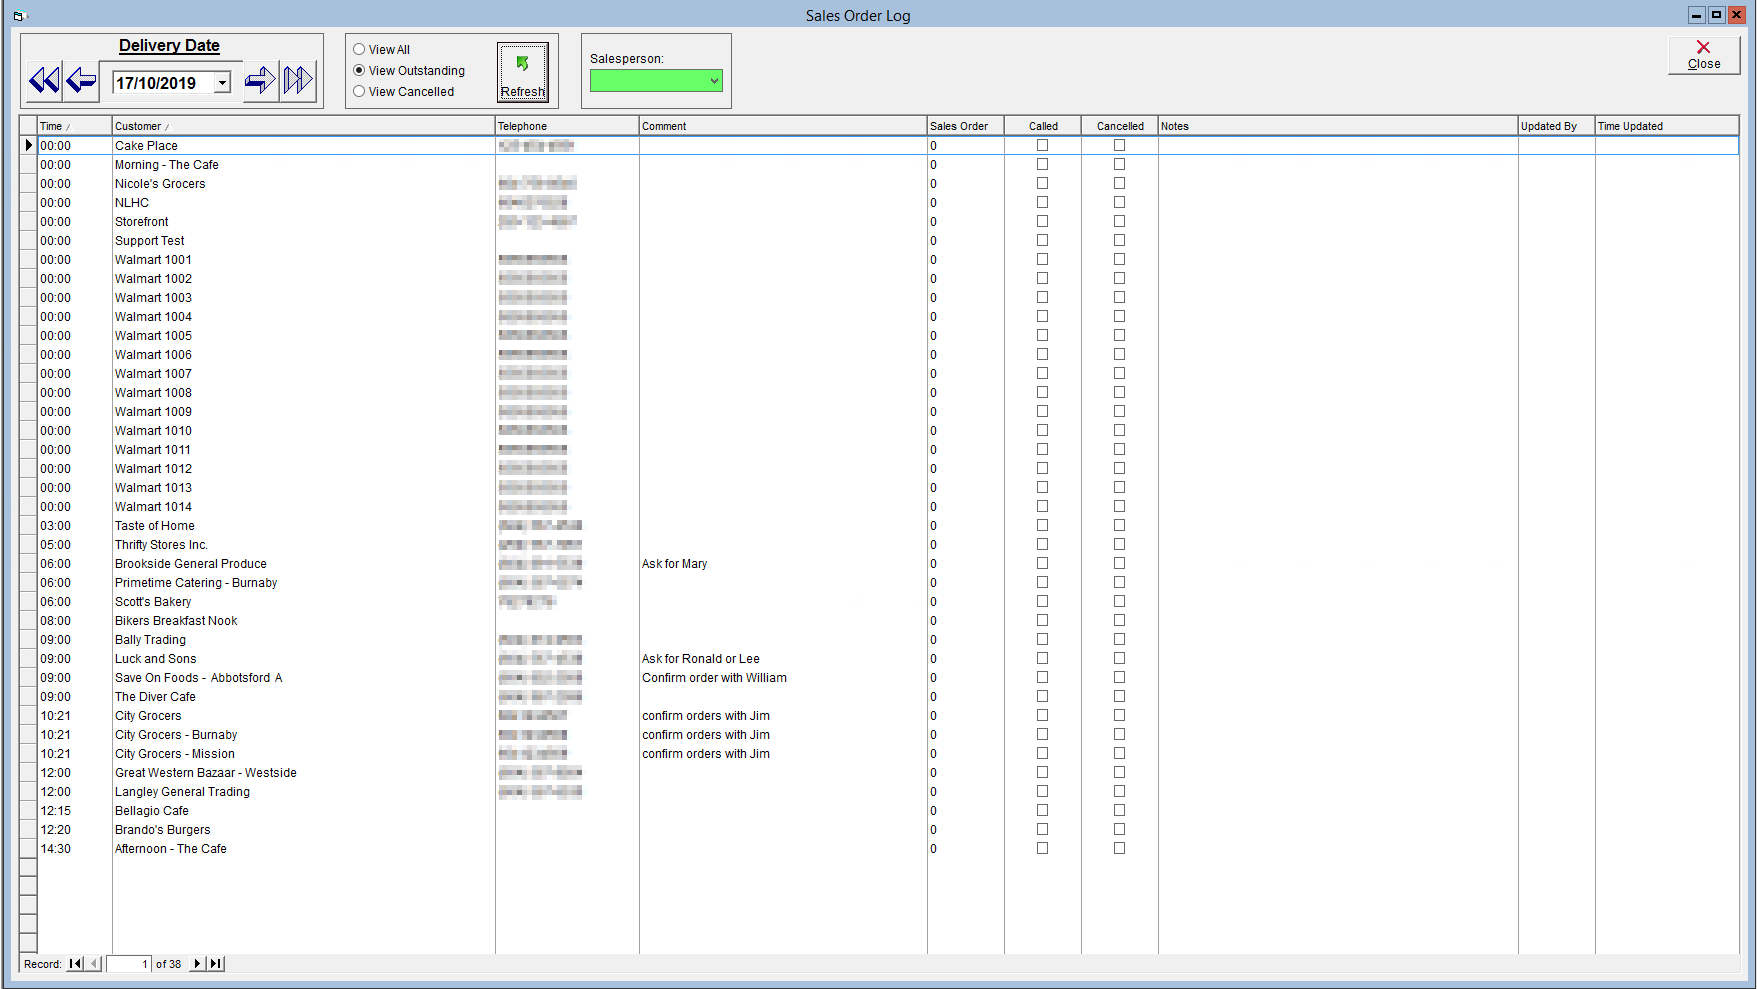
- If a Salesperson has been assigned to customers, you can select the salesperson from the drop-down to limit the list of customers to only those that the salesperson is assigned.
- To place a New Sales Order for the customer, double click on their name to be brought to the New Sales Order screen.
- The sales order will automatically populate with the customer's information and the delivery date. After having placed the order, click Close to return to the Daily Order Log screen.
- Check the Called box to record that the customer was called.
- Check the Cancelled box if the customer cancelled their order for that day. Customers with cancelled orders will be displayed in red text.

- Click in the Notes field and optionally record any notes as desired.

To see a video version of this tutorial, click below: