Part of running a business is making sure that there's a system of checks in place that ensure that things are being done properly. One great way to accomplish this is having an approval system in place to increase accountability and reduce human error.
What's an Approval Plan?
Approval plans dictate the approval process certain documents in FlexiBake will be required to undergo before the rest of the workflow surrounding the document can be completed. At this time, only Purchase Orders are compatible with approvals.
Each Approval Plan consists of two parts: levels and steps. Levels control how many different rounds of approval the PO must go through based on the value of the PO. These rounds of approval are the steps, and can represent different roles of staff that need to sign off on the PO. Each level will pertain to Purchase Orders whose value falls between the level below and the assigned maximum value. The higher the value of the PO, the more steps may be required for the PO to proceed or completely different staff members may be required to approve it.
For each step in an approval level, you can indicate the number of signatures required to proceed, and assign a list of potential approvers. All of these users are able to contribute a signature, but are not required to. By default, users are not allowed to sign for a PO that they submitted for approval. If you wish to allow this, you can check the box labelled Approve Own Request, which will allow all approvers listed to be able to contribute a signature to approve their request.
If using multiple facilities in FlexiBake, you can create a different approval plans for each location, or use one plan at multiple facilities.
Creating an Approval Plan
To create and assign an approval plan:
- Log into FlexiBake as a user with Admin privileges
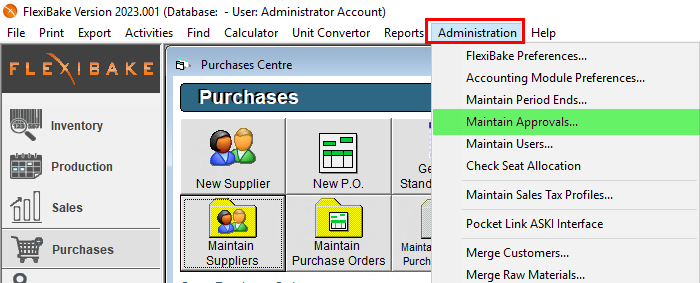
- In the upper menu bar, click on Administration, then click on Maintain Approvals
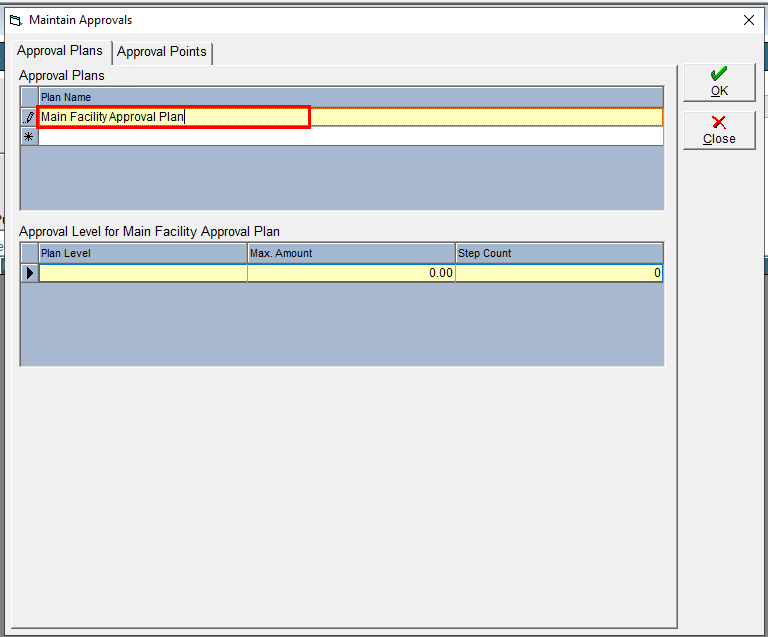
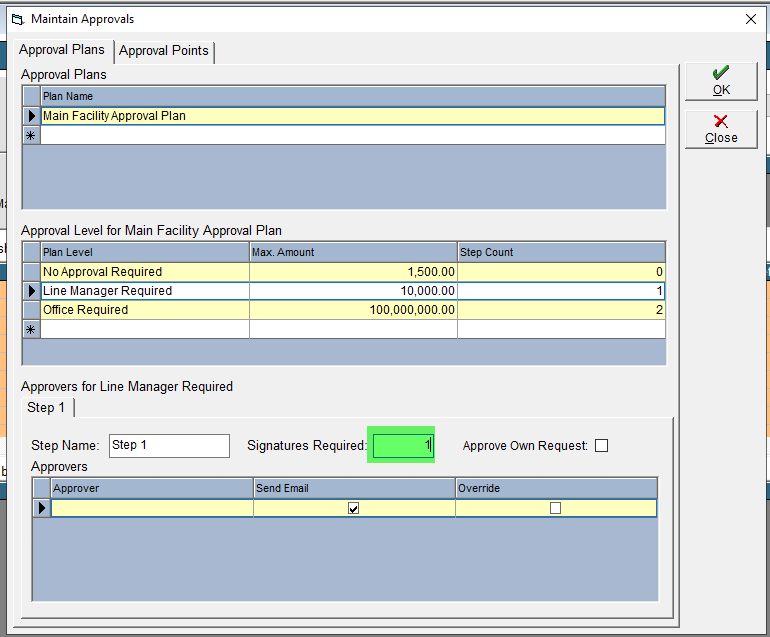
- Working in the top grid, click into the blank line and enter a name for the Approval Plan you would like to create
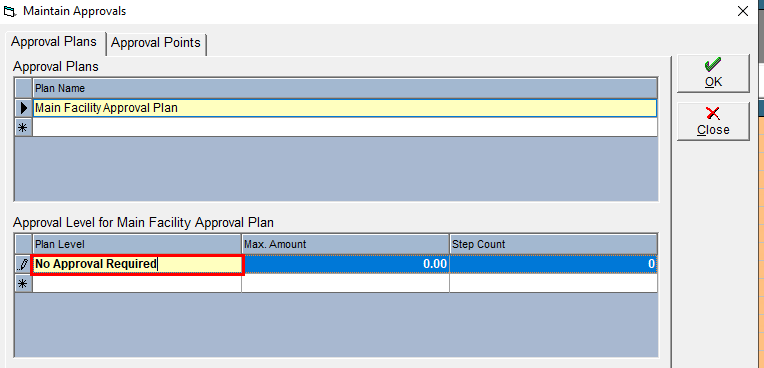
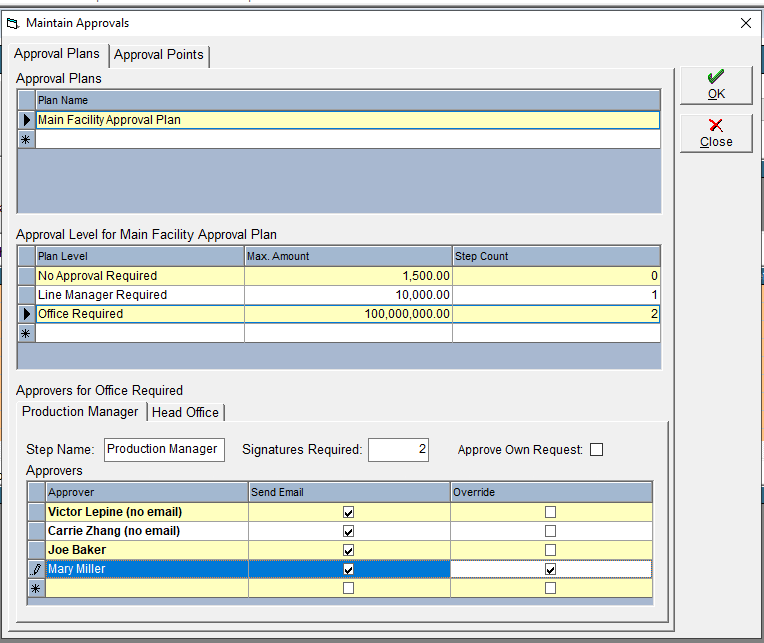
- Next, move to the centre grid to create the approval levels for the plan; at least one level is required. Add a name for the level
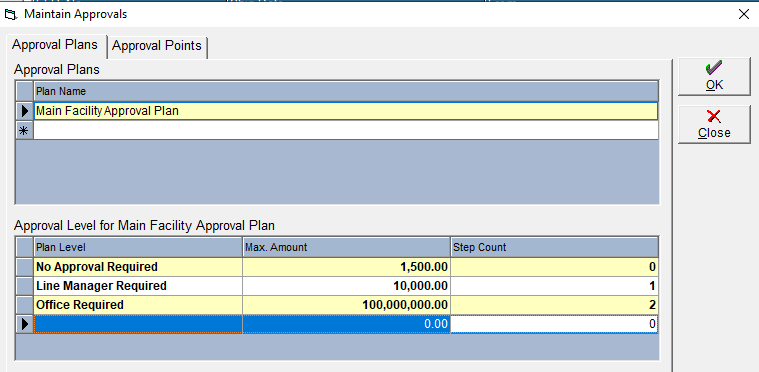
- Add the maximum value that can be approved at this level. It's recommended to set the maximum on the highest value level to a very high number such as 100 000 000
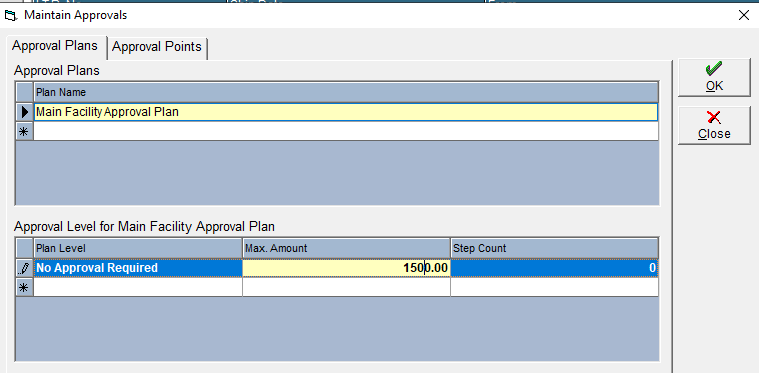
- Each approval level can have multiple steps, use the drop-down to select the number of steps required. For example , if you require a line manager to sign off first, then your controller, you would set the number of steps to 2
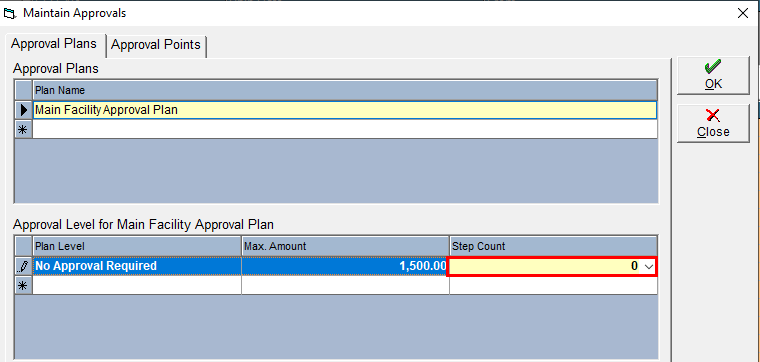
If a level does not require any signatures, set the number of steps to 0. - Hit the Enter key to add the level
- Repeat steps 4-7 until all desired levels have been added
- Click once on a level in the grid to select it. A new grid will appear at the bottom of the window where approver information can be added
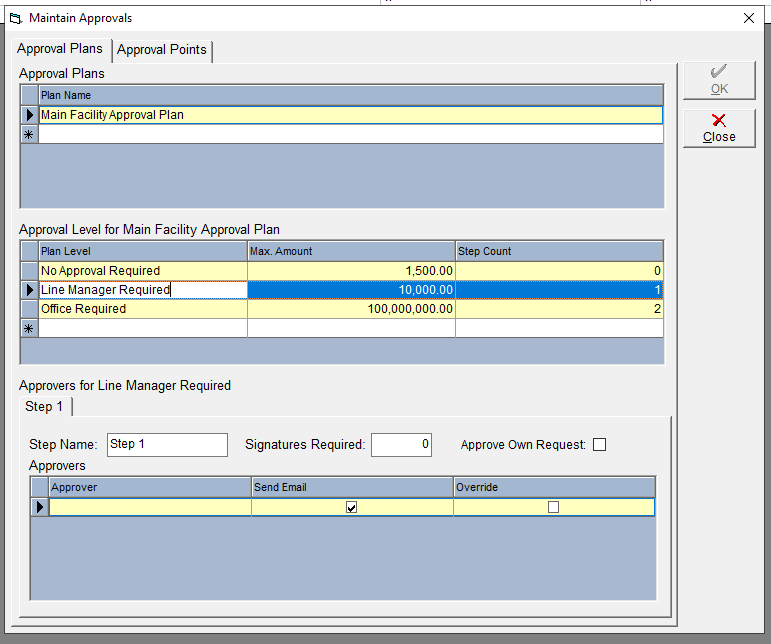
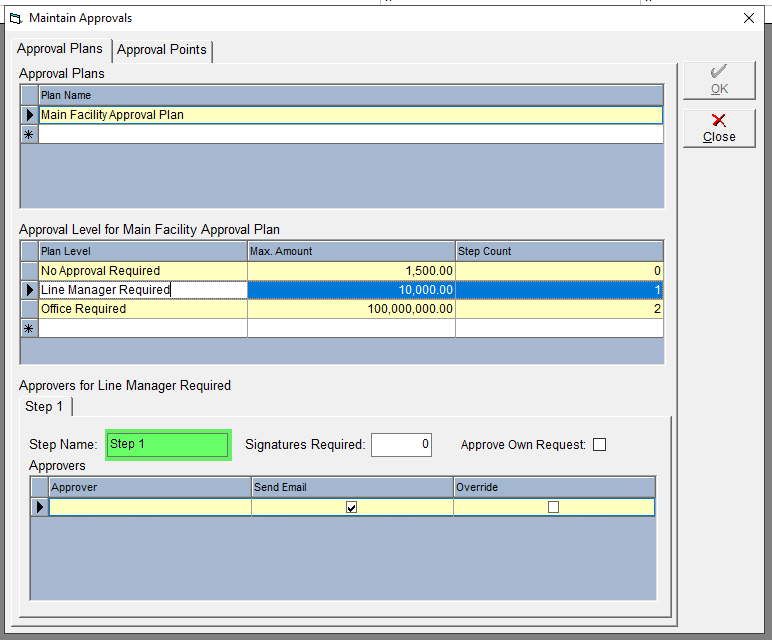
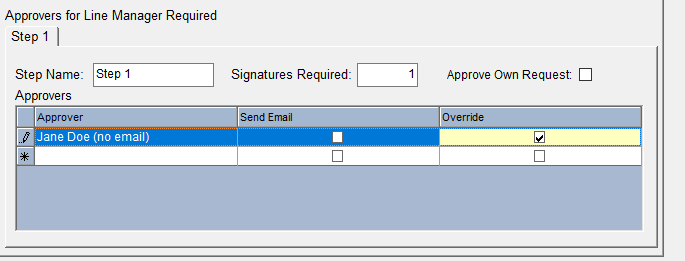
- (Optional) Add a Step Name. For example, this could be the name of role whose approval is required.
- Enter the number of Signatures Required at this step. This is the number of different users required to approve the document before it can proceed to the next step.
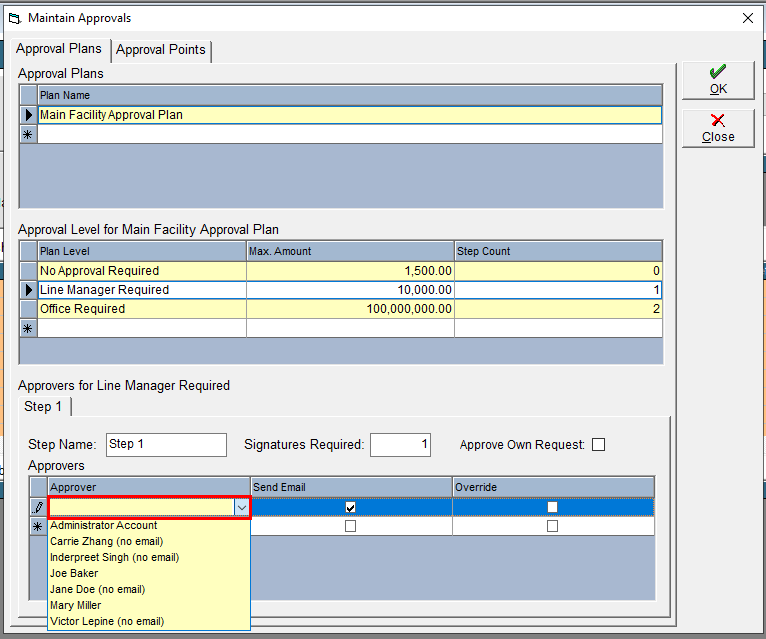
- Click into the Approvers grid and use the drop-down to select a user.
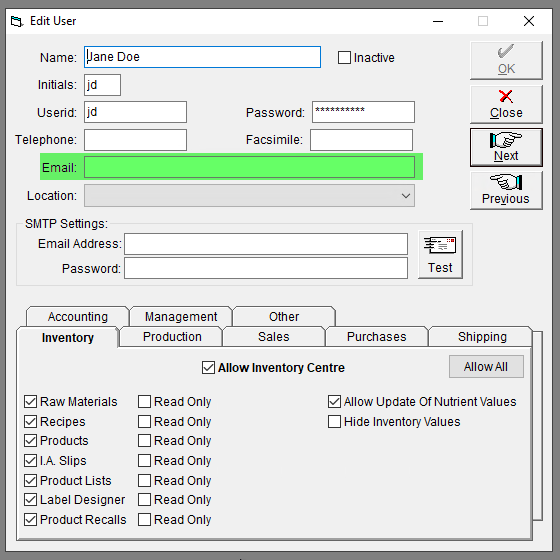
- If the user should not receive email alerts for approval, uncheck the Send Email box. Users will need to have an email address recorded on their user profile (see Add a New User Account for more info)
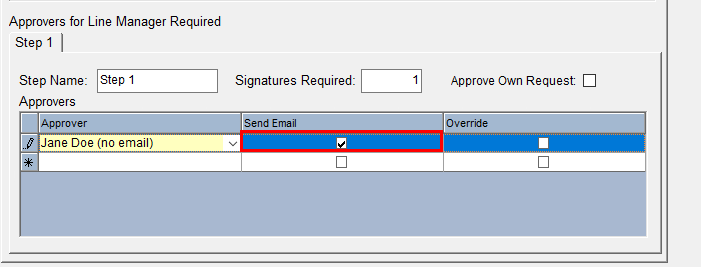
- Check the Override checkbox to allow users to contribute all required signatures for this step. This also allows the user to approve their own request.
- If the user should not receive email alerts for approval, uncheck the Send Email box. Users will need to have an email address recorded on their user profile (see Add a New User Account for more info)
- Repeat step 10-12 until all steps for all approval levels have approvers assigned.
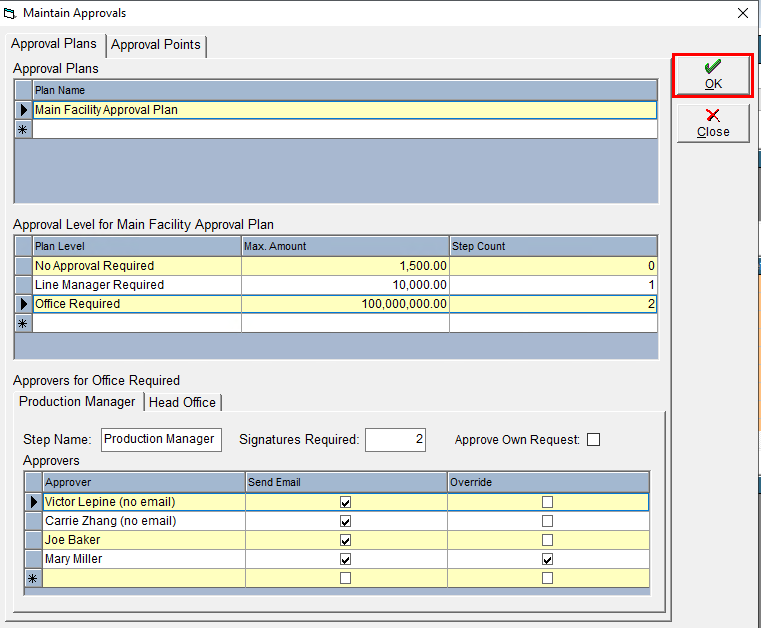
- Click OK to save
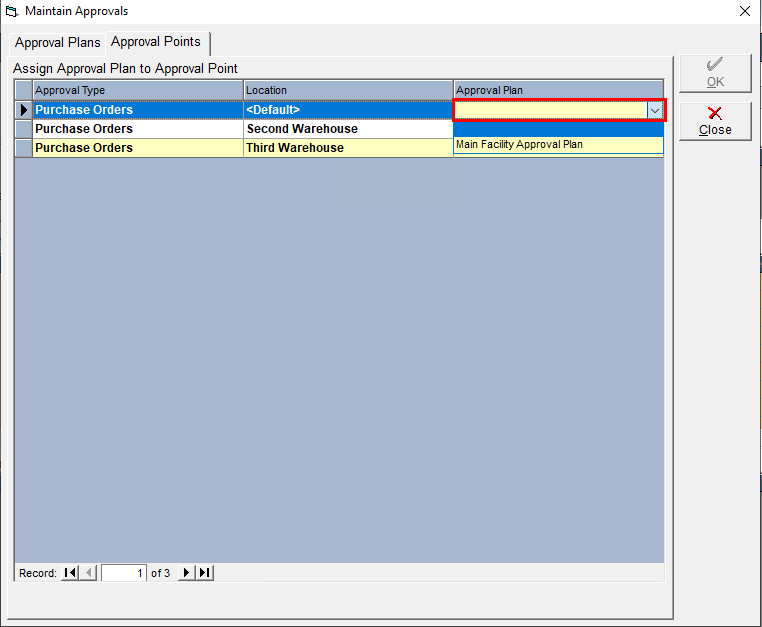
- Click on the Approval Points tab
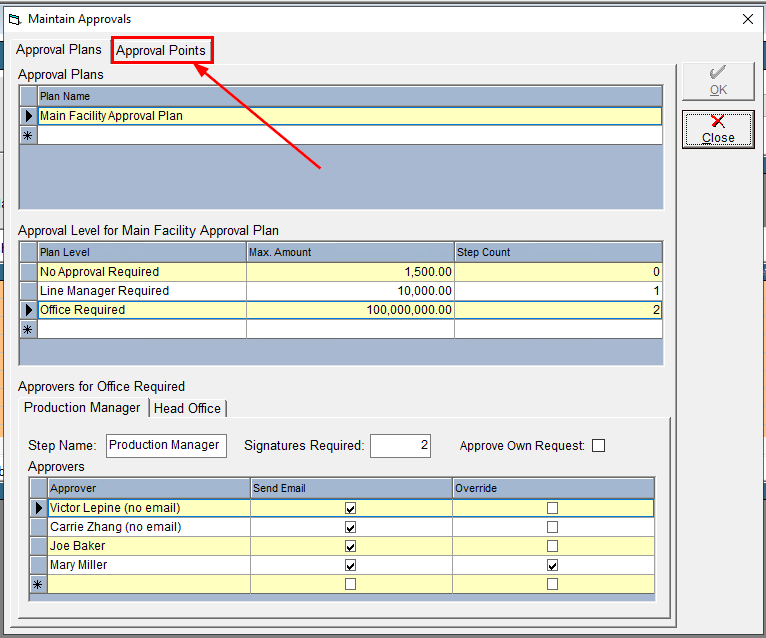
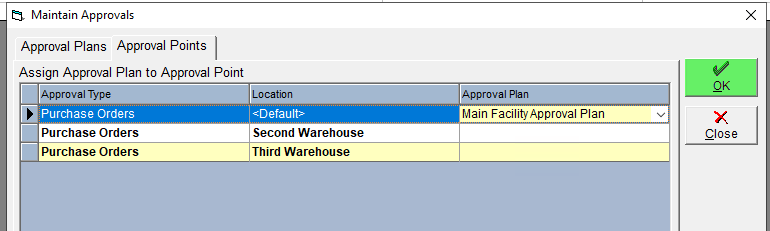
- In the grid, click into the Approval Plan column and use the drop-down to select the plan you would like to assign to this location. Locations without an approval plan assigned will not require that POs delivering to that facility be approved.
- Click OK to save
Now you're ready to create your Purchase Orders and submit them for approval! Please see Submit a Purchase Order for Approval