If you use another program to handle your A/R then FlexiBake may be able to export your records in a fashion that's accepted by the related program. This article will show you where to set your Accounting Module, the requirements and options available.
You will require a user account with admin privileges to continue, please contact your manager, or administrator if you do not have access to these tool.
Setting your Accounting Module
Before we enter any details for the Accounting Module, we first need to select one which will fit our purposes, to do so follow these steps:
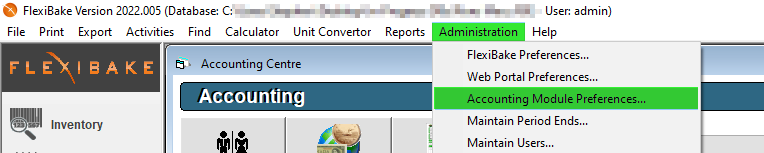
- Find Accounting Modules Preferences, from the Administration dropdown along the Menu Bar.
- Accounting Module Preferences will open, select the desired Accounting Software Used from the dropdown.
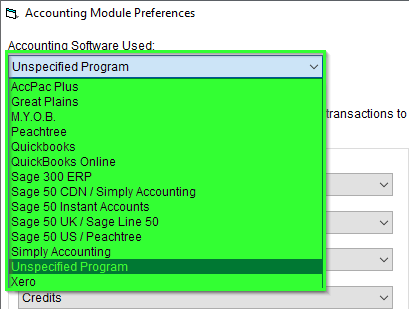
If your software program does not appear on the list, please select Unspecified Accounting Module. - Press "Ok" to save the selected software for your Database.
If you have Selected XERO Accounting, you will need to SYNC to XERO. Please follow our guide Xero Integration Setup Guide for full details. - If an Accounting Software had previously been set, a warning message will appear. Press 'OK' to continue and enter Default General Ledger Accounts, or 'Cancel' to abort the process.
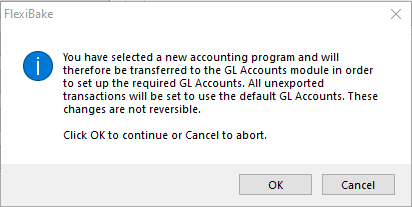
Any set General Ledger Accounts are wiped out on the change of Accounting Software. - Maintain General Ledger Accounts will open on pressing 'OK'. Enter the Account ID, Code, Name and Type according to your Accounting Software, these should be identical to how they appear in your program.
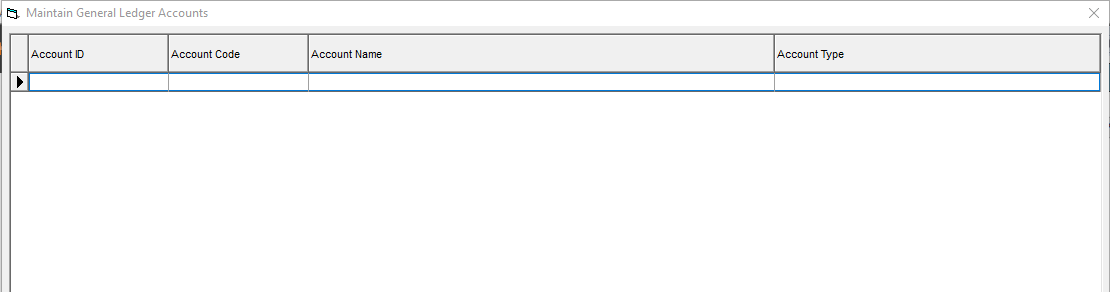
You will require at minimum one of each of the following account types: Accounts Receivable, Income, Bank, and Expense. When finished with a line, click into the next one to save your changes.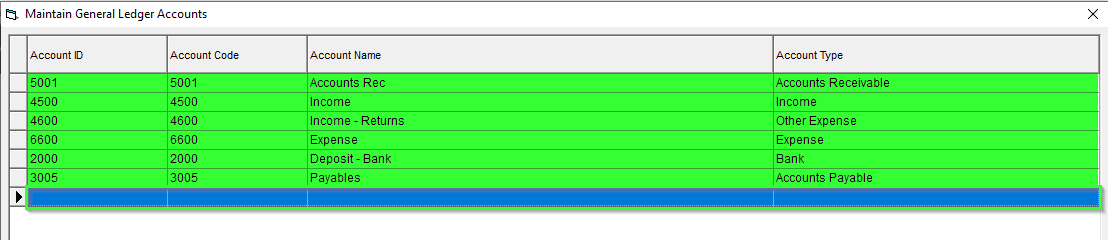 Once you have finished entering General Ledger Accounts, press the "
 " button to return to Accounting Module Preferences.
 - Set your Default General Ledger Accounts, these define which accounts will be attributed to each type of Transaction.
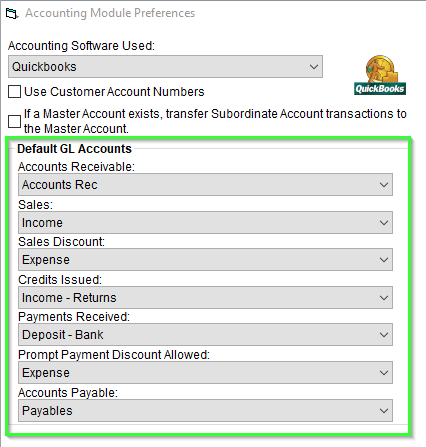
- Once you have set your Default General Ledger Accounts, you may press 'OK' to save your progress thus far.

These steps provide instructions to establish a base connection required to facilitate exporting from FlexiBake. See Export from FlexiBake, or General Ledger Accounts sections below for additional details and tool usage.
General Ledger Accounts
Aside from the default general ledger accounts we assign during Accounting Module Preferences Setup we may also Set Override Accounts for specific records to better facilitate the transmission of Data from FlexiBake to your Accounting Software.
Below find a listing of articles whose item types can be assigned general ledger accounts for further software definition:
- Product Categories - Assign accounts by Product Category.
- Products - Assign accounts to specific products.
- Payment Types - Assign accounts to payment types, to differentiate deposit accounts.
- Taxes - Assign accounts to isolate tax monies.
- Freight Charges - Assign accounts to handle freight charges.
General Ledger accounts are assigned to exported transactions and records to "fit" them into your Accounting Software. For Example, your Retail Products may be deposited in an account separate from your regular Wholesale Products. Step by step instructions may be found in Adding General Ledger Accounts.
Export from FlexiBake
When using QuickBooks, or another Accounting Program you may want to export the information from FlexiBake into this rather then manual, or dual-entry work. Exported Data is based on the General Ledger Accounts we assigned earlier in the article.
The general process of exporting from FlexiBake is similar across all Accounting Modules to get an understanding of the process, follow these steps:
- Open to the Accounting Centre, find and select the Export to... button.
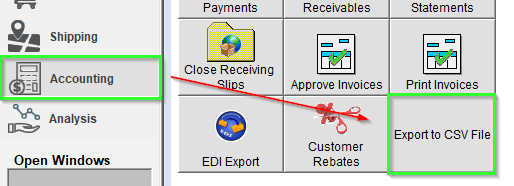
This Icon will change depending on the selected Accounting Software:
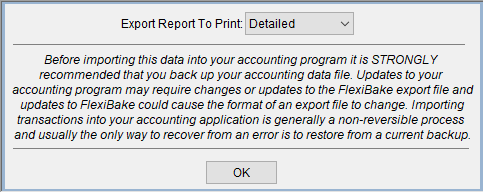
- Export Transactions will open, please carefully read the warning message at the top of the screen.
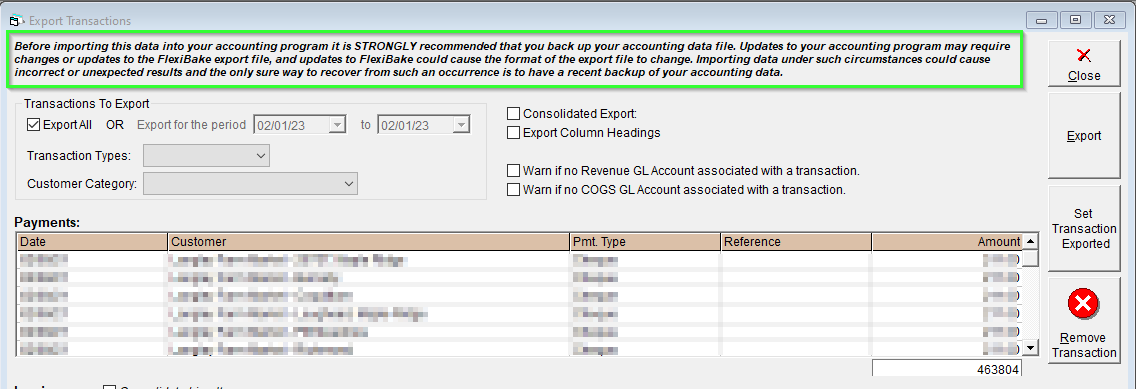
We generally suggest creating a back-up before exporting and importing to ensure no loss of data, run a few tests to ensure items are appearing correctly before running on your live data. - Once you have read over the warning and any required back-ups are created, we can define which 'Transactions To Export' either select "Export All" or choose a period of which to export for.
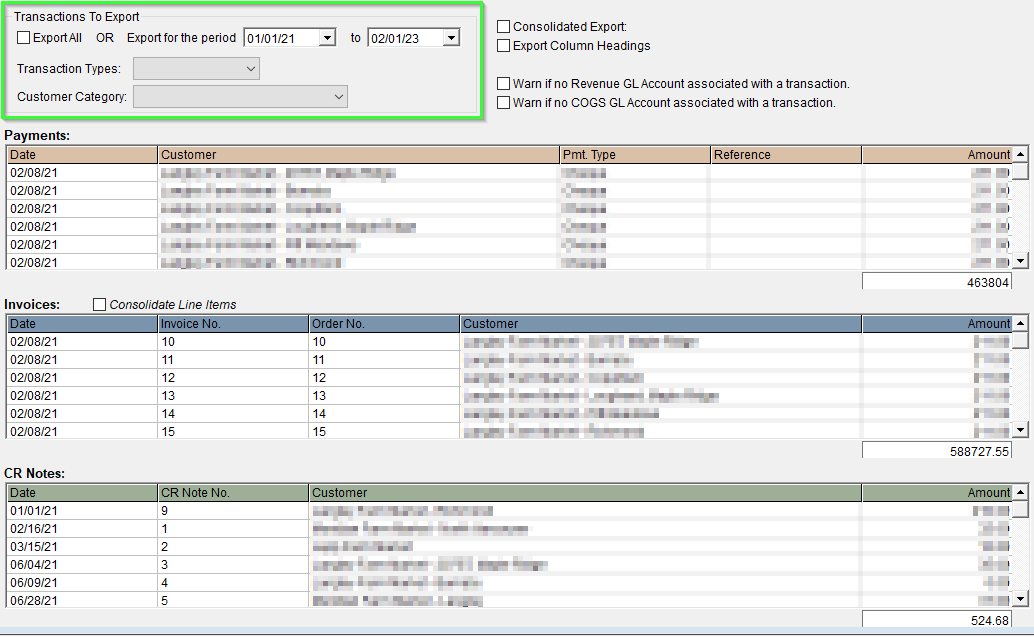
The Items in the Payments, Invoices, and CR Notes Grid update based on the period selected, when Exporting All instead all Transactions which have not been marked as Exported will appear. - Choose any Filters, such as Transaction Types or Customer Categories you would like to filter by. These will exclude or filter the grids below and define what will be exported.

- Prior to Exporting, if there are any records you would like to exclude you may "Remove Transaction" this removes the individual record from this specific Export File.
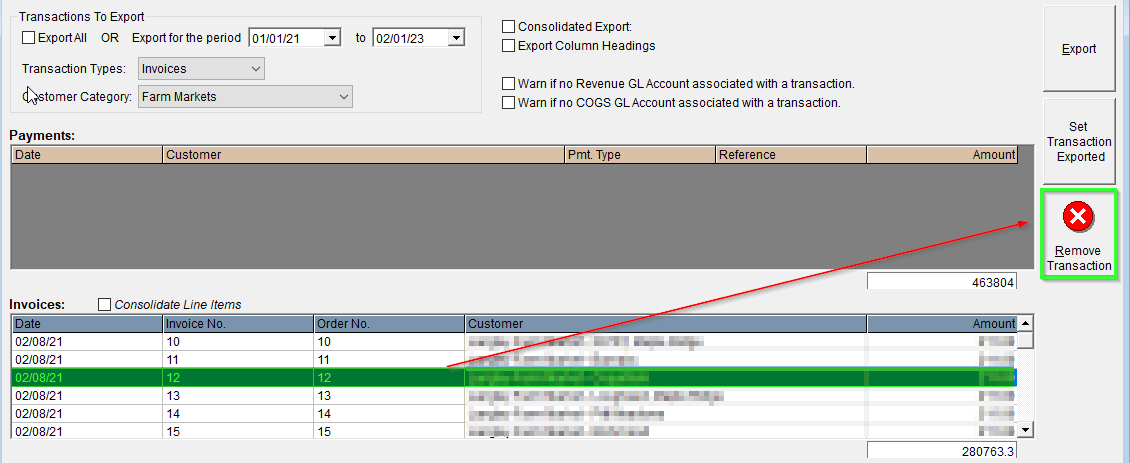
Closing Export Transactions will release all "Removed Transactions", so if you've made a mistake you can close and re-open the tool to find the transaction again.
- If a Transaction has been created in error, or is not intended to be exported ever you may "Mark as Exported".

Similar to Removing a Transaction, Mark as Exported removes the line item from appearing on future exports permanently. - Once all records have been adjusted, removed or marked as exported and you're happy with the records left over, you may press Export.

A Save As dialogue will appear, choose a file location give the file a name and save it.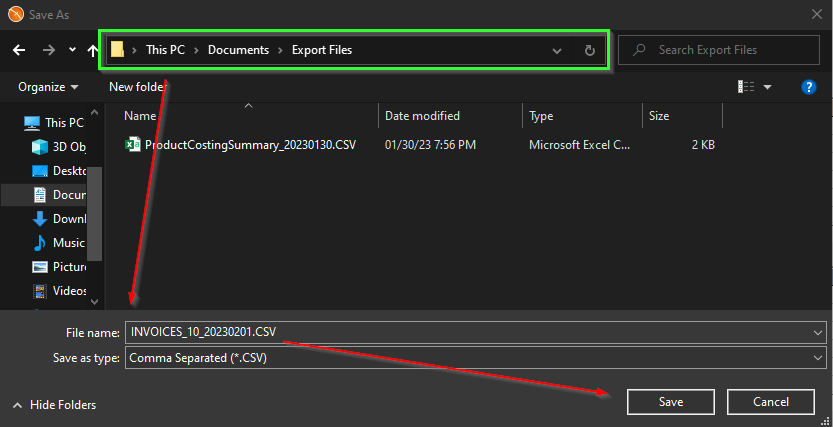
Selected Transactions will begin to export. This may take a few minutes.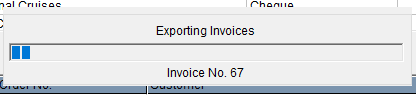
- Once the export has fully completed, you'll be asked if you wish to Mark all Transactions as Exported. Doing this will flag each record as exported and stop it from appearing in this screen again.

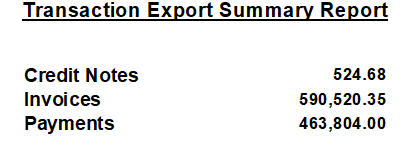
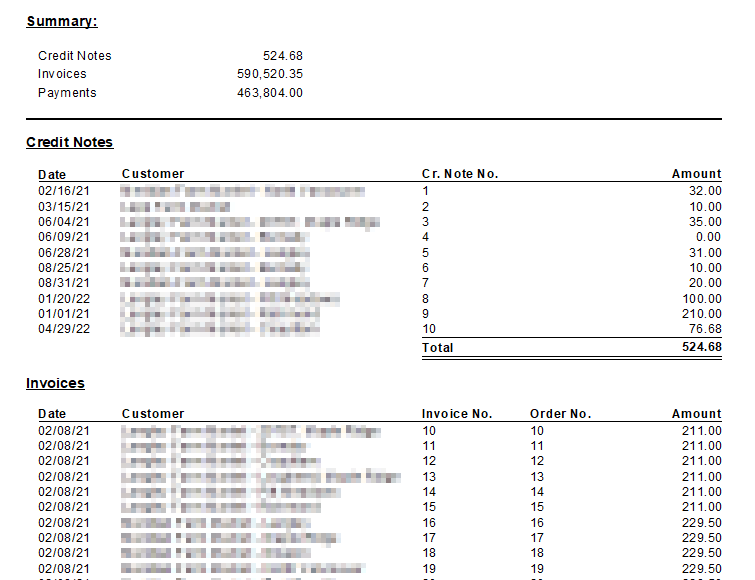
- Finally, you'll be asked if you'd like to Export a Report relating to the data which was exported, there are two options available - Summary and Detailed.
- Example of Summary Report:
- Example of Detailed Report:
- Example of Summary Report:
With this you should be able to setup, adjust and export information to your Accounting Software. Additional information may be found in the specific Accounting Module Preference articles for each Accounting Software.
Any error received during Export should be sent to support@flexibake.com, while we may offer suggestions Support is not able to assist directly with any issues resulting from Importing.